

Hello and welcome! Today I’m sharing a project using a masterboard created from bits and pieces of paper and ephemera, and I’m offering a copy of it to my readers as a free gift. (Link at the bottom of the post.)

I’m such a hoarder, I can’t bear to throw anything away, so I always have leftover scrap paper hanging around after I finish a project. When I get fed up with how much is cluttering up my space, I have to figure out something to do with it, and a masterboard is the perfect way to use them. I just cut and tore and collaged my scraps until I came up with something I liked. I immediately saw how this board could be cut apart to make tags, but first I scanned it into my computer and printed out a couple of copies.
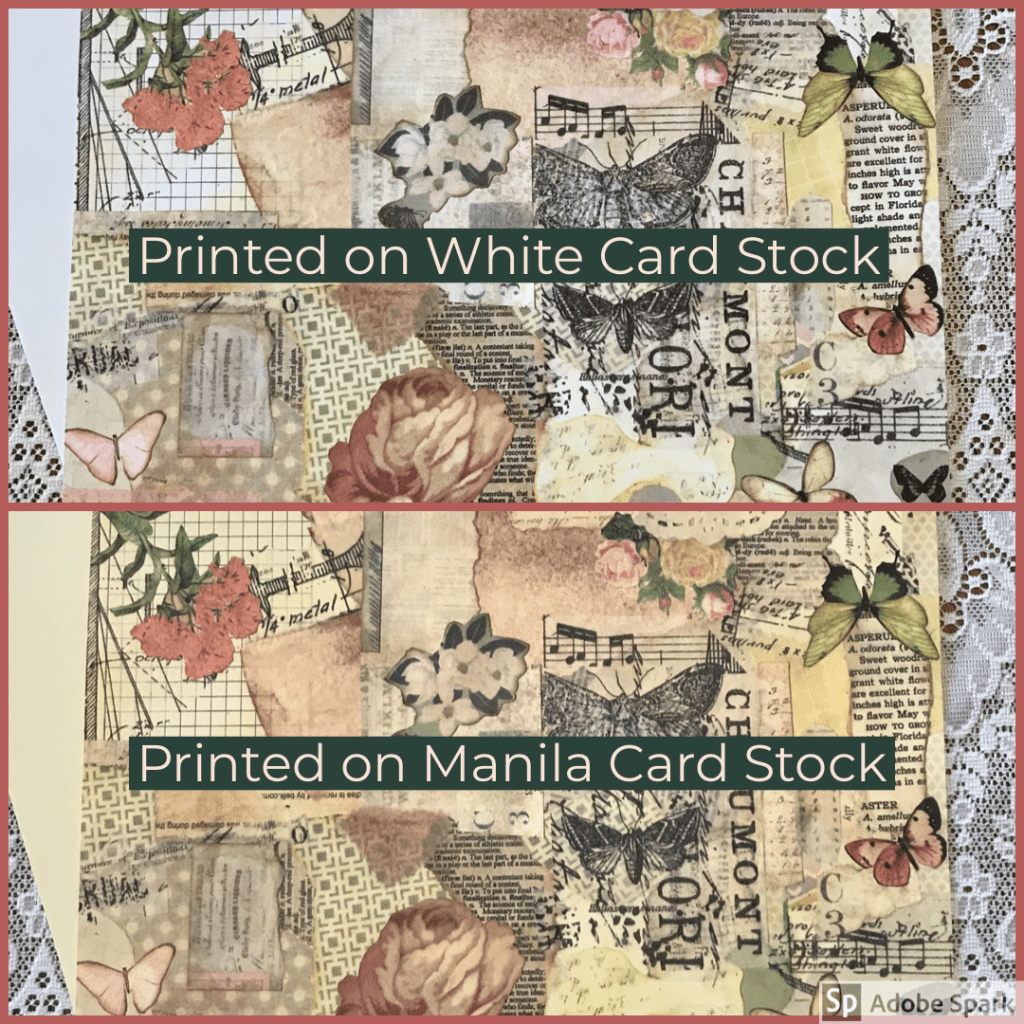
I printed it on white card stock and on manila card stock and you can see what a difference it makes in the “vintage” look of the page! It would be interesting to experiment with printing on coffee- or tea-dyed paper as well.
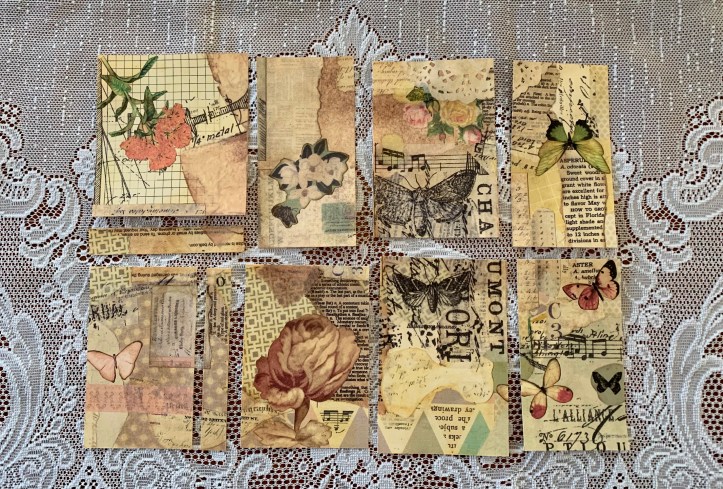
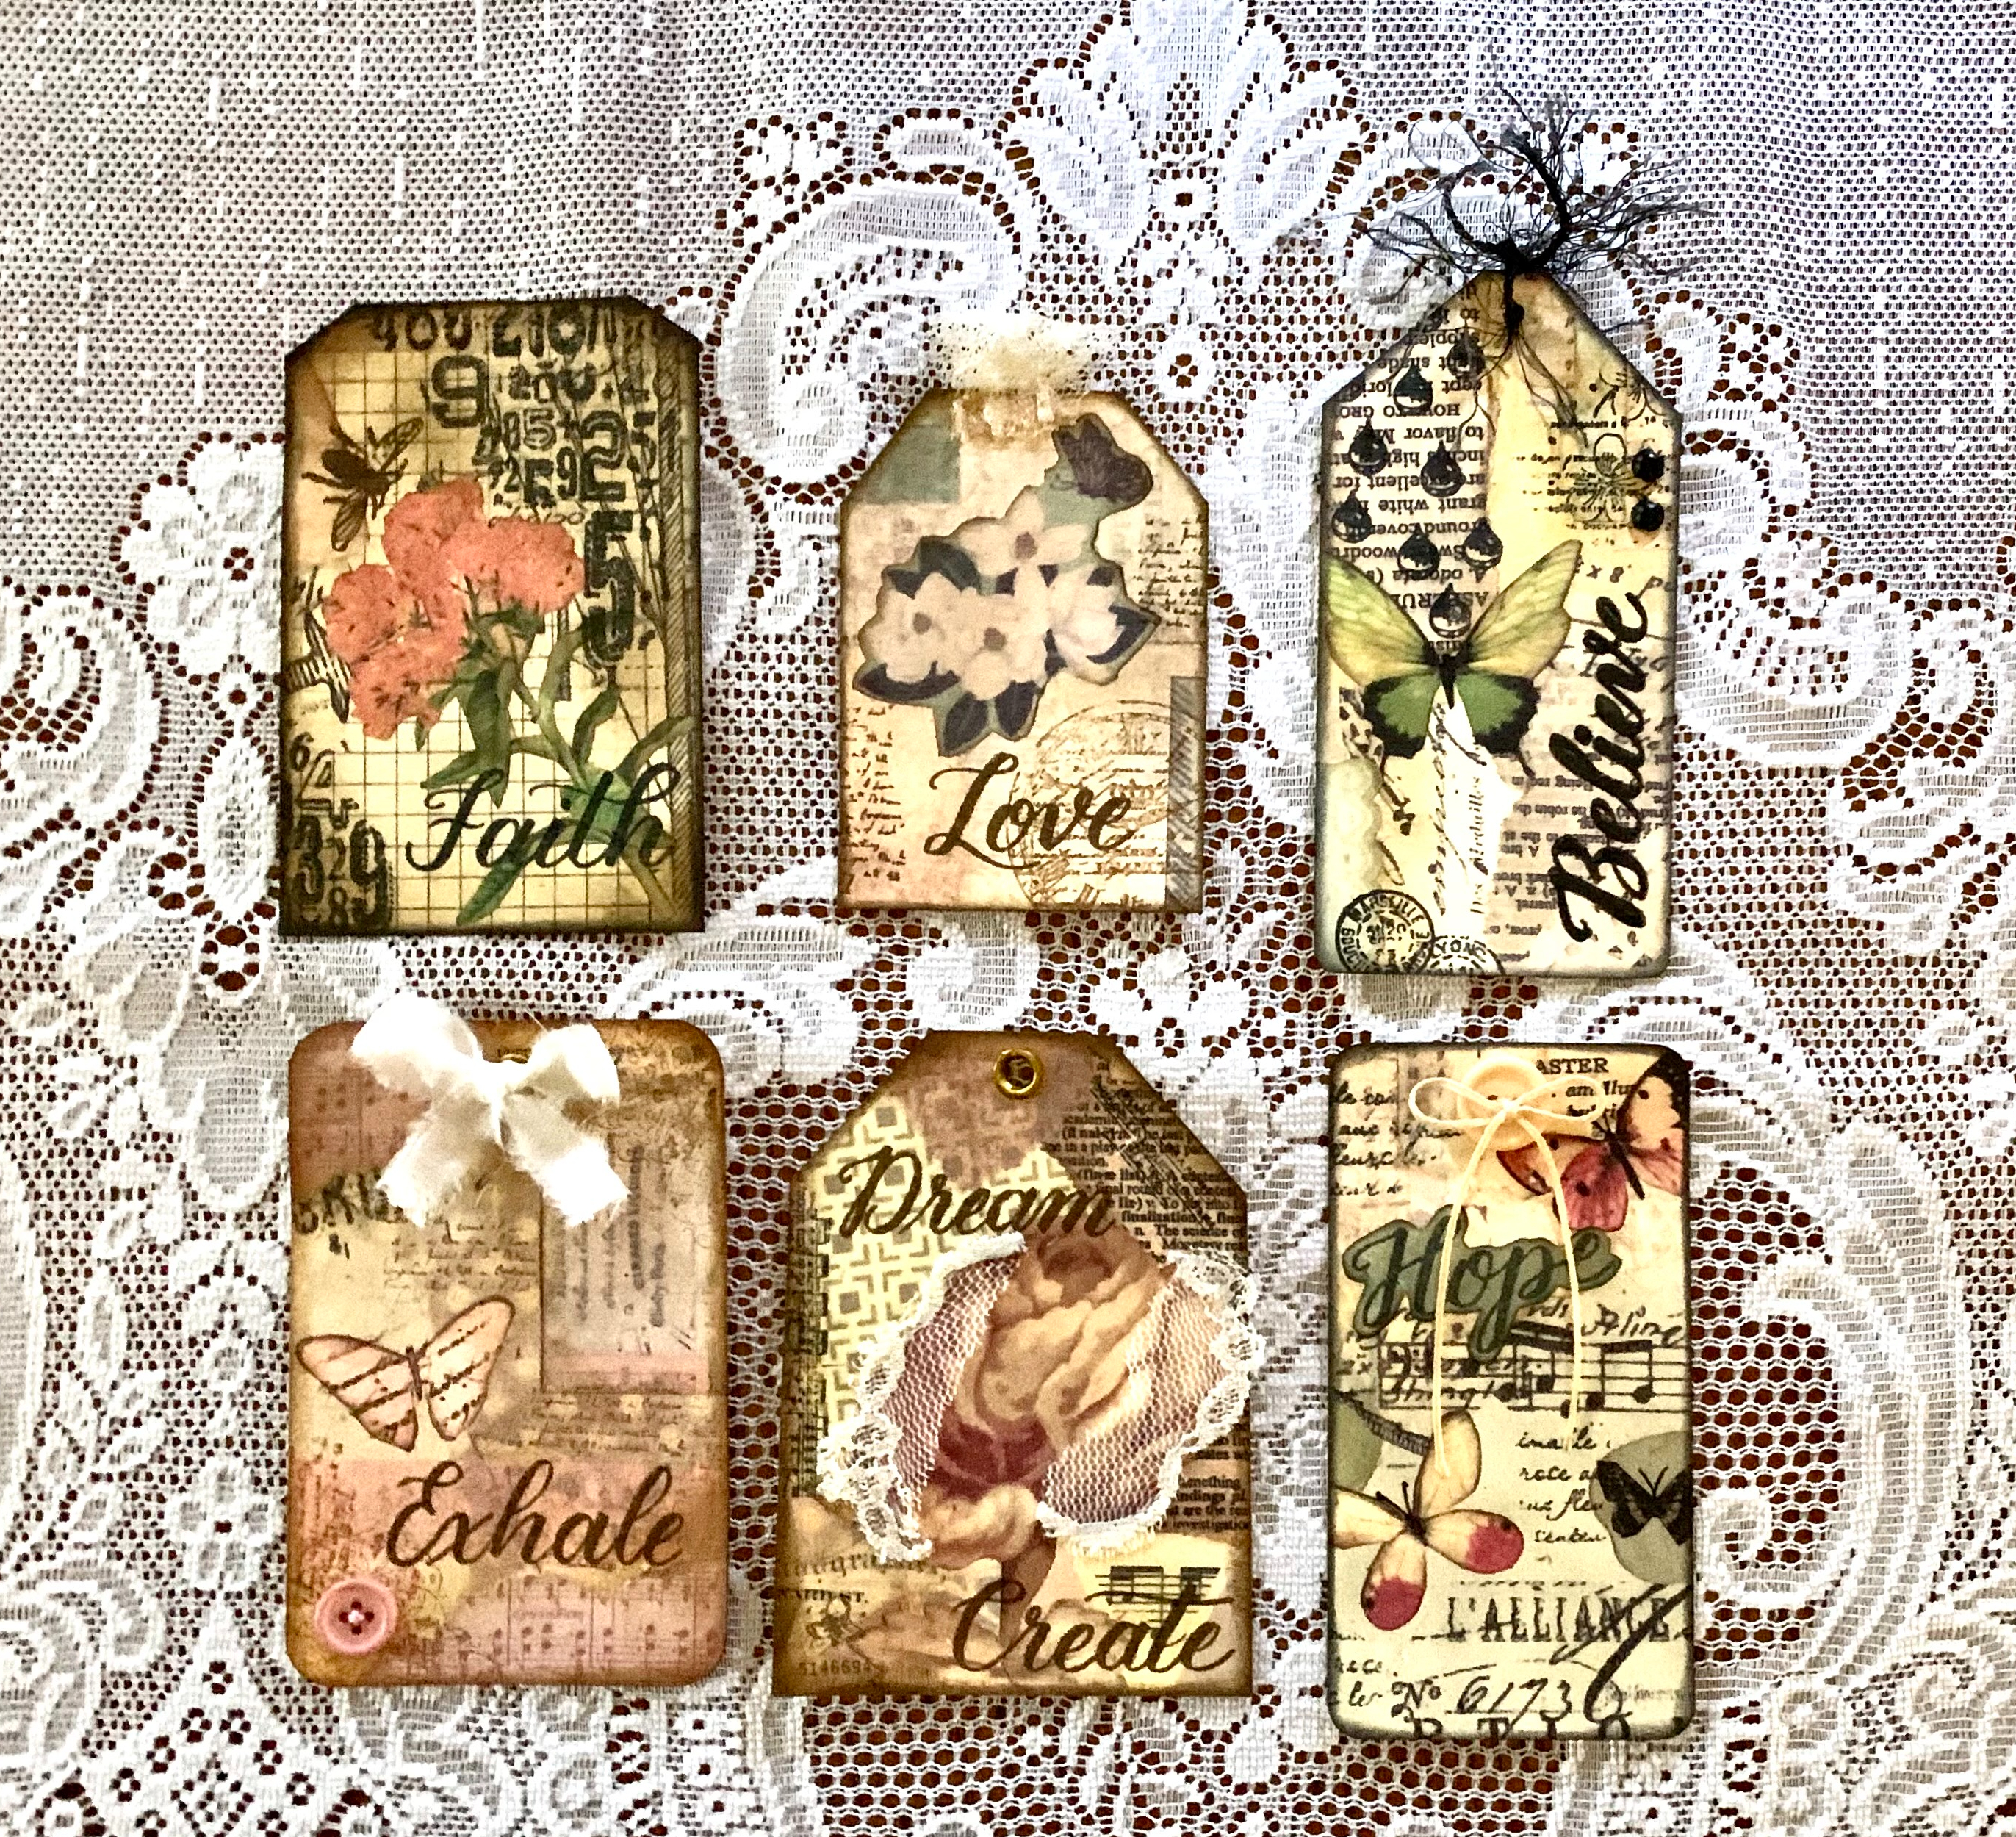
Instead of cutting all the tags the same size I was guided by where the obvious breaks in the pattern appear. After the initial cut, I trimmed some of the pieces down even further and cut “tag tops” into some of them.
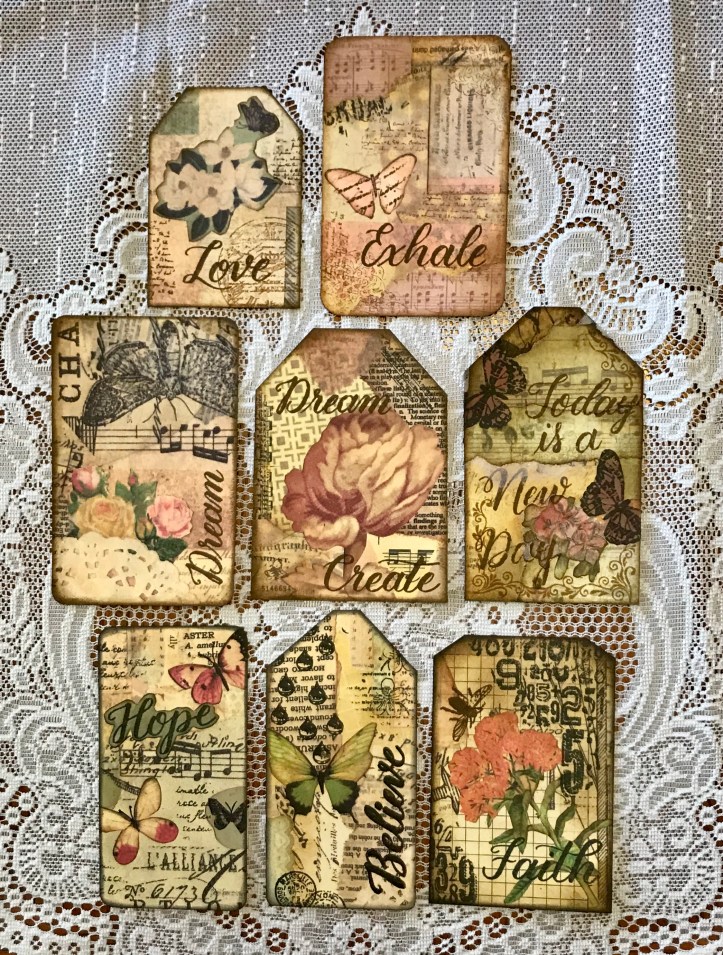
I did some stamping with a great set of word stamps and some Memento ink in Tuxedo black, and I also stamped some handwriting, some numbers, postmarks, and other little doo-dads as needed. And of course, I inked around the edges with some Tim Holtz distress ink.
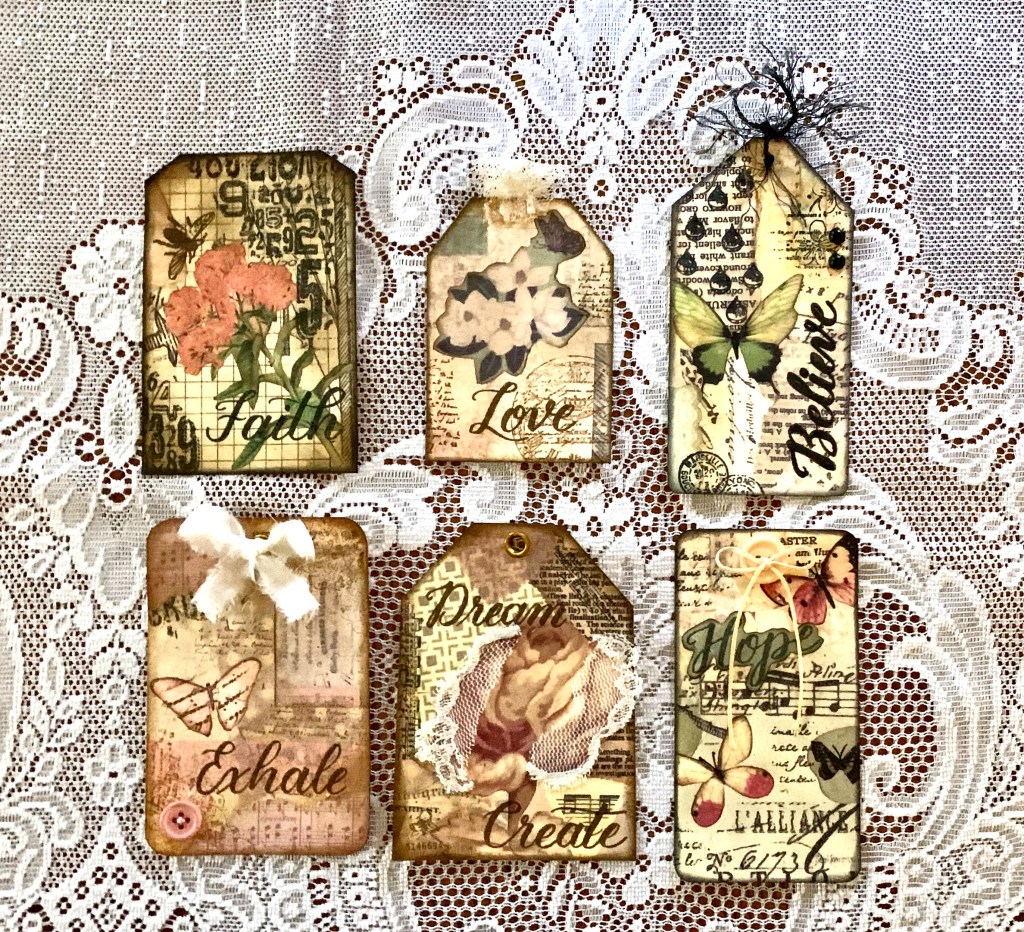
The final step was to add eyelets, ribbon, lace, eyelash trim, and/or buttons at the tops of some of the tags. One I left plain, and one (the one that says “Dream”) I ended up using as a notepad cover so it’s not pictured here with the tags.

If you would like to use this masterboard in your own projects, you can click to download a printable copy. I’d love to see what you create, so please tag me on Instagram or Facebook if you post any photos of your project!
Blessings!
~Happy Heart Art Girl

.
.
.
.
.
Note: Some of the links in my posts are affiliate links. As an Amazon Associate I earn a small commission from qualifying purchases at no additional cost to you. I really appreciate your support! xx

[…] and welcome! In my last post I shared a collage masterboard that I made, and showed you the tags I made from it. If you saw that […]
LikeLike
[…] computer. I’ve already shared a couple of other projects I made from that masterboard (some mixed media tags and an envelope and notecard), and this is the third example of something you can do with it. If […]
LikeLike