
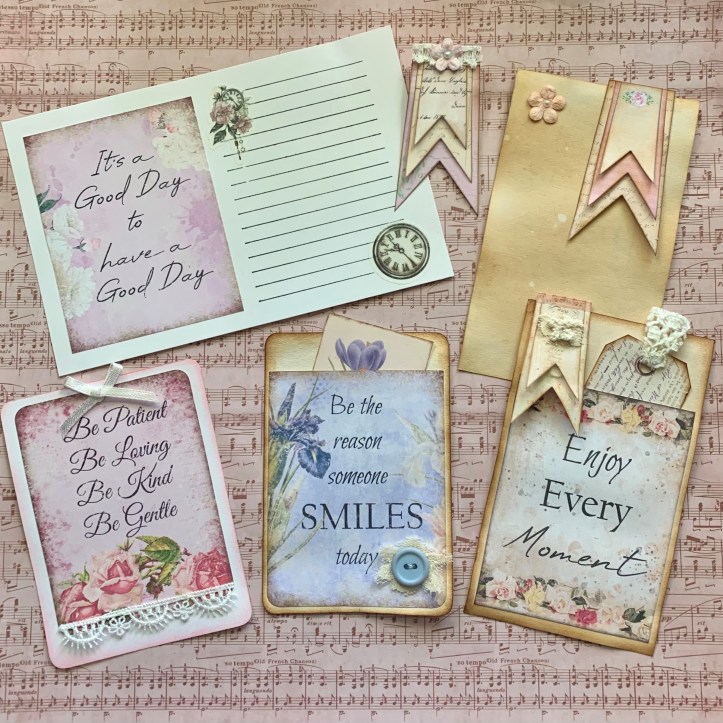
Hello and welcome! Today I’m showing you some journaling cards, embellished paper clips, and pockets I made using free printables to use in junk journaling.
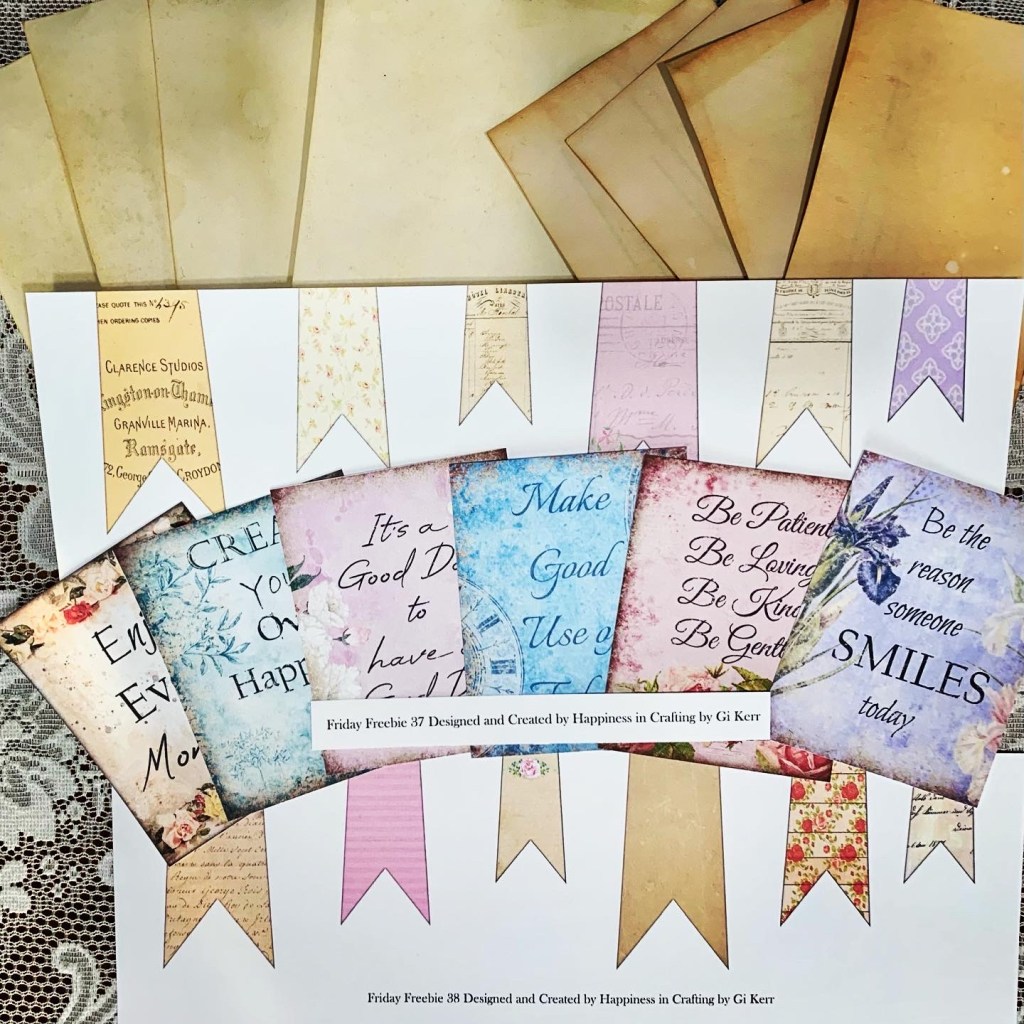
You can see the printables I started with, along with some tea-dyed cards of my own. I didn’t use everything today, but I’m sure I’ll do something with the leftovers later.
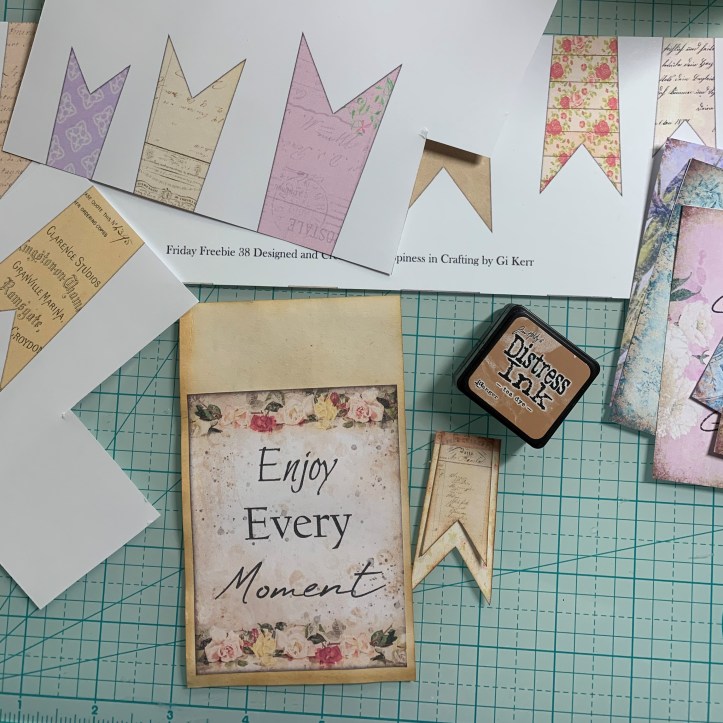
I inked the edges of the first one with Tim Holtz distress ink in Vintage Photo and glued it onto a tea-dyed card to create a simple pocket. I added a small tag that I already had in my stash.
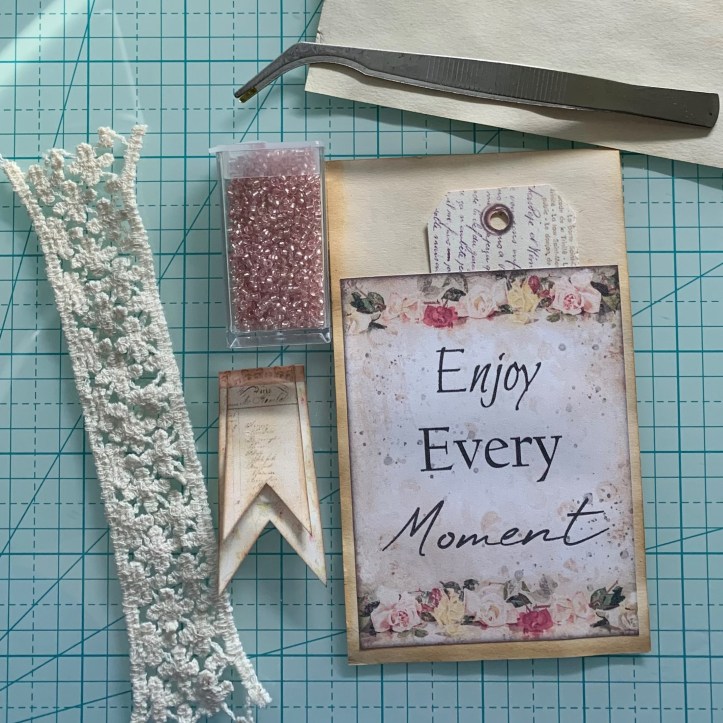
I stuck two of the flags together with a piece of washi tape and glued it to a paper clip. I used a tiny flower cut from a strip of lace and a pink glass seed bead to embellish the paper clip flag. The tweezers came in a jewelry-making kit I purchased and they come in very handy for manipulating tiny bits and pieces.
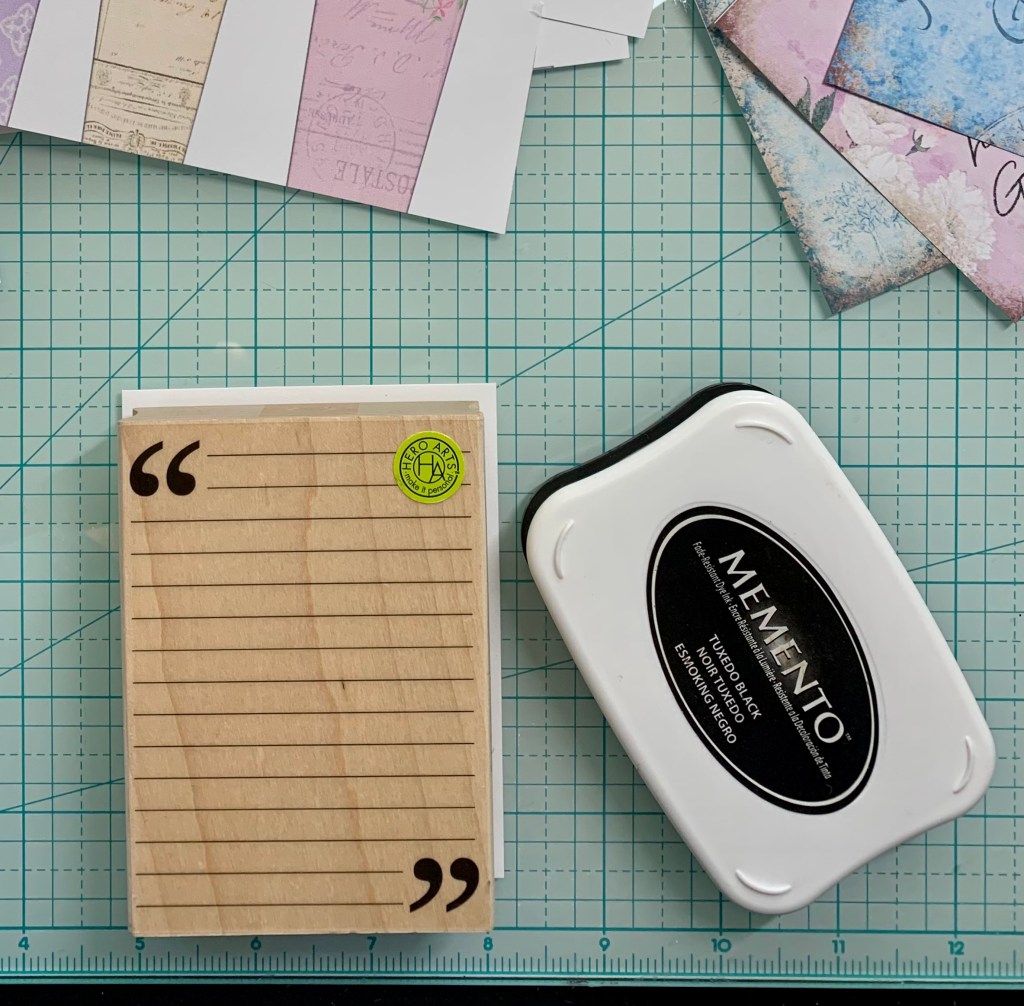
The next one I turned into a journaling card. I used a memo stamp (without inking the quotation marks) and Memento ink in Tuxedo Black to create a lined card, perfect for writing on.
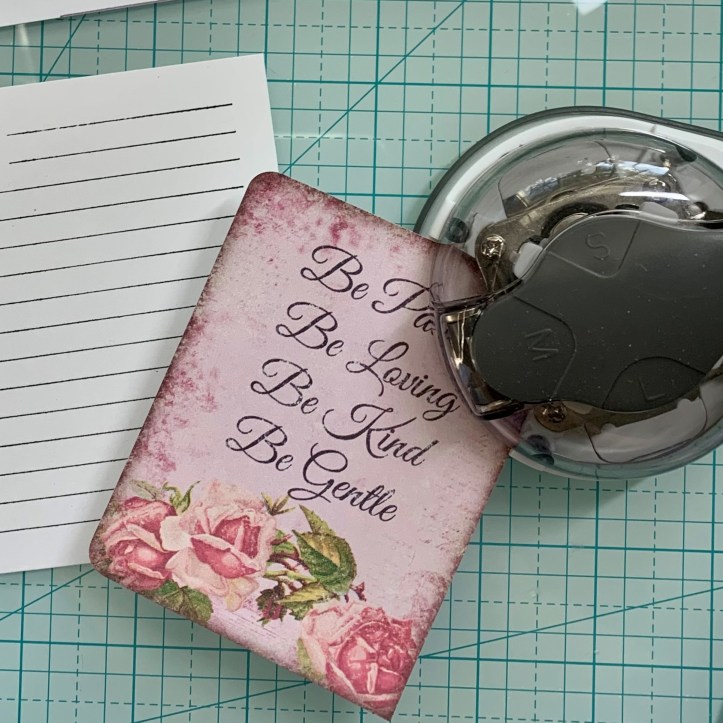
I rounded the corners of the printed card with my corner rounder, then glued it to the stamped card so that the lines became the back of the journaling card and the “roses” image was the front.
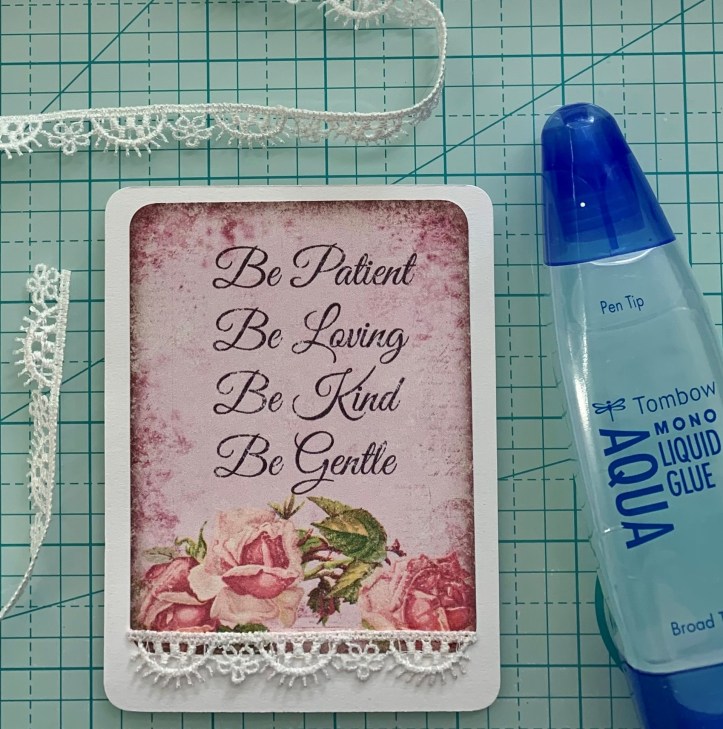
I added a bit of lace trim to the bottom of the image using Tombow liquid glue, which is great for gluing lace and fabric securely to paper. Then I inked the edges of the white card with Tim Holtz distress ink in Spun Sugar.
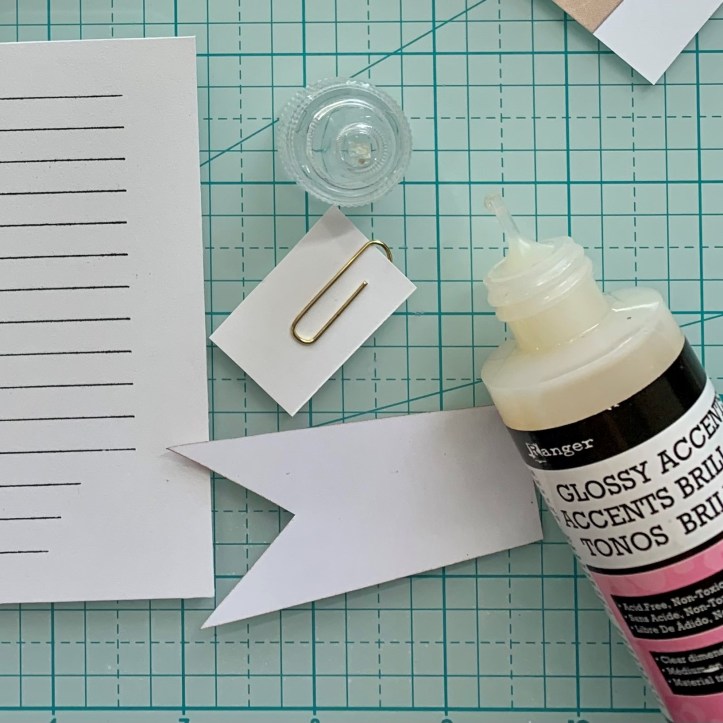
To make the embellished paper clips I started by layering the printed flags, then slipping a paper clip onto a scrap of cardstock and gluing the cardstock to the back of the flags with Glossy Accents. It makes a great strong glue for heavier items like paper clips, and it dries pretty quickly when used in a fairly thin layer.
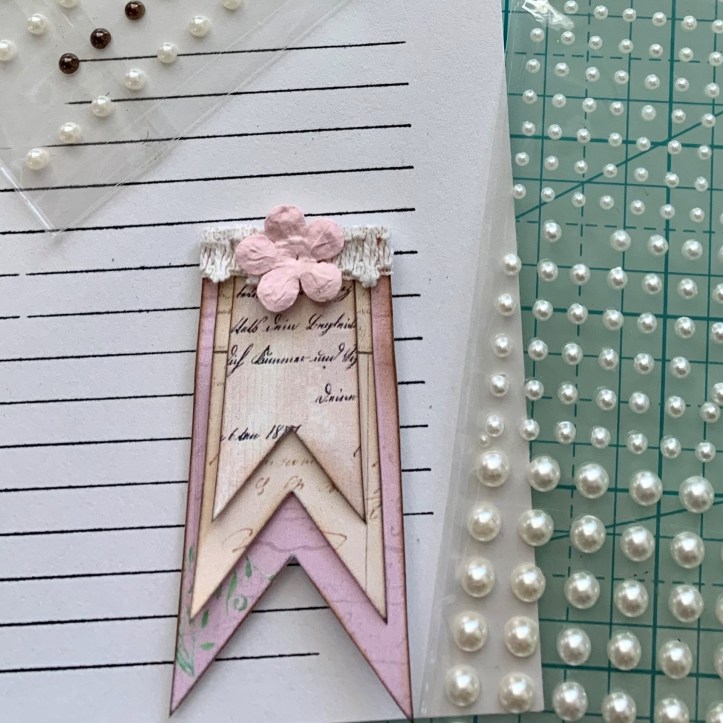
I decorated the front of this one with a small piece of lace and a paper flower with a self-adhesive pearl in the middle. (Note that in the final photo you can see I ended up switching this flower for a slightly smaller one.) I glued everything together with the Tombow liquid glue – even the sticky-backed pearl – so nothing would come off.
So there you have it! For some reason I didn’t take any separate photos of the process I used for the blue printable, but as you can see from the photo I rounded the bottom corners, inked the edges with Tim Holtz distress ink in Vintage Photo, then glued it to a tea-dyed card with rounded corners and inked edges. I sewed a small blue button with a scrap of lace on the bottom corner, and added a tea card I had in my stash.
Thanks to Gi Kerr for the free printables she shared in her Facebook Group, Happiness in Crafting. I encourage you to join the group; it’s a supportive group of papercrafters that provides tons of inspiration for junk journaling! Plus, she shares a printable freebie every Friday, and posts a video to her YouTube channel with ideas on how to use it. If you post to the Happiness in Crafting group, please tag me so I can say hello!
Blessings,
~Happy Heart Art Girl

.
.
.
.
Note: Some of the links in my posts are affiliate links. As an Amazon Associate I earn a small commission from qualifying purchases at no additional cost to you. I really appreciate your support! xx
