
Hello and welcome! Today I’m showing you a project made with another stencil I created by using a glue gun, after learning a few things from my first attempt.

I decided to try a grid of squares and rectangles, thinking that would make a useful background stencil plus it would be pretty simple. To keep my grid even I used parchment paper instead of my non-stick craft mat, and I stuck a sheet of graph paper under it to guide my design.
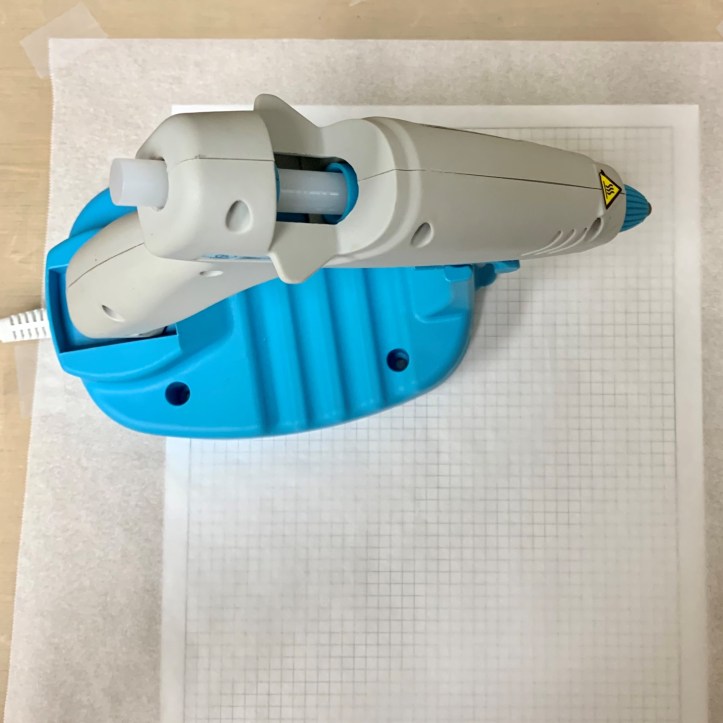
One problem I had the first time was that the glue lines were very thick and blobby, and I think that’s partly because I was working too small. Working on a larger scale this time enabled me to have slightly thinner lines, which I prefer. Everything is still pretty wobbly, and still pretty blobby, but that’s what makes for a good messy art project background!

Note that the tradeoff for creating a larger stencil with thinner lines is that it will be more fragile. Fortunately repairs can be made by reinforcing torn/weak spots with more glue. And by the way, the circle stencil I made lifted off of my craft mat with no problem at all, and I’m happy to report that hot glue stencils will lift off of parchment paper just as easily.
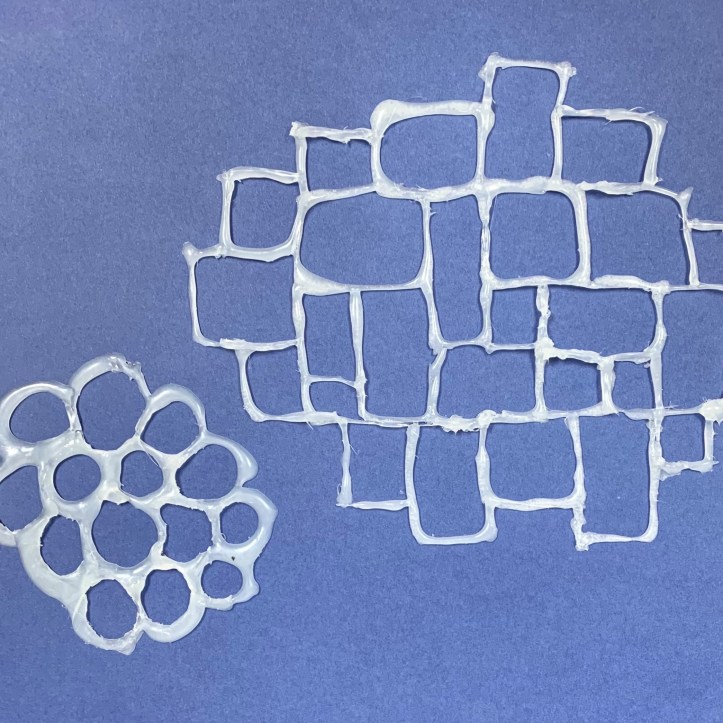
I was able to clean up the insides of the squares a little bit using small craft scissors pretty easily, but be warned that it’s easy to cut right through the glue if you’re not careful. (Ask me how I know!)

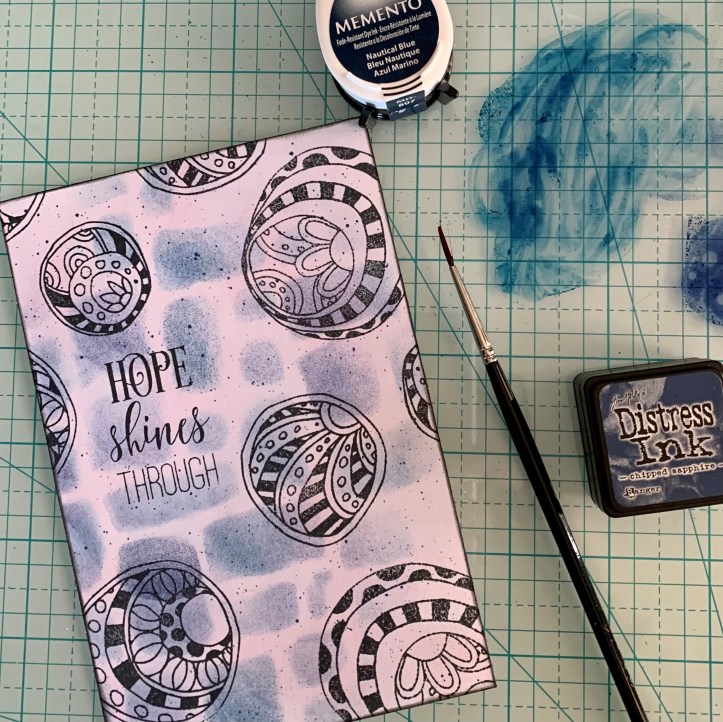
Now for the fun part: trying it out with some ink! I practiced with some Tim Holtz distress inks and some Memento Dew Drop inks on some very cheap paper, trying out different shades.
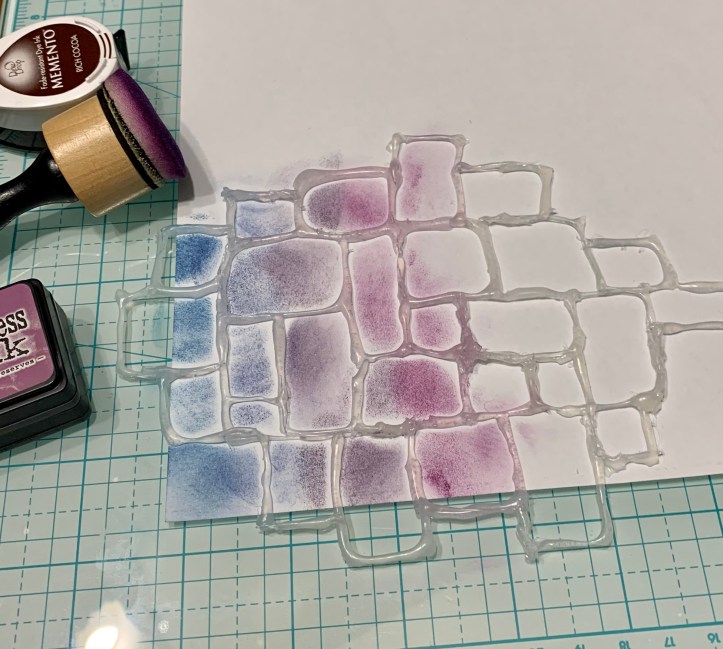
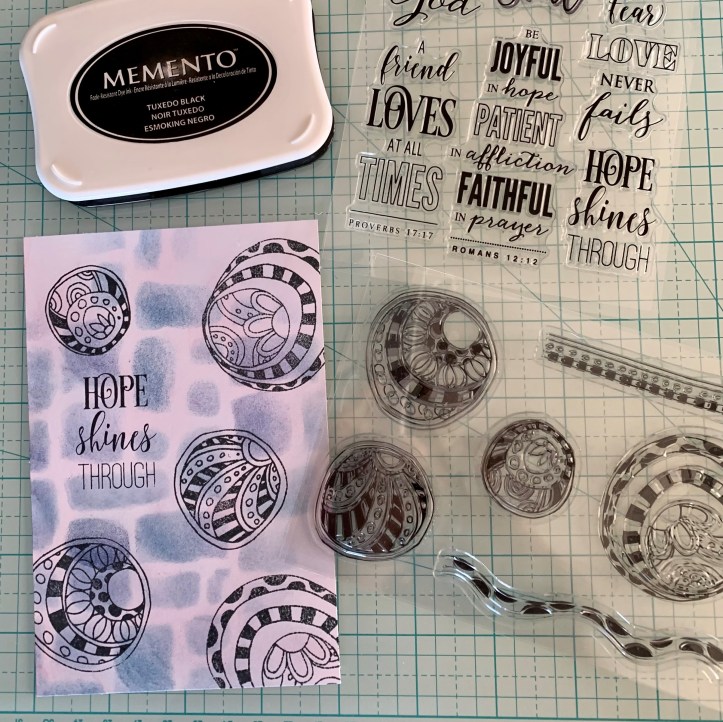
I finally decided to go with Tim Holtz distress ink in Chipped Sapphire, and Memento Dew Drop ink in Nautical Blue. After I stenciled in the squares, I went over the whole thing lightly with Tim Holtz distress ink in Spun Sugar. (I forgot to take a photo of the finished background.) Next I added some fun stamps and a positive sentiment using Memento ink in Tuxedo Black.
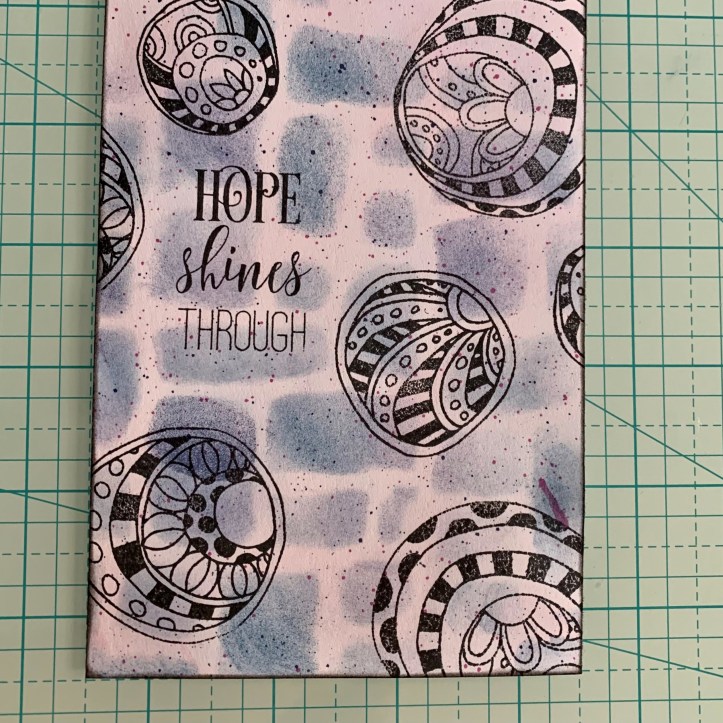
I inked the edges as usual with Tim Holtz distress ink in Black Soot, but something was still missing so I decided to add some splatters using the same ink I used for the background plus some Dew Drop ink in Lilac Posies. To do that I just stamped some ink onto my glass work surface, dipped my paintbrush into some water, swirled it in the ink, and tapped it over the paper.
I was almost finished when disaster struck! My paintbrush slipped and I ended up with a smear of Lilac Posies ink on my design that I had no way of hiding.
The only thing I could think to do to salvage it was to trim off the entire bottom of the project, so that’s what I did. Then I mounted the finished piece onto the front of the greeting card that I had to hand cut from card stock and fold in half to get the dimensions right. Oh well, that’s the way it goes.
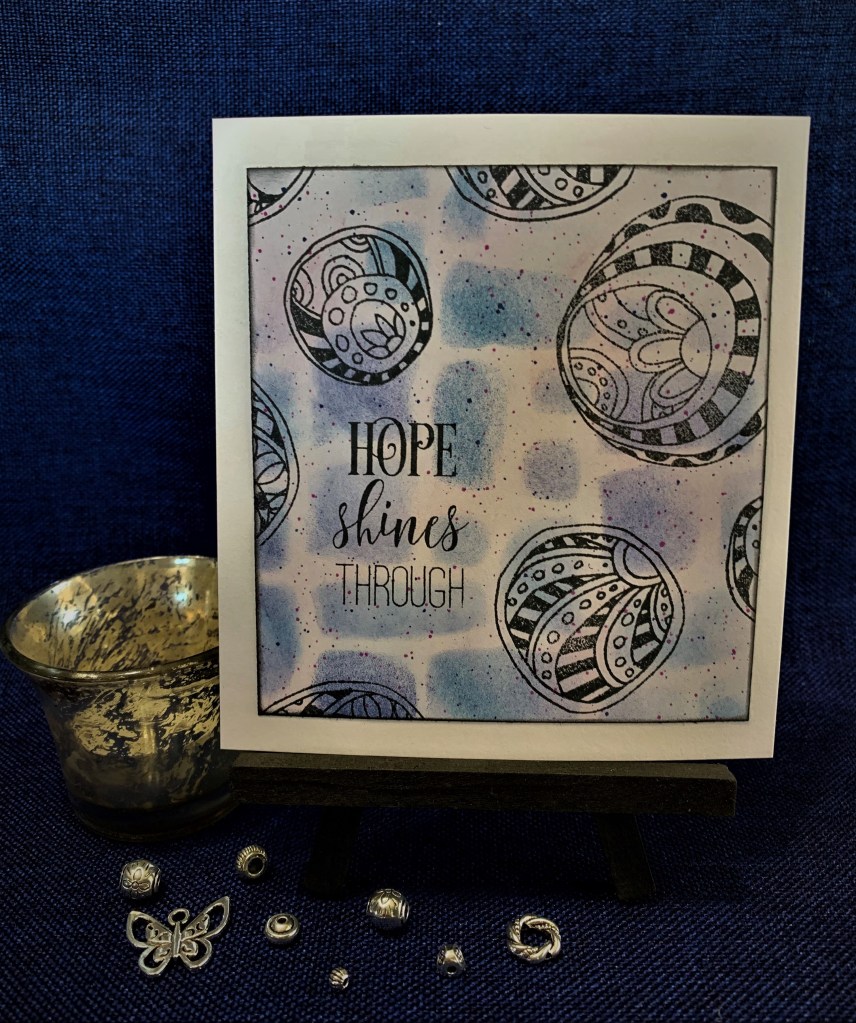
So there you have it! I’ve entered this design in this week’s Simon Says Stamp Wednesday Challenge: Make Your Own Background. Perhaps you’ll join in the fun as well! And if you end up making your own stencil using a glue gun, I’d love to hear about it in the comments!
Blessings,
~Happy Heart Art Girl

.
.
.
.
.
.
Note: Some of the links in my posts are affiliate links. As an Amazon Associate I earn a small commission from qualifying purchases at no additional cost to you. I really appreciate your support! xx
