
Today I’m sharing a project I’ve been working on off and on this week that was so simple and turned out so well! I don’t know quite what to call it; maybe one of my readers can name it for me. It’s not a journal because didn’t I sew (or otherwise include) a signature of paper into it, so I’m just calling it a folio for now.
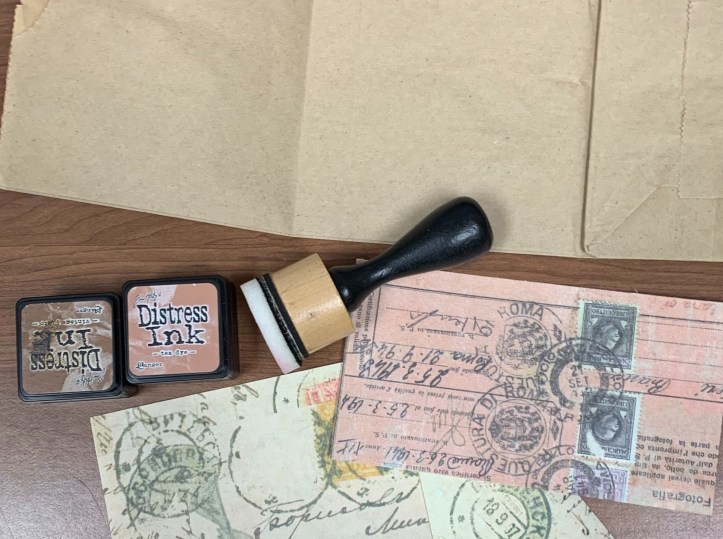
The base of it is a small, brown paper lunch bag (approx 9″ x 5″) folded in thirds. The rest is just paper embellishments, tags, and an elastic closure. Easy, right?! I do like to ink everything up with Tim Holtz Distress Ink in Vintage Photo or Tea Dye, but that’s just a personal preference.

I chose a botanical theme (my favorite!) for this project. In addition to some papers I already had, I used some free printables for the page panels and the sentiments, and I’ve provided links to the providers at the end of this post.
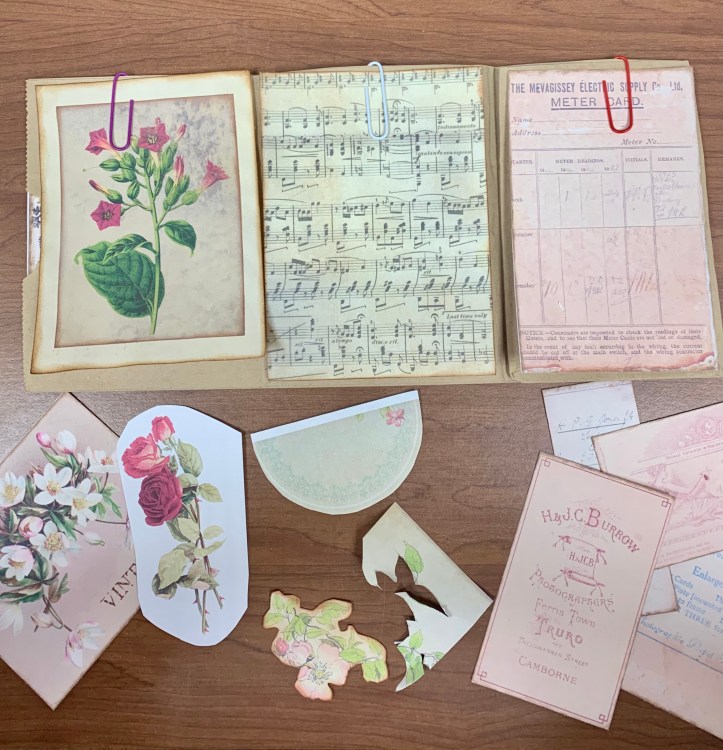
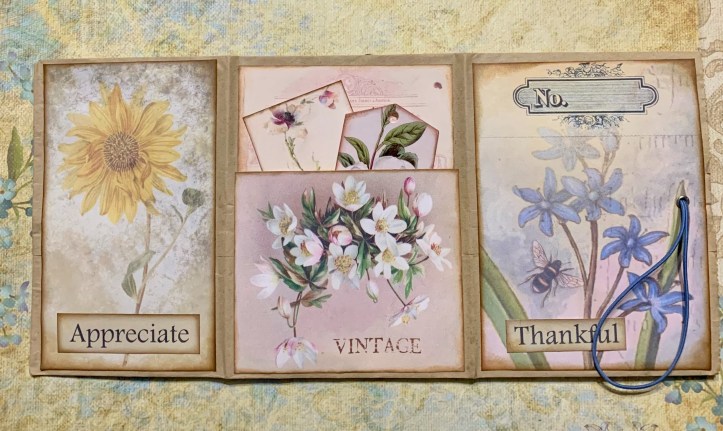
I always have such a hard time choosing which elements to use in a project! I’ll spend hours trying various combinations until it just feels right to me. If you compare this photo to the final project, you’ll notice that I changed my mind about a few things along the way. That’s typical of me!
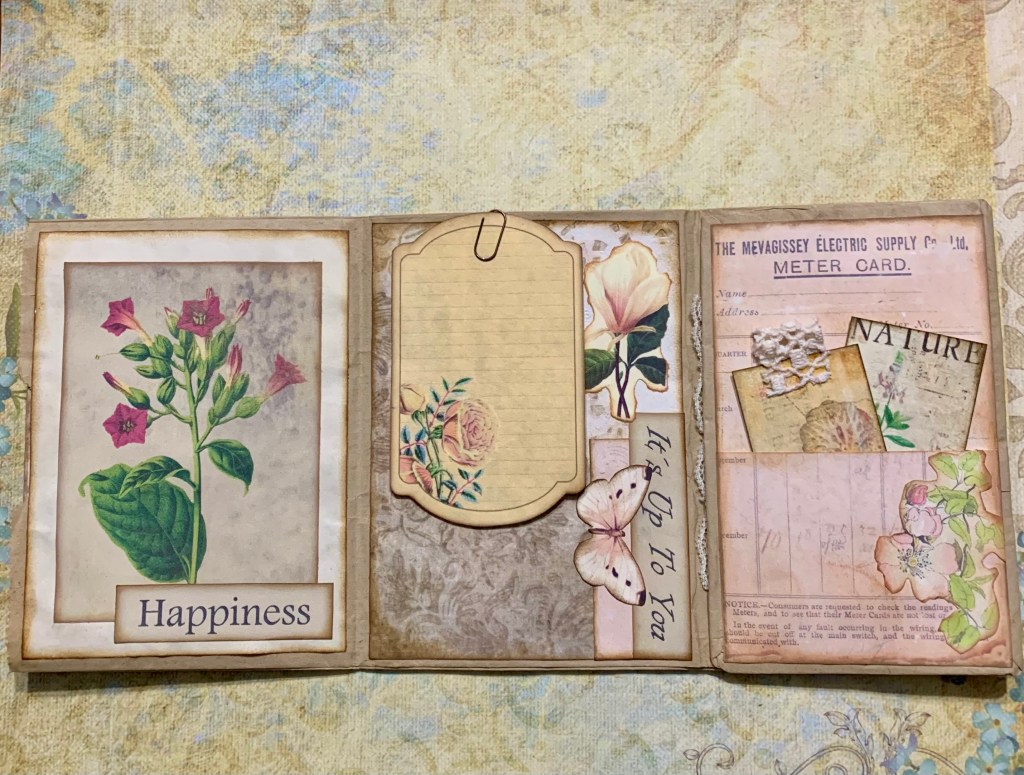
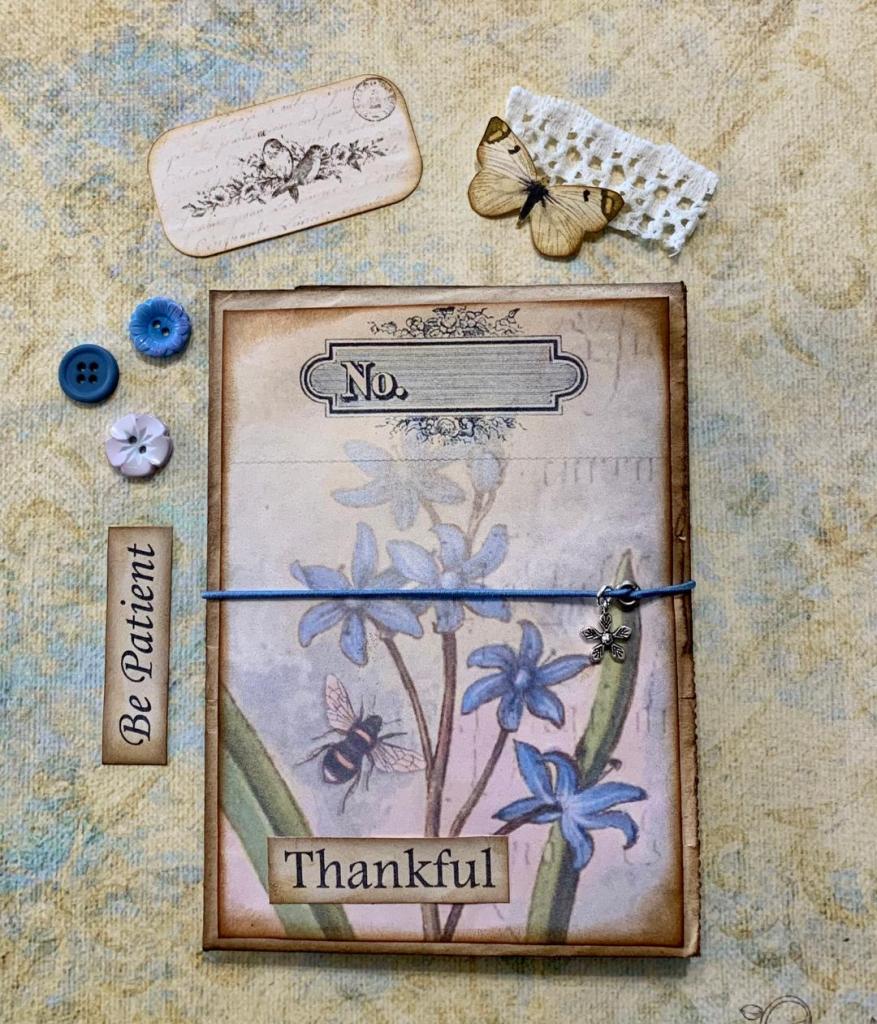
I ended up collaging the middle panel and attaching a tag with a Tim Holtz mini clip. I love these little paper clips for journals, and I haven’t found anyone else who makes them. The right inner panel has a pocket with two small tags, one topped with a bit of lace.
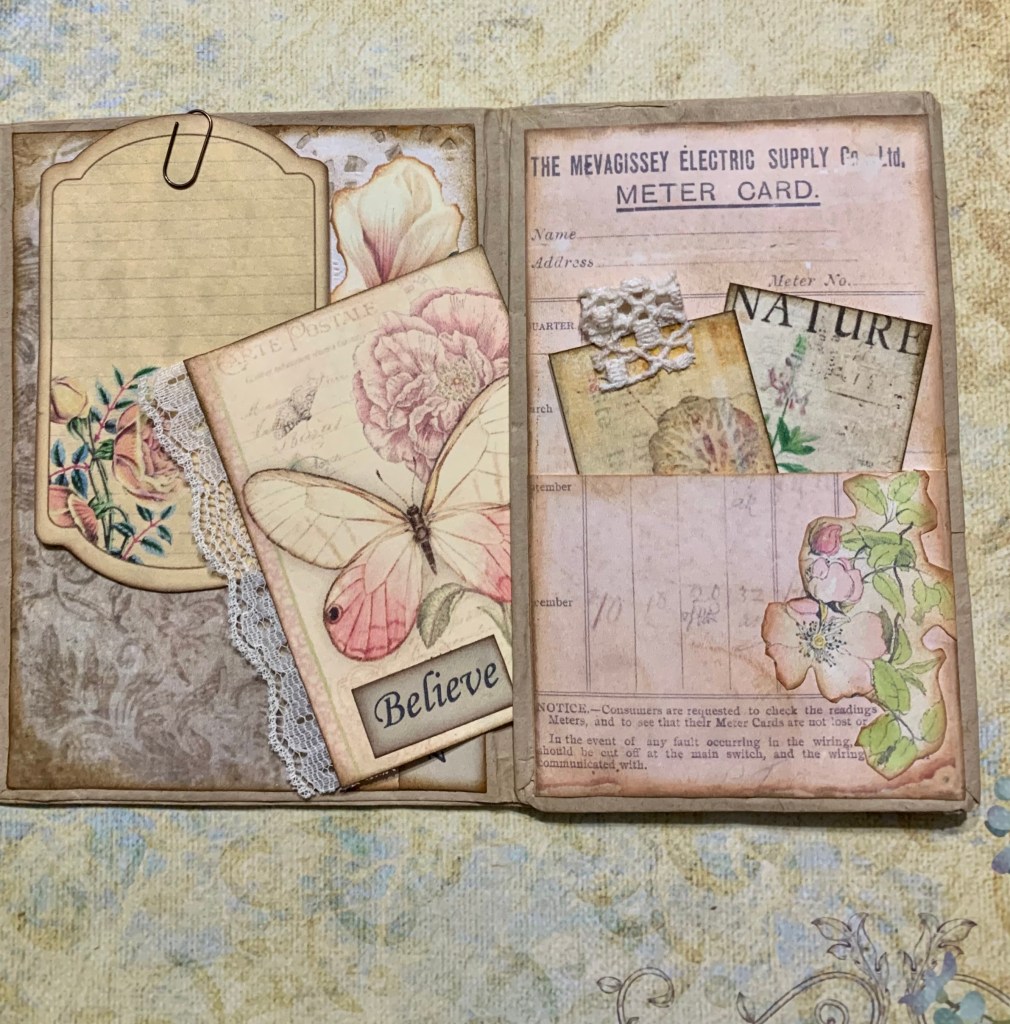
The right inner panel is where the bottom of the paper bag is folded over, and doing that creates a shallow pocket. I used an xacto knife to cut a slit inside the pocket to make it deeper so that I could tuck in a lace-edged journaling card.
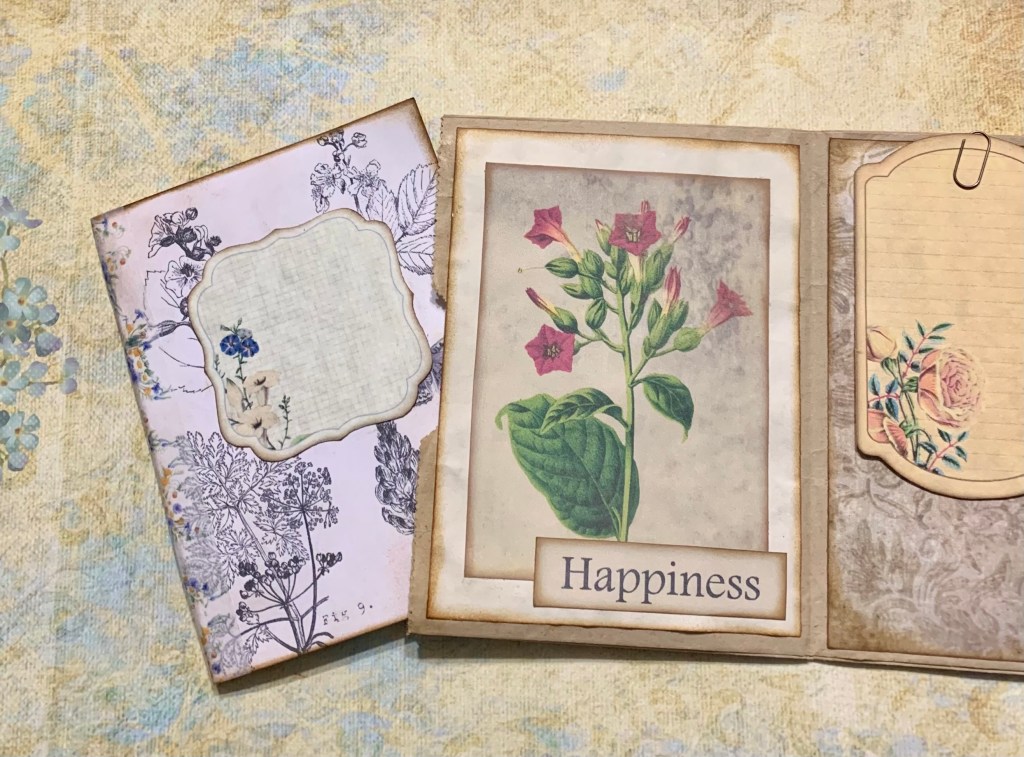
The left panel is the top of the paper bag. Instead of gluing it shut, I left it open as a pocket and made a mini notebook to slide into it. This may be a good time to note that I left all the edges squared off, rather than rounding the corners (which I usually do). I figured since the corners of the bag were square, all the embellishments should be, too. However, that’s definitely a matter of preference.
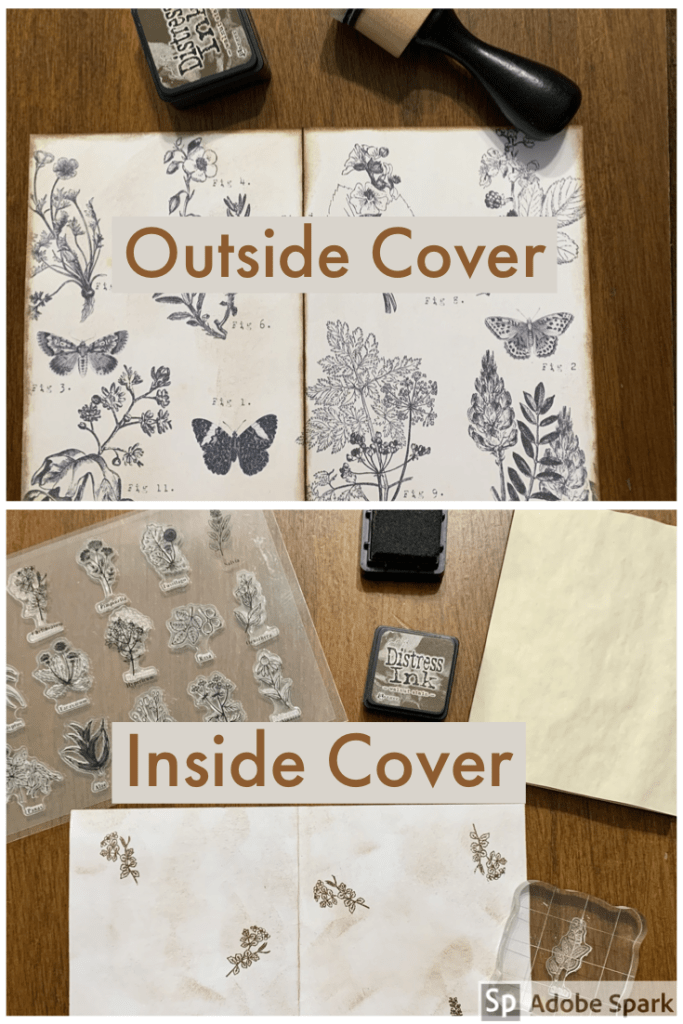
As you can see from the image above, the outside of the cover is a printable, but I did some distressing and stamping on the inside of the cover with some small botanical stamps. In hindsight, it would have been much easier to just print something on both sides of the paper rather than doing the stamping! In the top corner of the “inside cover” photo, you can see the bundle of coffee-dyed papers I used in this notebook.
This photo shows the other side of the lunch bag, with the front cover, the sunflower flap (which folds inside), and the center panel, which ends up being the back outer cover of the folio. It’s another pocket with two small journaling cards inside. Note: This pocket ended up being so tight – because of the way the bag folds up – that I could barely even squeeze these thin cards in! Next time I would not try to add a pocket or any other embellishment to this panel.
The last step was to add an eyelet to the front cover with my crop-a-dile tool so that I could add a closure. I put off buying a crop-a-dile for a long time, but now that I finally have it I love the way it gives a finished look to my projects, and it’s super simple to use. I added a small silver flower charm to a length of blue elastic, threaded it through the eyelet, and tied the two ends of the elastic in a knot. The resulting loop of elastic easily stretches around the closed folio. (You can see from the photo above that the flower charm was an afterthought. I had to untie the knot, add the charm to the elastic, and re-tie the elastic. Sigh. Craft and learn!)

So there you have it! I was inspired to make this folio after watching a video from Mad Paper Crush, and I followed a video tutorial from Liz at thepaperproject. I used some free printables from Tracie Fox LoveJunk Journals, ArtyMaze, and Gi Kerr- Happiness in Crafting. I really appreciate all of these lovely ladies who share their ideas and resources so generously!
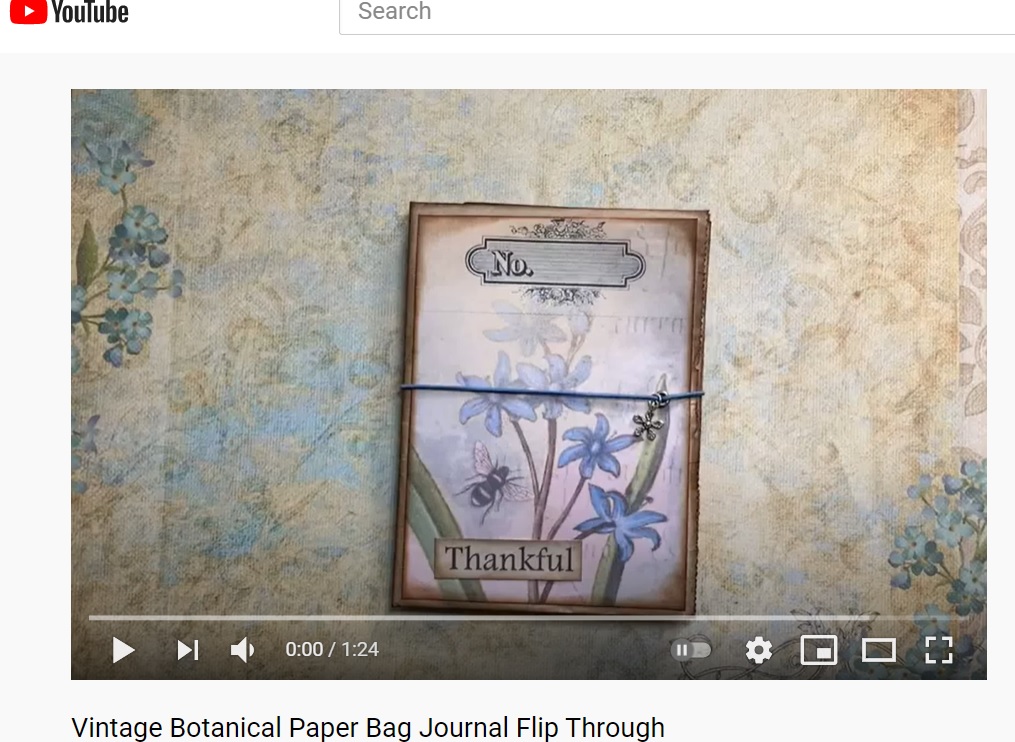
You canalso click to watch a video flip through of this project if you’d like. It’s my first video upload that I’m sharing on YouTube!
If you’ve made a journal or folio or what-have-you from a paper lunch bag, I’d love to hear about it in the comments!
Blessings!
~Happy Heart Art Girl

Want to Keep in Touch?
Email: happyheartartgirl @ gmail.com
YouTube Channel
Instagram
Pinterest Boards
