

Last November I bought some Halloween cardstock, washi tape, stamps, and emphemera when it went on sale. I pulled it out this month to have a play, and I created some simple tags using those supplies.
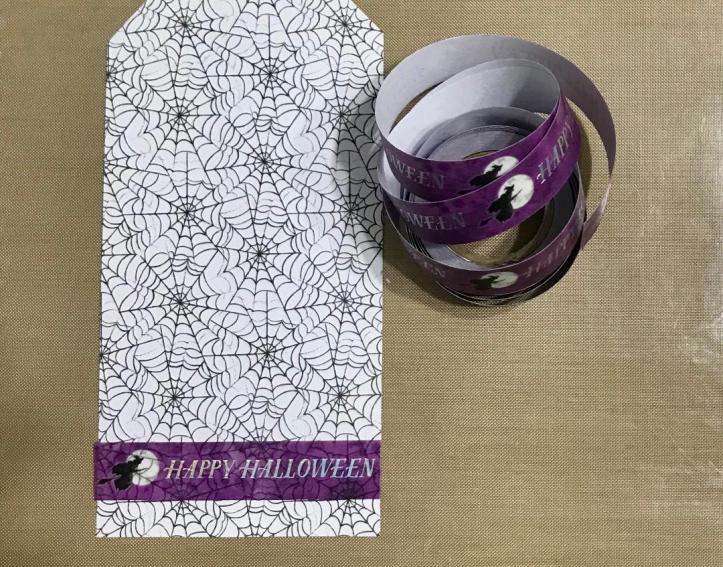
I love purple at Halloween, so I knew that’s the color I wanted to use to accent this black-and-white tag. I started by cutting my spiderweb patterned cardstock into the shape of a large tag using my paper trimmer. Then I added the washi tape at the bottom.
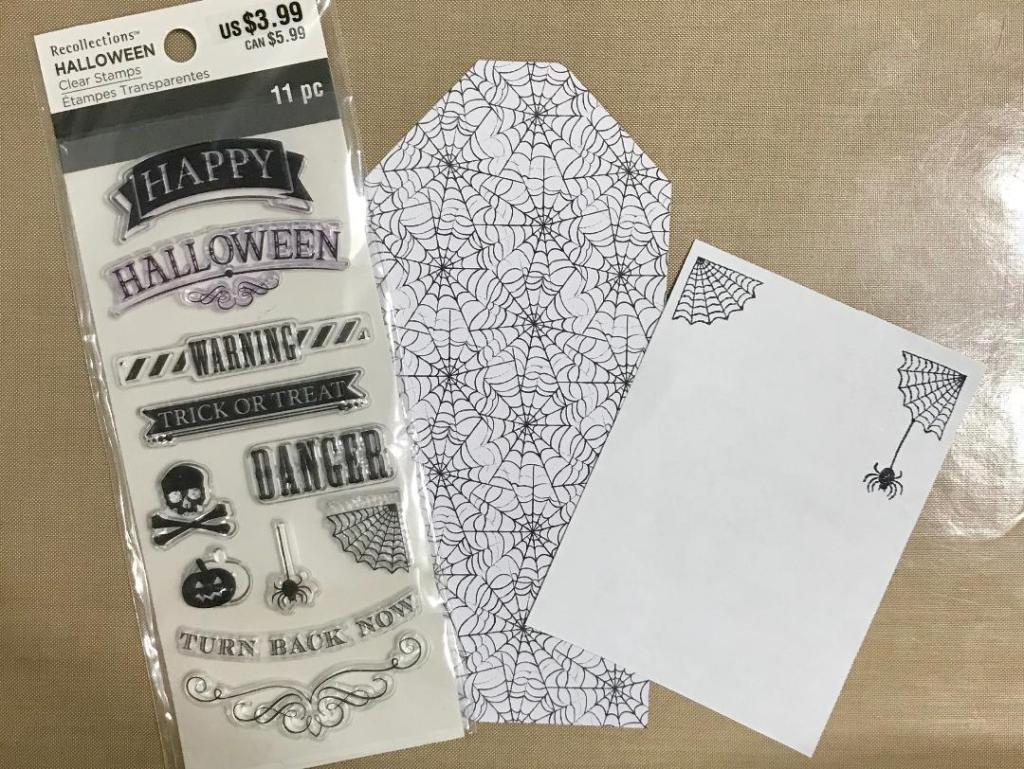
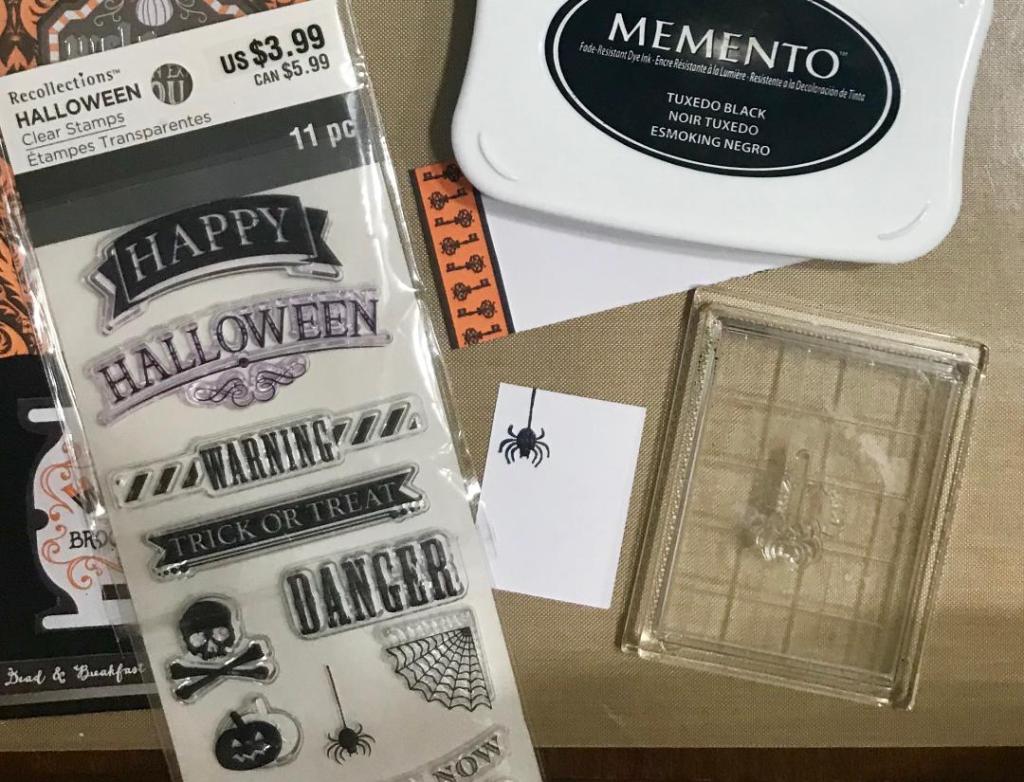
Of course I needed a spider (or two) on this tag, so I stamped this little guy hanging from a thread from his web onto some plain white copy paper.
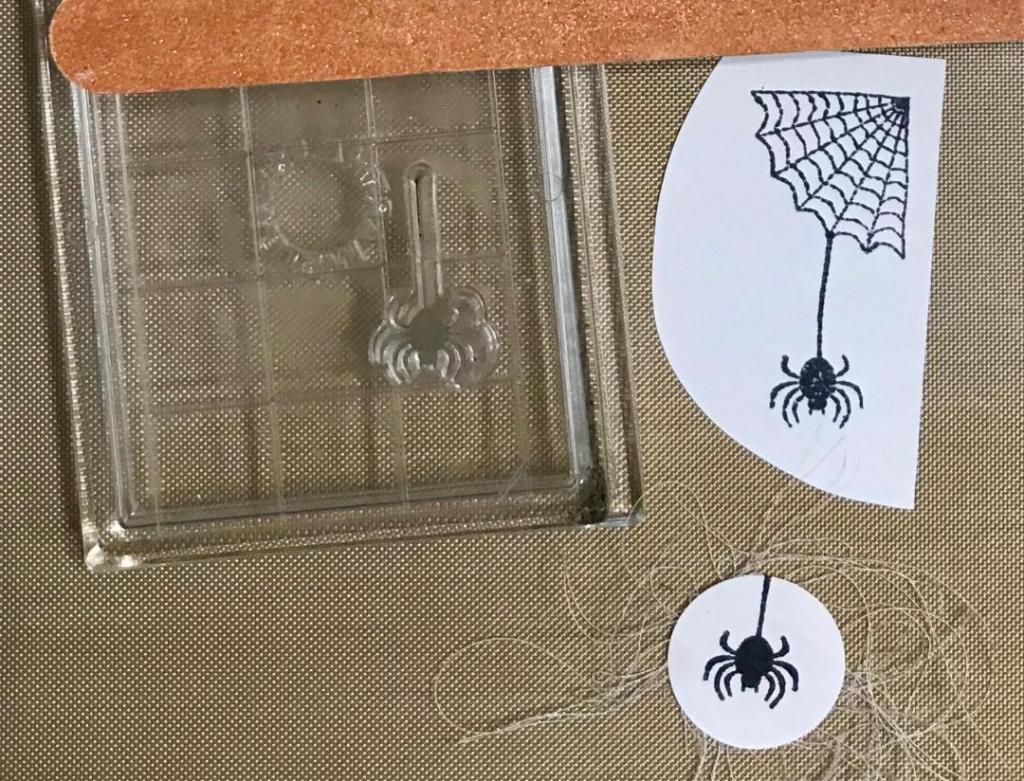
In this close-up photo, you can see that the spider stamp didn’t provide a nice solid image, so I pulled out an emery board and sanded away some of the smoothness from the stamp. Notice the difference in the image stamped onto the round sticker!
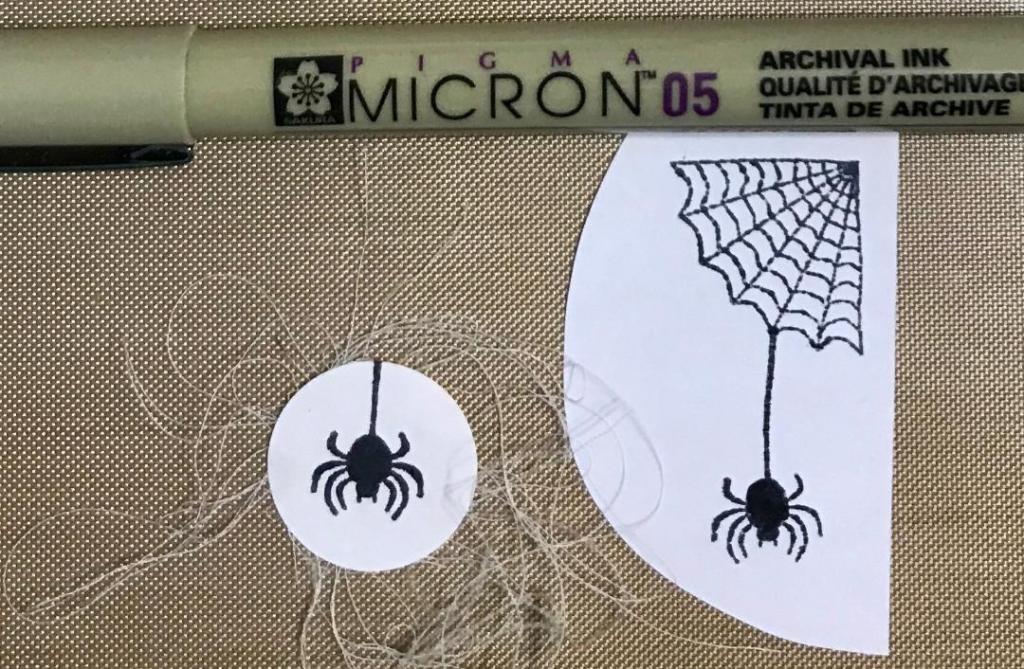
I used my Pigma Micron #05 Pen to fill in the other stamped spider a little better. This is a technique I often use when a stamped image needs touching up.

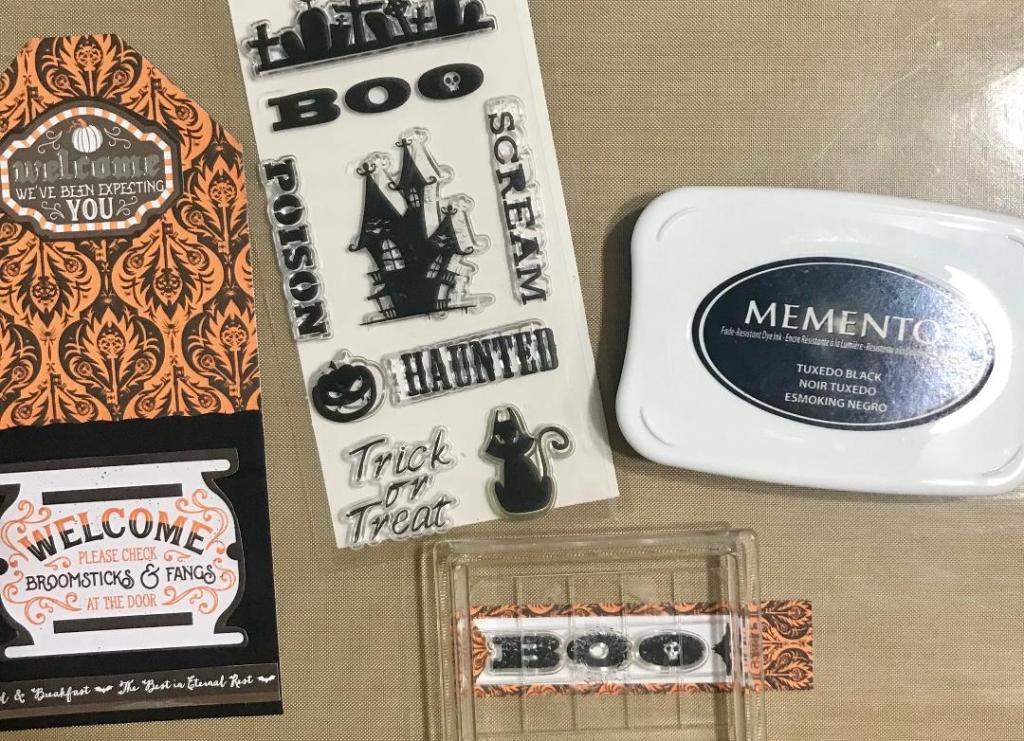
I used a couple of word stamps from a different set for my sentiment. All of the stamping for this tag was done with a Memento ink pad in Tuxedo Black. I first stamped them with purple ink, but that just didn’t pop as much as I thought it would. I also stamped the haunted house and the cat from this set onto white paper as well.
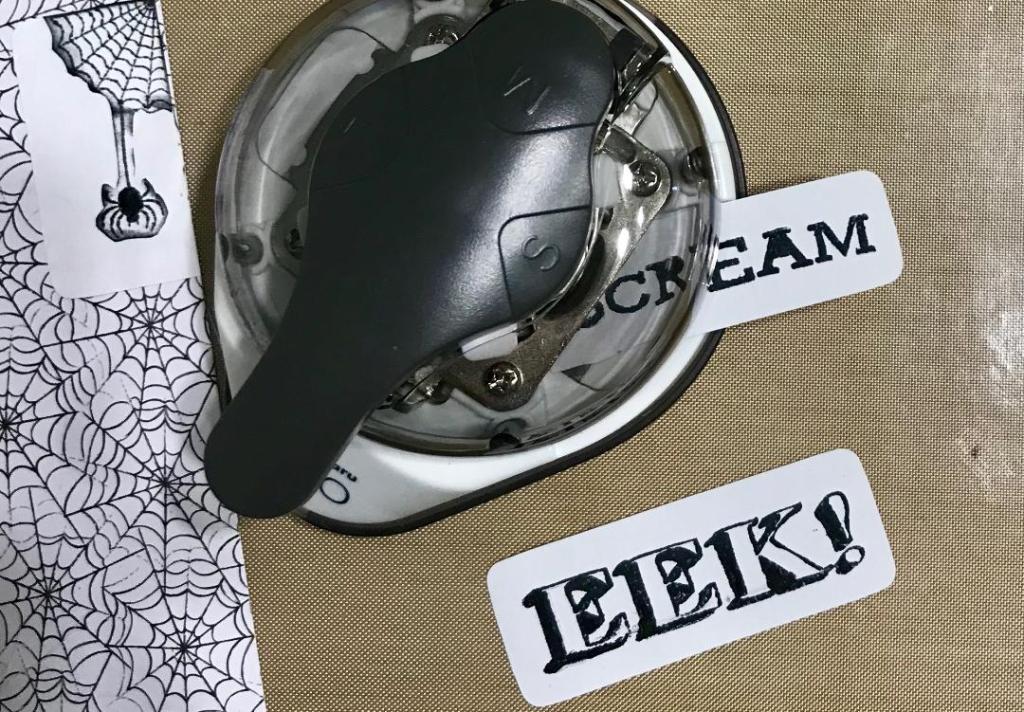
I cut apart the stamped words and then used my corner rounder punch to give them a more finished look.
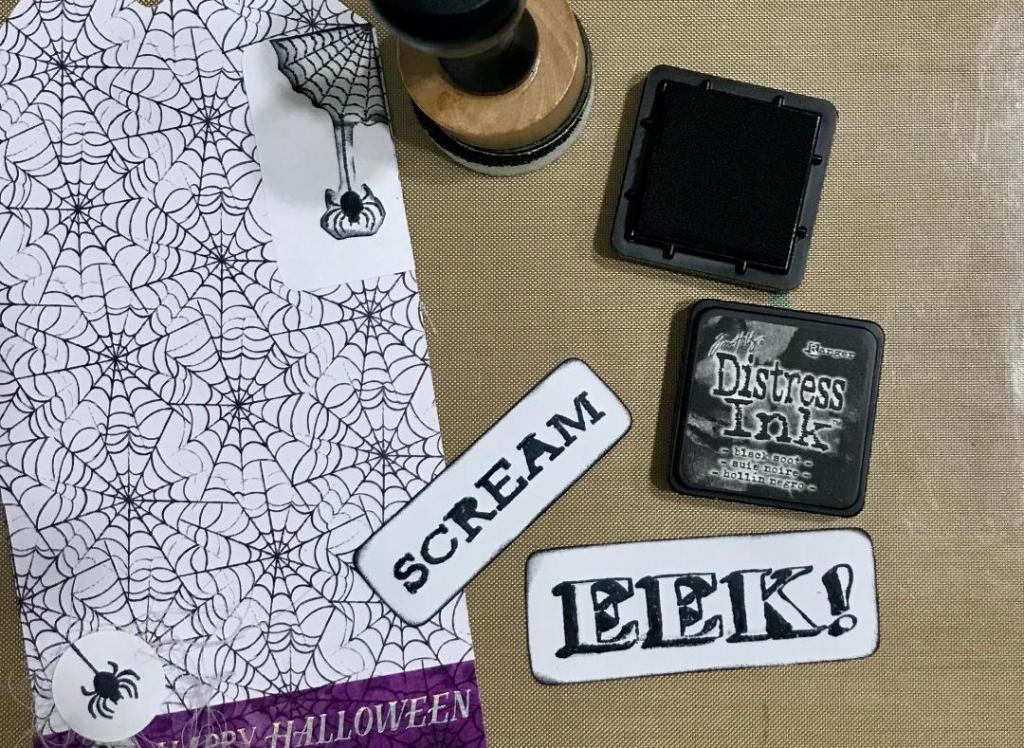
I experimented with using purple ink on the edges of the word cut-outs, but ultimately I decided the Tim Holtz Distress Ink in Black Soot was more effective.

I fussy cut the cat and haunted house, leaving a narrow white margin around each. I edged everything with Black Soot Distress Ink and glued them in place with my Avery Glue Stic. I added a strip of spiderweb washi tape with Tacky Glue to make sure it stayed in place.
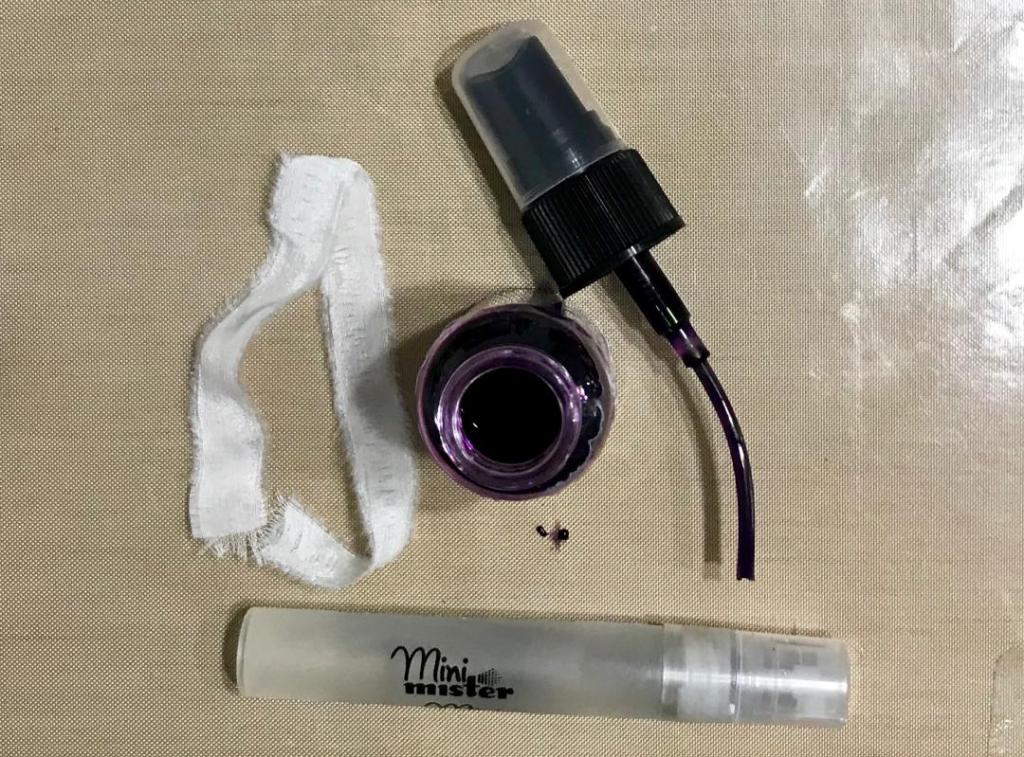
I wanted to finish the tag with purple ribbon to match the purple washi, so I dropped some Dyan Reaveley Spray Ink in After Midnight on my non-stick craft mat and diluted it with a spritz of water. The “ribbon” is a strip of silk torn off of a silk blouse that I purchased at my local Goodwill store to use for crafting. I smushed the ribbon around in the ink to tint it purple. Once the ribbon dried, I tied it in a bow and glued it to the tag with Tacky Glue.

I also pulled out a few loose threads from the silk blouse and glued them behind the circle cut-out with the stamped spider for some texture. The final step was to ink the edge of the tag with Soot Black Distress Ink.
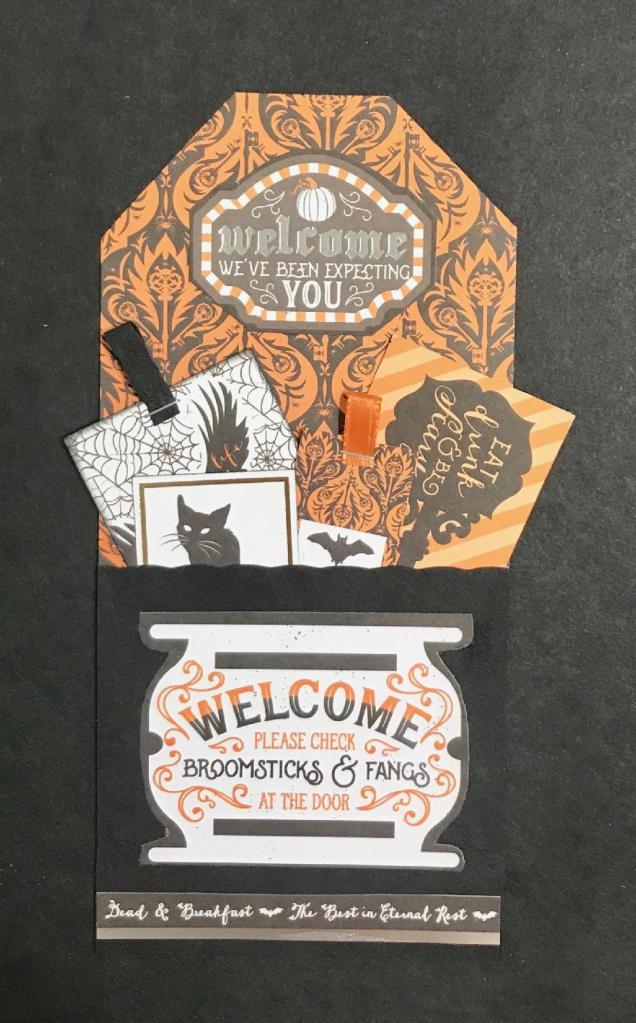
The second tag I made was done in a similar fashion, but instead of washi tape I relied more on the ephemera that was included in the paper pad. I cut a piece of cardstock into a tag shape, then cut a piece of black paper and glued it to the bottom of the tag to make a pocket.
I fussy cut the cauldron, the welcome sign, the journaling cards, and the strip with the sentiment on it. (It says, “Dead & Breakfast ~ The Best in Eternal Rest” on it.) I used my stamp set to add “BOO” to the front of the mini tag.
The backs of the journaling cards were just plain white, so I added some embellishments there as well with stamping or cutouts.

I used my Tim Holtz Tiny Attacher to add ribbon tabs to some of the cards and mini tags before putting them in the cauldron pocket.
All in all I’d say these tags are more “crafty” than “artsy” but they are a fun project for a beginner. Be sure to check out the clearance section this weekend for Halloween supplies that you can put away for next year!
Blessings,
~Happy Heart Art Girl
Note: This post contains affiliate links. If you make a purchase through one of these links, I receive a small percentage of the sale (at no additional cost to you) which I use to purchase more craft supplies. Thank you for supporting my creativity!
