


Today’s project is a simple journal or sketchbook created with (mostly) basic supplies. The result is a fun little booklet that you can personalize for your desired use!
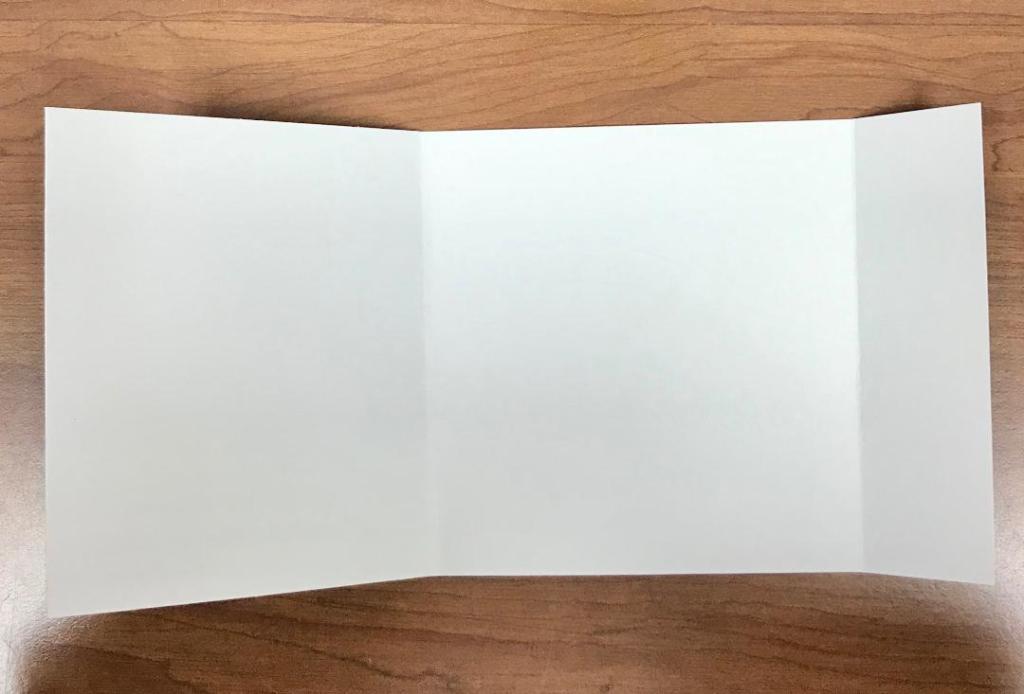
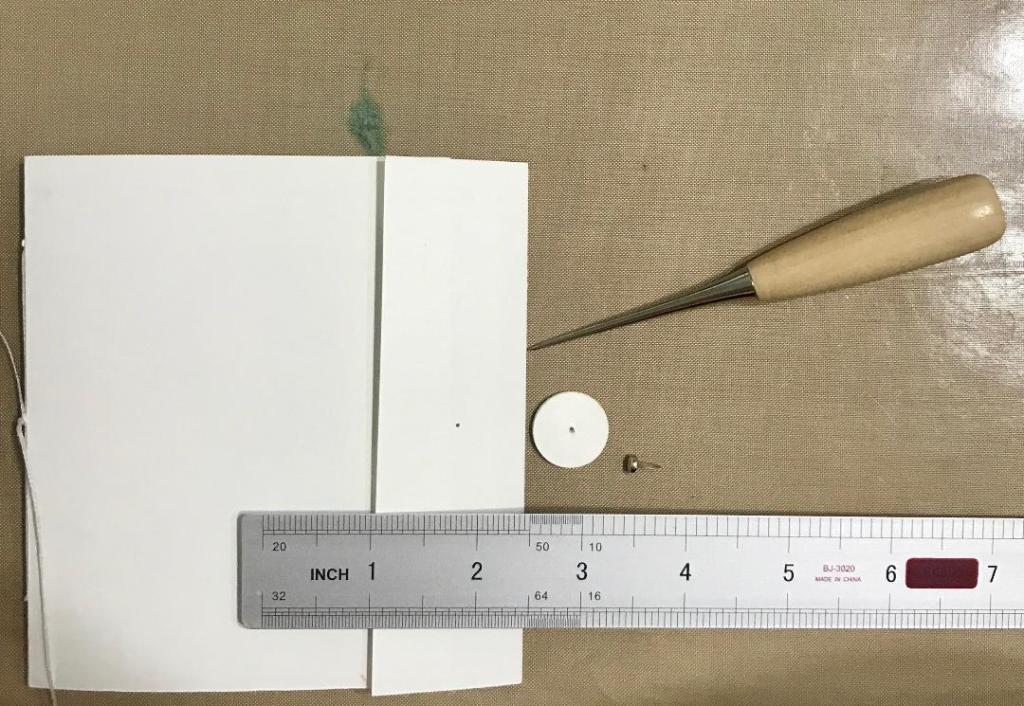
I began by cutting a piece of white Neenah card stock to measure 5 1/4 x 11″. (Of course you can use any measurements you want.) I used my scoreboard to score and fold it 1 1/2″ from the end, and then 5″ from the first fold. Finally I scored and folded it another 1/8″ from the second fold to leave room for the signature. If you’re planning to use your booklet for journaling or sketching you probably don’t need the additional fold, but if you’re adding a thick signature or you plan to collage the pages with pockets and/or ephemera you’ll need the extra room in the spine.
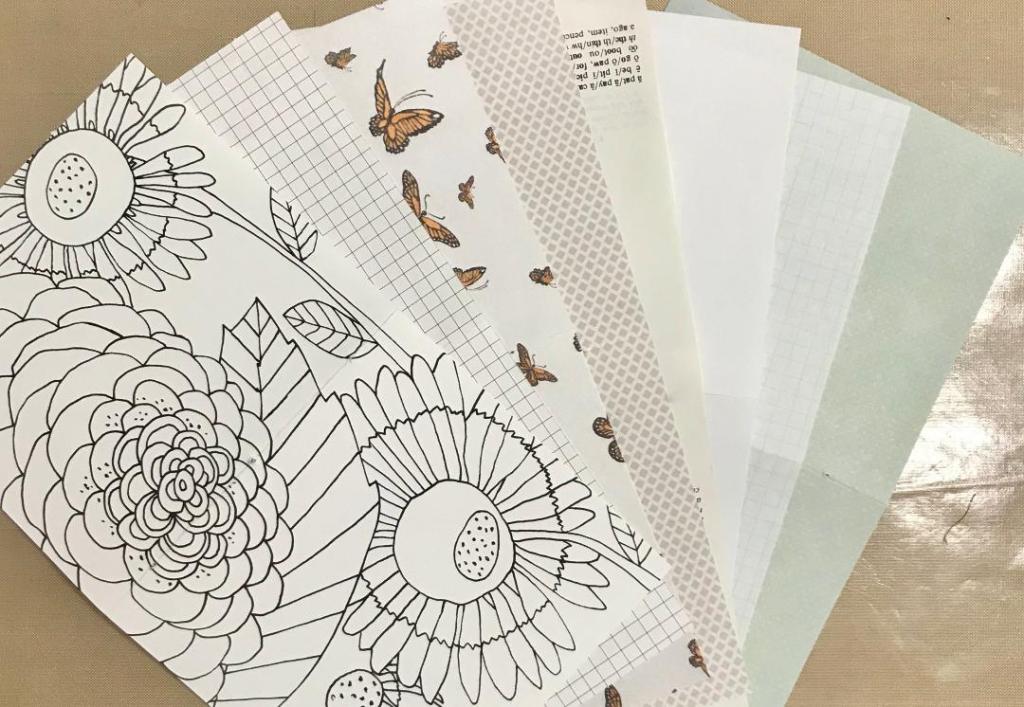
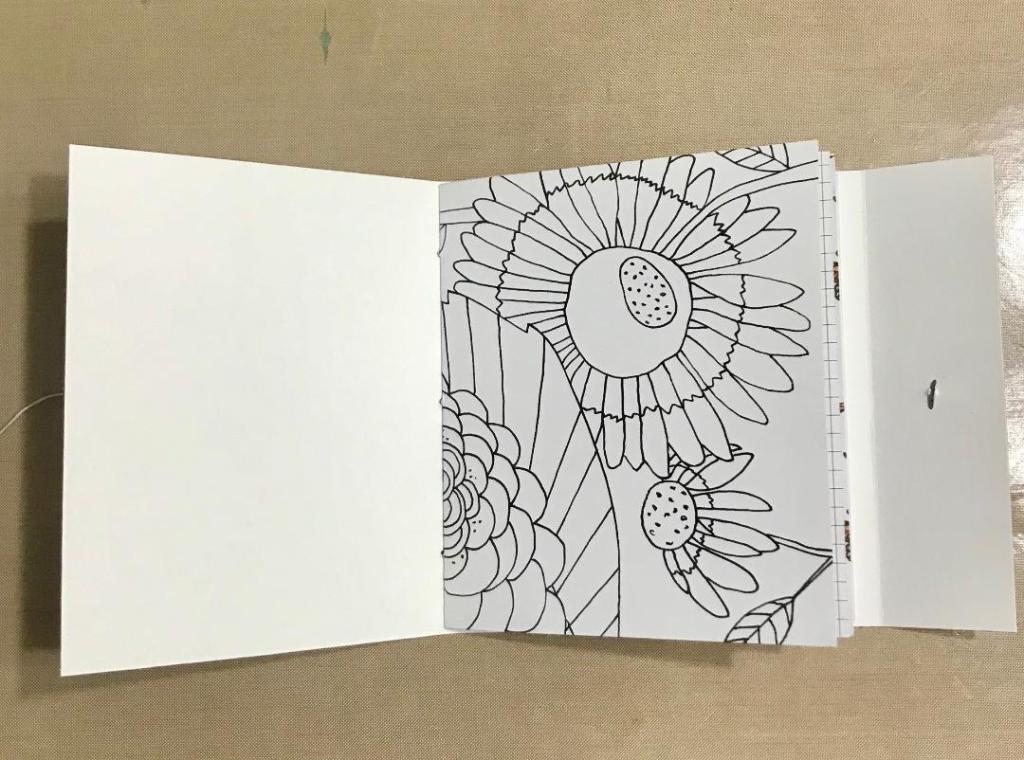
Then I chose some fun papers that I thought would go well together (a page from an adult coloring book, some graph paper, some scrapbooking paper, a dictionary page, and some plain copy paper). I used a paper trimmer to cut them all to measure 5 x 9″ then scored and folded them in half (at 4 1/2″). After you stack the papers together you can trim any excess that hangs out of the middle. Or, you can trim the papers to different lengths to have a less symmetrical look to your pages.
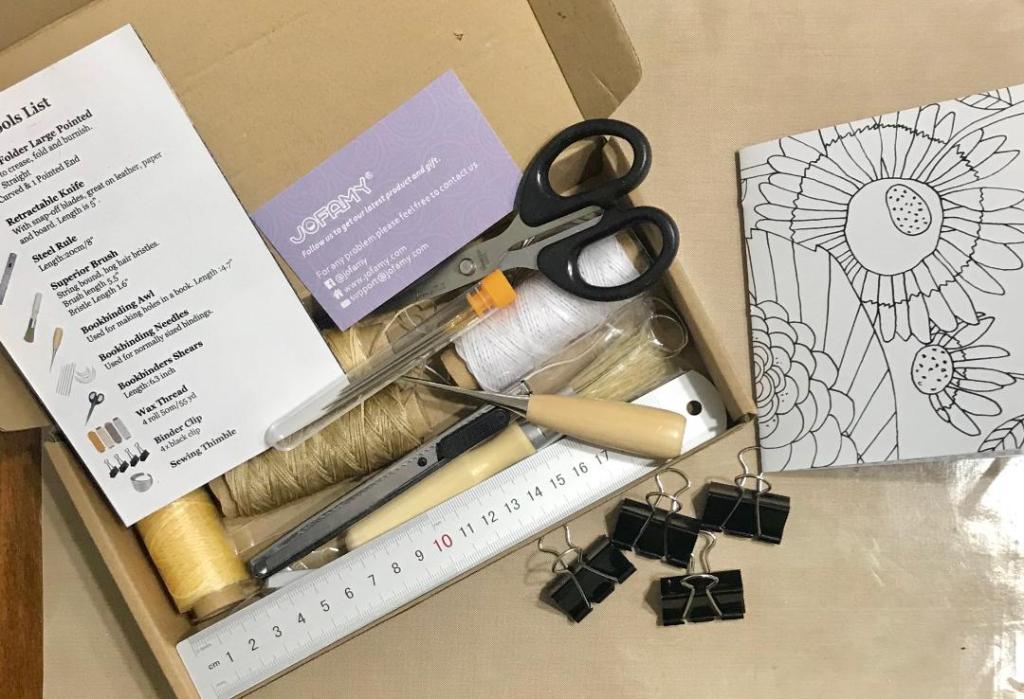
Next I pulled out my trusty bookbinding kit. This kit contains absolutely everything you need for sewing your own journals! I absolutely love it, and I can’t recommend it highly enough! All of the tools mentioned in the next few steps are from this kit.
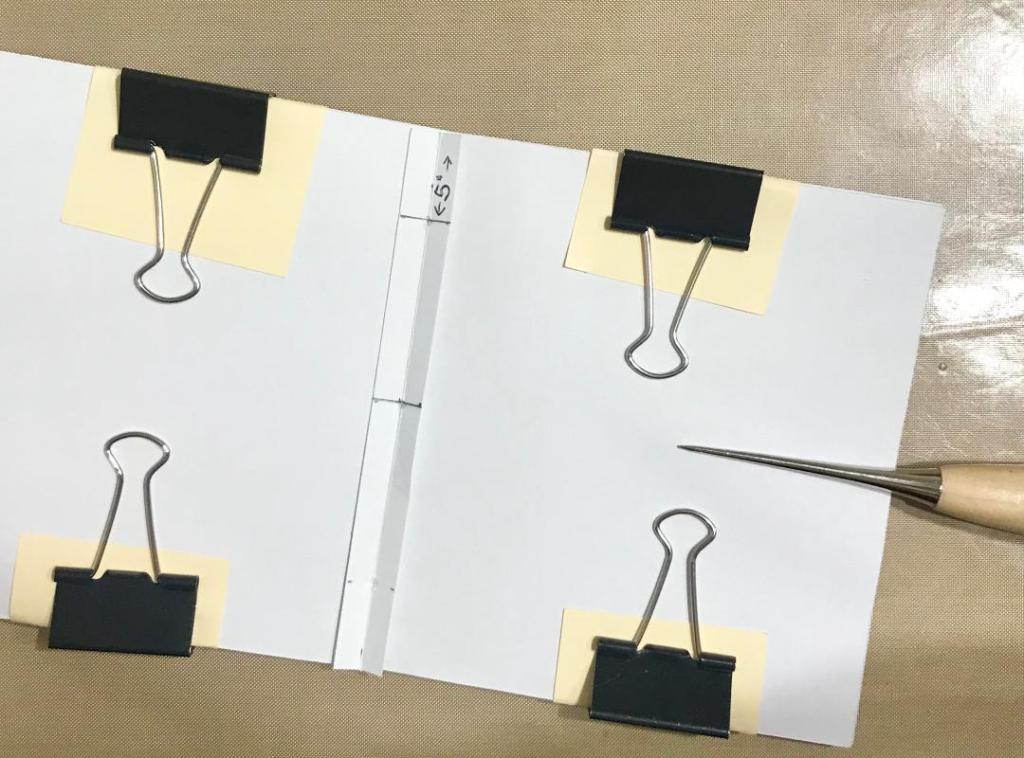
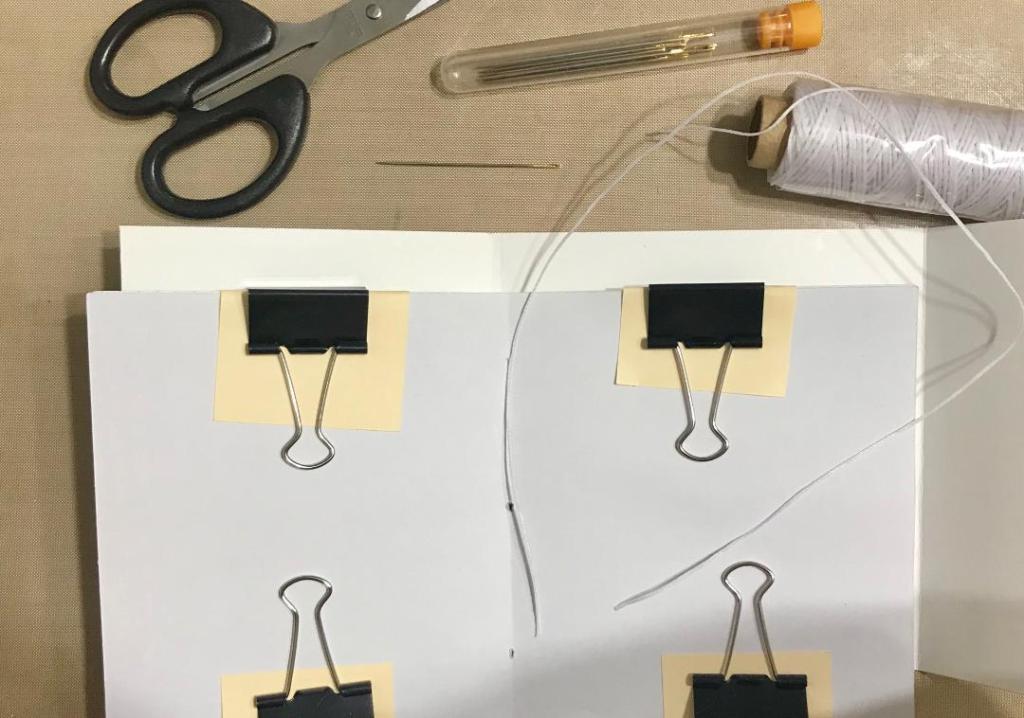
I chose to use a three-hole pamphlet stitch for this project, so I made a template for poking the holes on a strip of card stock. Using a pencil and a ruler I marked the center of the template strip (2 1/2″ from the top), and I marked 3/4″ down from the top and 3/4″ up from the bottom of the signature. I padded the clips from the bookbinding kit with some squares of card stock (so the metal wouldn’t mar my paper) and clipped the pages together to hold them in place during the sewing. Then I used my measuring template and my awl to carefully poke holes through the pages and the cover.
I used the white thread and the smallest needle from the kit to sew this booklet. Normally I use a length of thread about double the height of my project, but I wanted an extra-long tail here so I used three times the height of the booklet, or about 15″ of twine. Because my twine is waxed, it’s easy to thread it through the needle.

Generally when I’m sewing a journal I push the needle through the inside of the pages through to the outside of the cover. This time I pushed the needle through the outside cover into the inside of the booklet. As you can see from the photos above, I then went through the top hole, down the outside cover and in through the bottom hole, and finished by going through the center hole again so that both ends of the twine end up on the outside of the cover. I made sure that the twine wasn’t loose anywhere, and tied a knot around the twine that runs along the outside of the spine.
Note: If these photos and directions aren’t clear, it may help to watch a video of the sewing process. Click here for a quick (only 3 1/2 minutes!) tutorial that explains it beautifully.
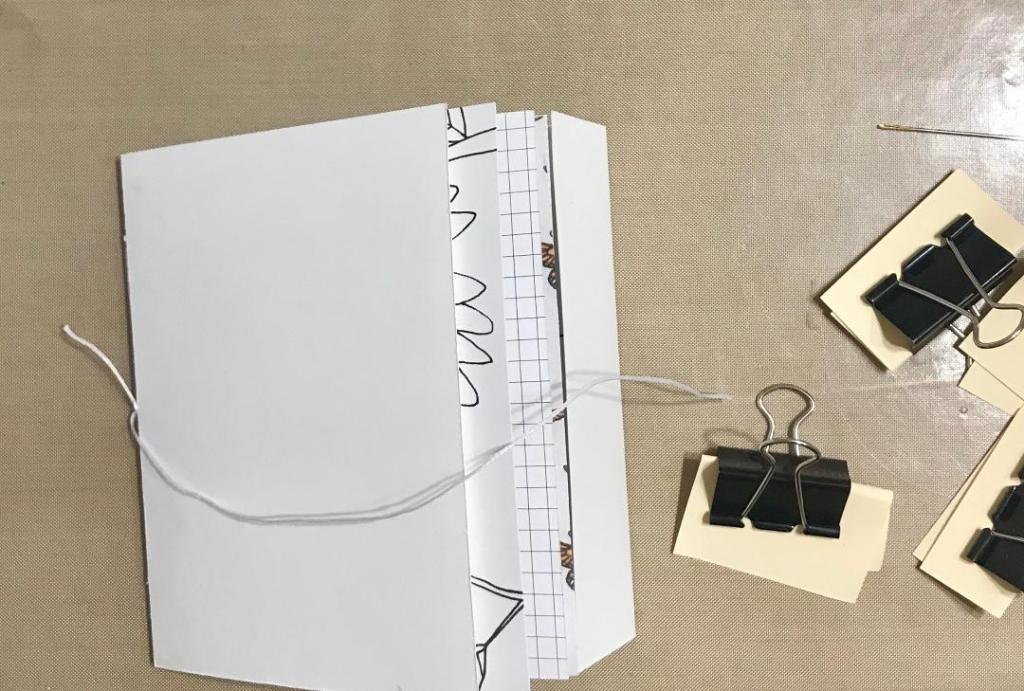
Once the sewing is complete, you can remove the clips from your papers. You’ll notice in the above photo that one piece of thread is much longer than the other. That’s because I want to create a simple closure for this booklet.

A great way to do that is to use a circle punch to create a little “button” to wrap the twine around to hold the booklet closed. I used a 3/4″ punch, which is a perfect size for this. I wanted the button to be sturdy since it will get a good amount of wear and tear, so I punched four circles and stacked them up for extra thickness.
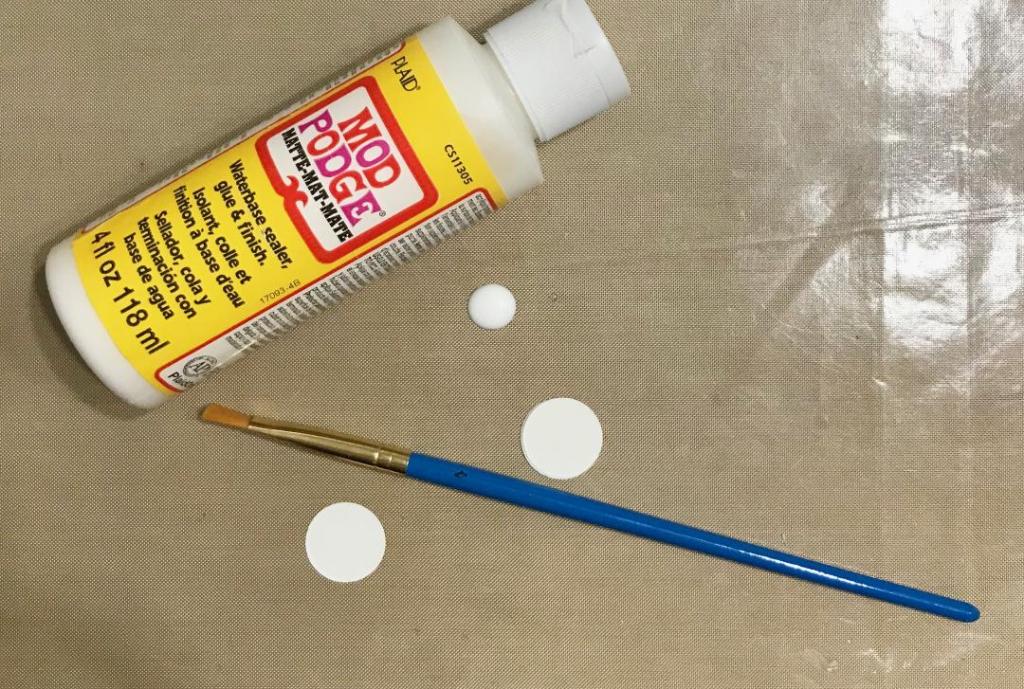
I glued the circles together with Mod Podge and I coated the top and bottom of the stack with a thin layer as well for extra sturdiness. I just squeezed some Mod Podge onto my non-stick craft mat and applied with a paintbrush. I let this dry thoroughly before moving on to the next step.
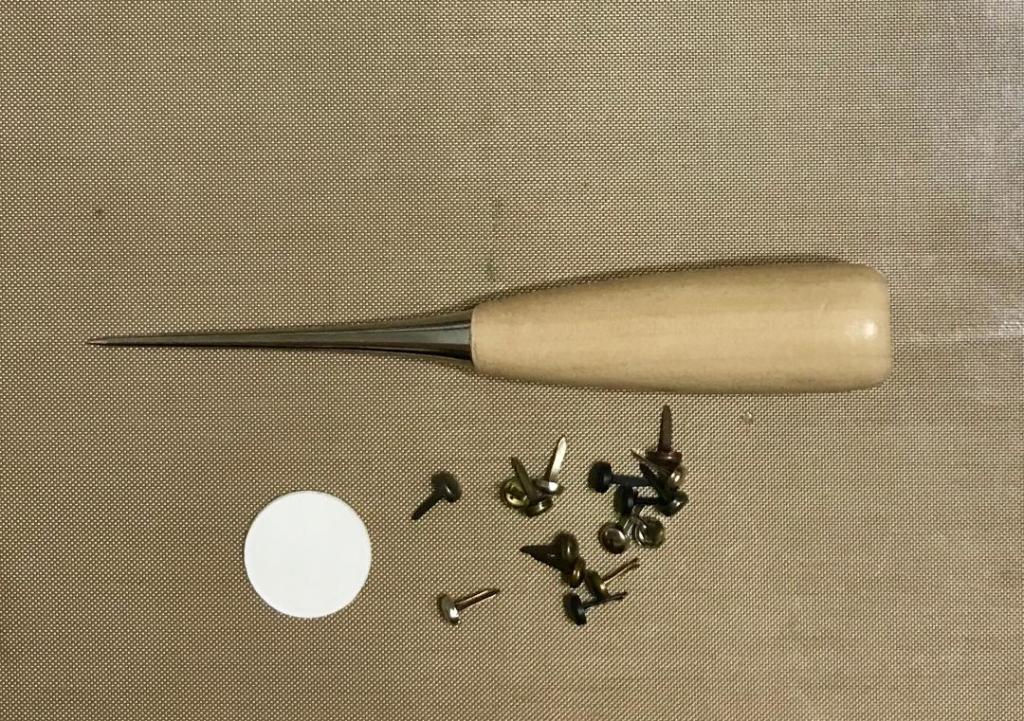
I have a collection of small metal brads in different shapes and finishes. Since I’m not sure yet what I want to do with the cover, I chose a tiny silver brad to keep the design simple.
I measured to find the center of the button and the center of the booklet flap, then used my awl to gently poke a hole through both. Be gentle! If you are too rough with the poking, you will crease your card stock.
Once the brad is fastened, you may decide to cover the prongs on the inside of the flap. Again, I’m not sure yet what I’m going to do with the cover, so I left it as is for now.

And there we have our finished booklet! I honestly never thought I would be sewing my own journals, much less sharing the process with others! If you share your journal-making ideas on social media, please share your accounts in the comments so I can follow you and be inspired by you!
Blessings!
~Happy Heart Art Girl
