

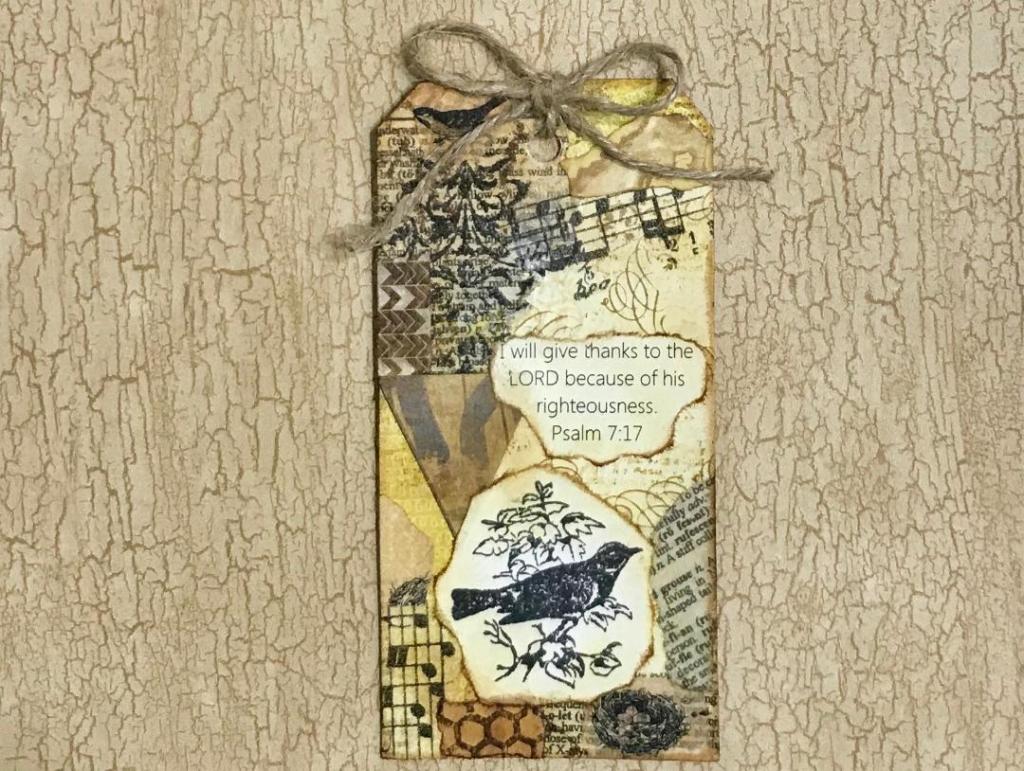
Today’s tag is all about collaging, which I love to do. I’m trying to get into the autumn spirit – even though the temperatures here are still in the 90s – so I chose some yellow and brown tones for this tag.
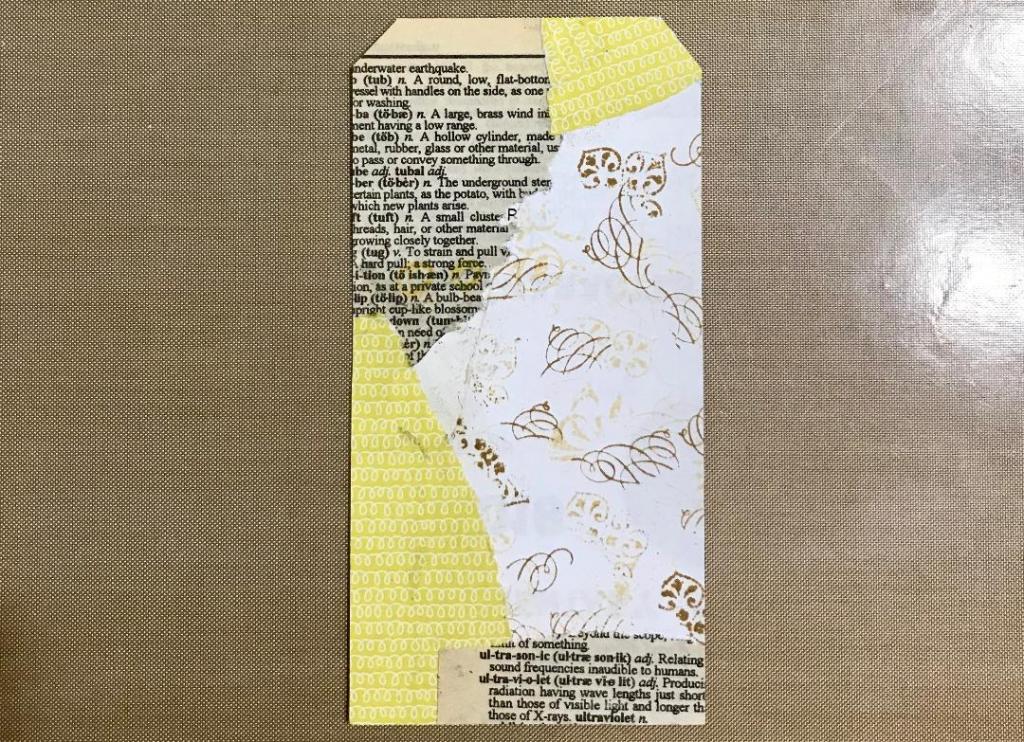
The base is an advertising postcard cut down into a tag, with some paper scraps on top. I used a dictionary page, paper from a 6×6 scrapbook pad, and copy paper with stamping on it. Anytime I’m trying out a stamp, whether for the image or for the ink color, I always throw it into the scrap pile rather than the trash. Then when I’m working on a collage, I have some ready-made interesting bits to use.
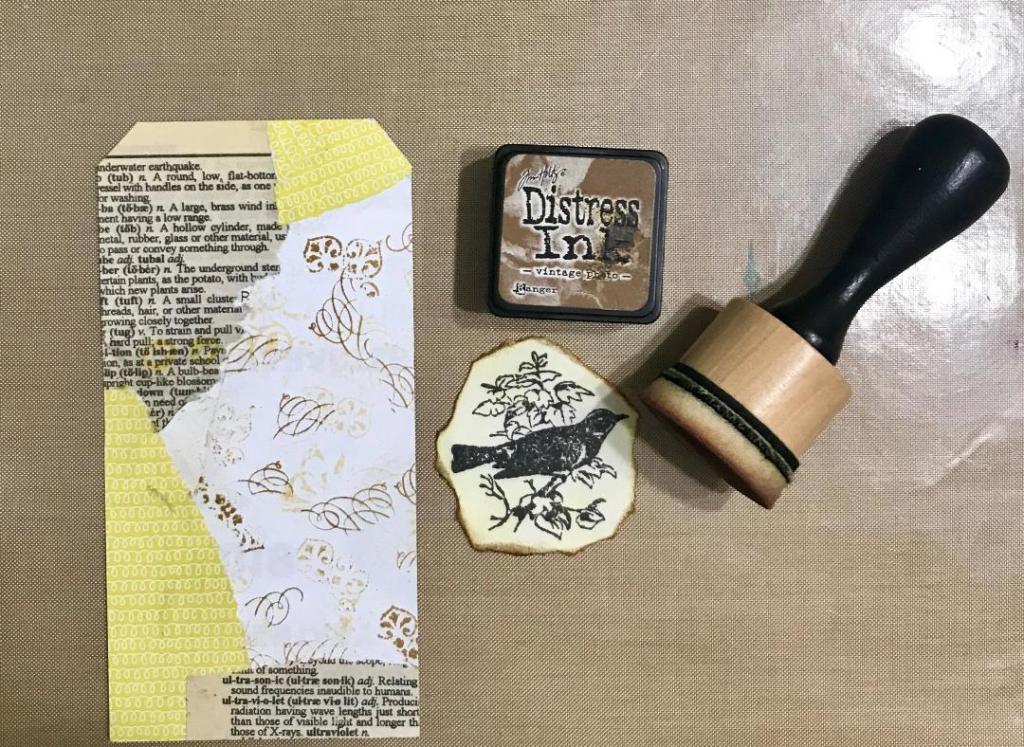
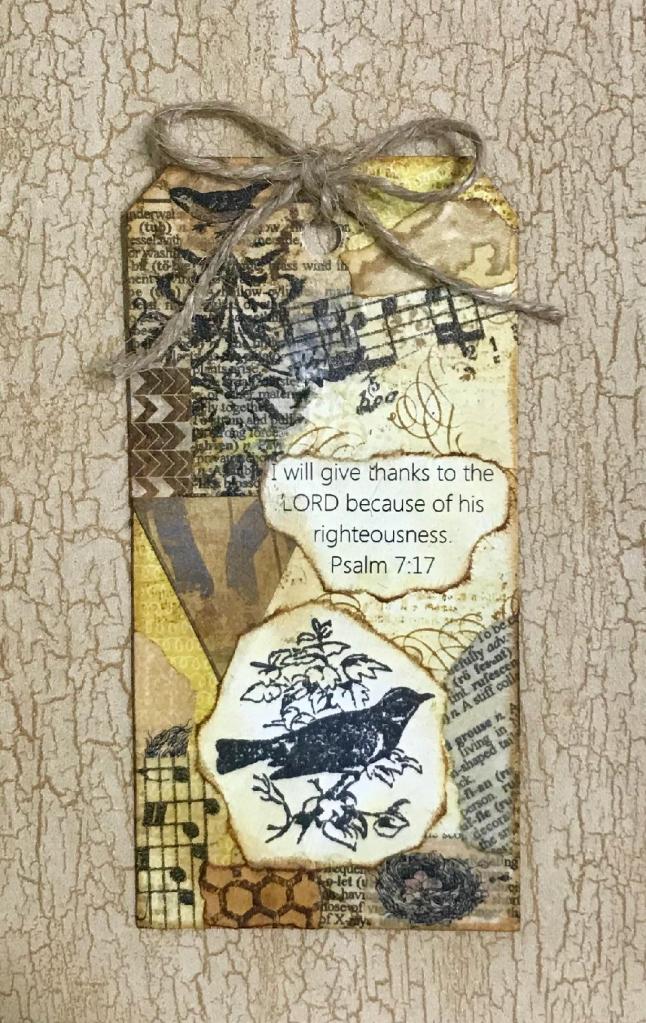
I forgot to include the actual nature stamp in the photo, but this bird is from this nature set. I stamped it onto paper from an old pad of paper, and aged it a little more using an ink blending tool and some Tim Holtz Distress Ink in Antique Linen for the paper and Vintage Photo for the edges.
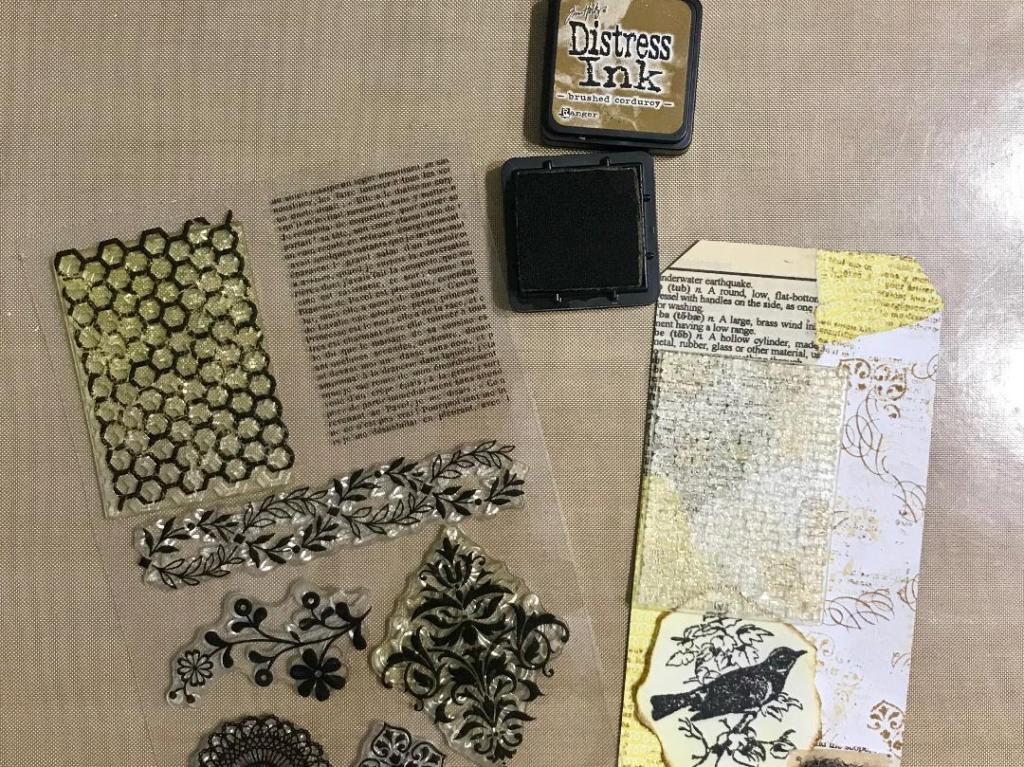
I used the text stamp from this Background and Corner stamp set to add more interest to the yellow paper. I inked random parts of the stamp with Distress Ink in Brushed Corduroy and pressed it down with my fingers so the text wouldn’t appear too uniform.
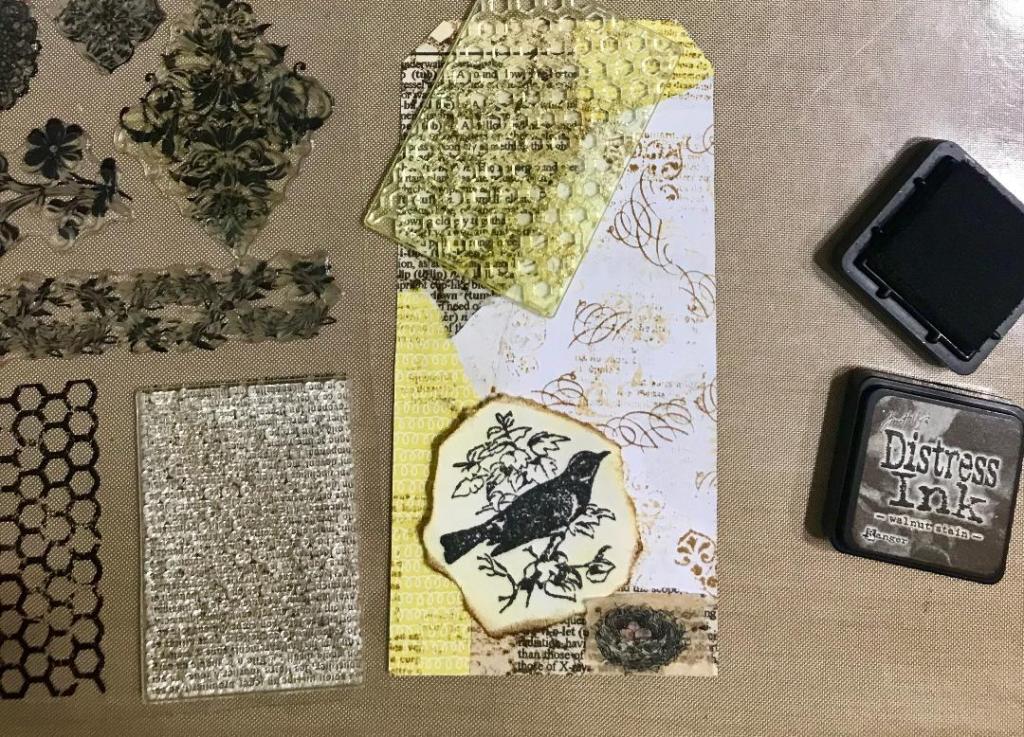
I also used the honeycomb stamp from the same set with Distress Ink in Walnut Stain. Using different shades of brown ink for the texture stamping kept the the overall tag from appearing too monotone.
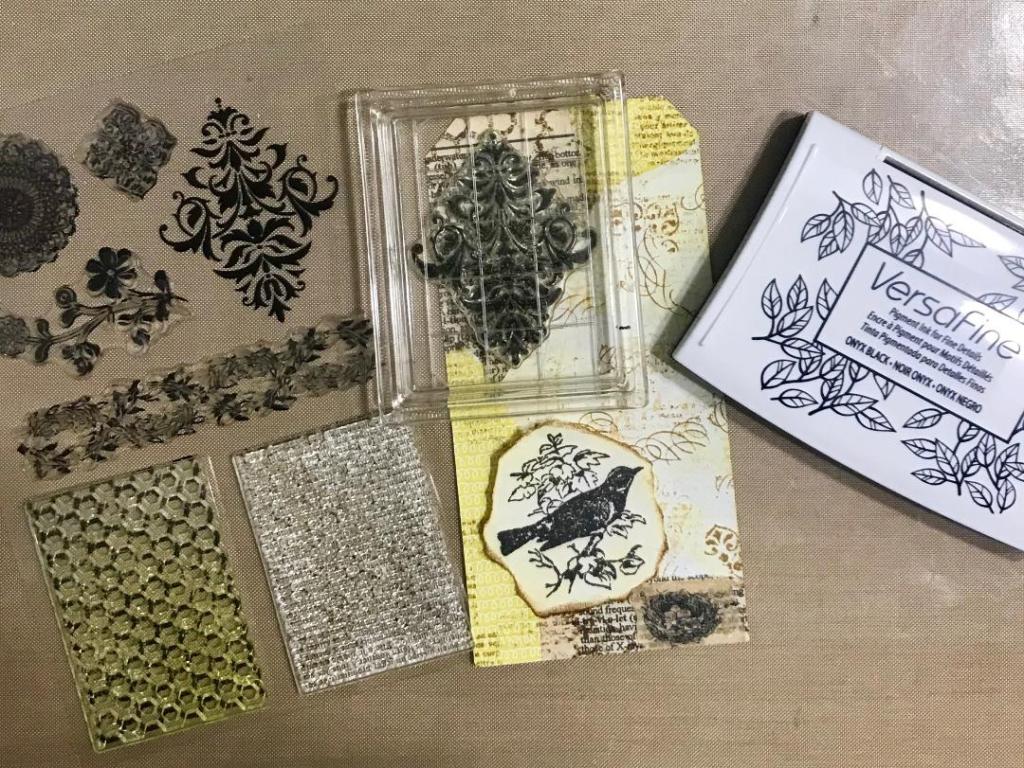
And to add a dark area of interest near the top, I used the flourish stamp from the set with my Versafine Onyx Black ink pad. The browns and yellows were getting too drab and needed some depth.
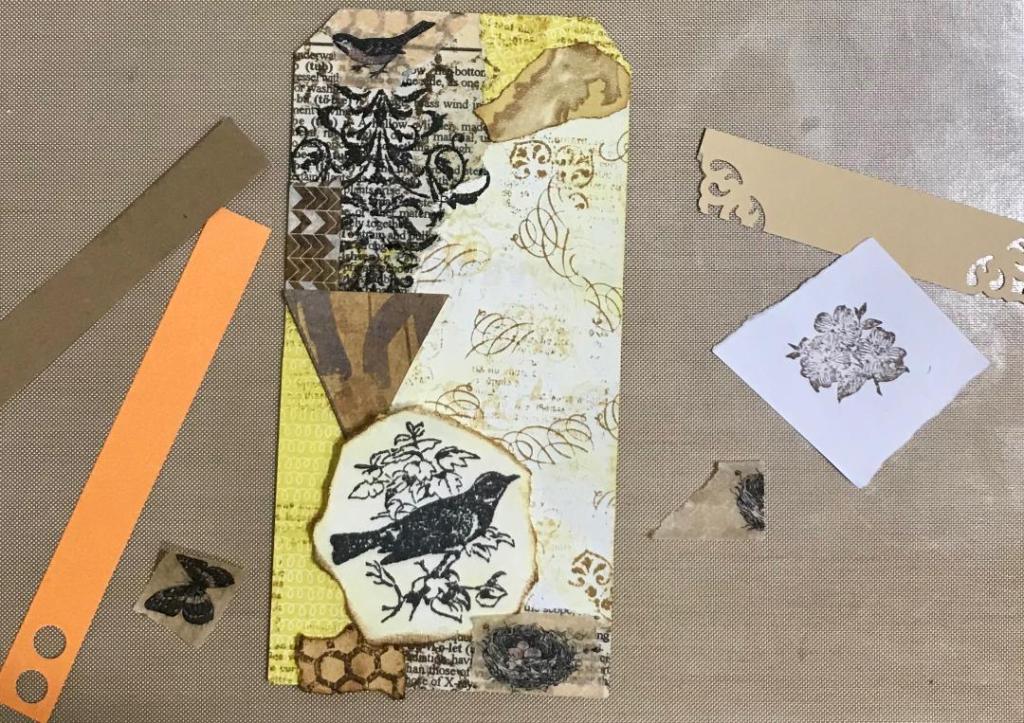
The next step had me returning to my scrap box for some more bits of project leftovers. I used some washi tape, pieces of cardstock and wallpaper, and some music note tissue paper. Note that I haven’t glued anything down yet; I’m still playing with the layout at this point.

It’s at this point that I realize that I still have too much white on my background papers. I use the Antique Linen Distress Ink ot subtly scrub over the white areas so that the entire tag had the same vintage feel to it.
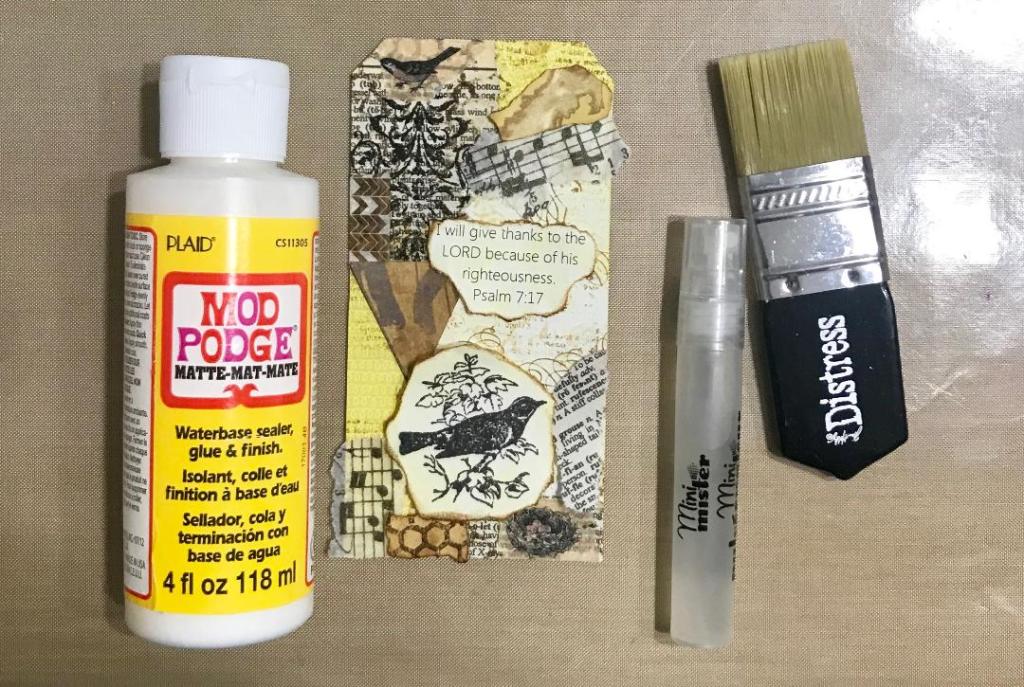
Then I arranged all my collage scraps the way I wanted them. Because I was working with the entire tag, I chose to use Mod Podge Matte rather than a glue stick to hold everything down. I squirted a puddle of Mod Podge on my non-stick craft mat and diluted it with a spritz or two of water from my Mini Mister. Sometimes I use a paint brush for collaging small areas, but for larger areas I use my Tim Holtz Distress Collage Brush.

Once the front of the tag was dry, I chose some scrapbook paper from a 6×6 pad to cover the back. I rubbed over it with Antique Linen Distress Ink and glued it down with my Avery Permanent Glue Stick. Glue sticks give you a little “wiggle room” to slide the paper around a little until you have your edges perfectly lined up.

My favorite part of a tag project is inking around the edges of the tag! First, because it gives it such a finished look; and second, because it means I’m almost done! The final step was to punch a hole in the top of the tag and tie a simple bow with some jute twine to complete the rustic, autumn look.
And that’s today’s tag! Note that I did go back over some areas of the tag and rub on a little Vintage Photo Distress Ink to tie all the scraps together. Sometimes I feel like I’m never 100% satisfied with the way a project turns out, but I guess that’s the nature of handmade versus store-bought. Thanks for stopping by!
~Blessings,
Happy Heart Art Girl
