

In my last post I showed you how I cut tags from some old advertising postcards. Today I’ll share my first project using one of these “recycled junk mail” tags.
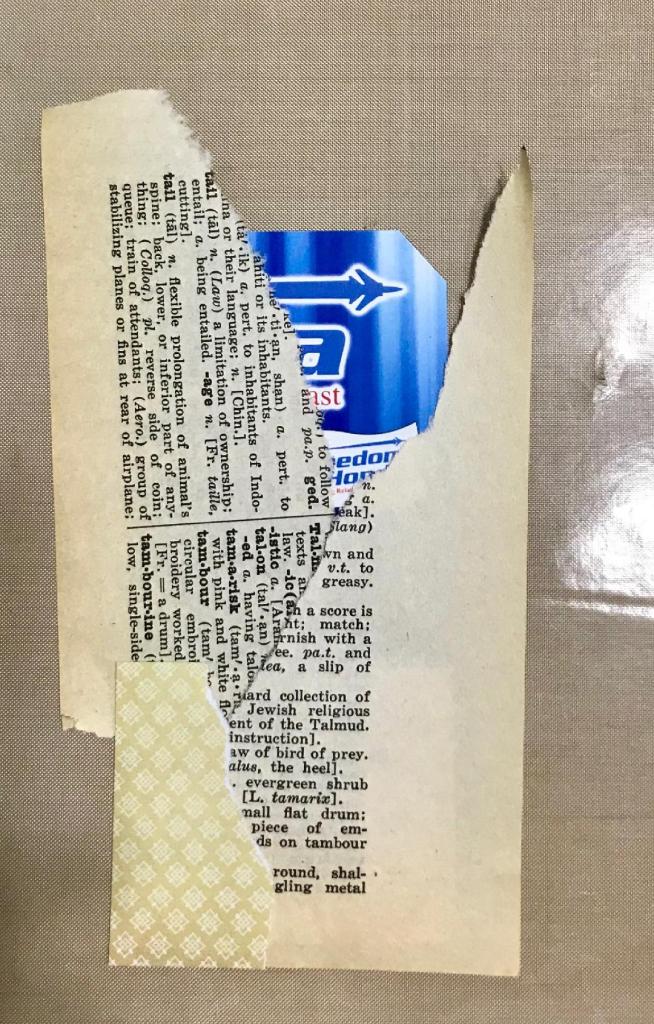
I started by gluing some different papers (old book pages plus scrapbook paper) onto the front of the tag. I left the edges hanging off and then trimmed the whole thing with scissors.
I brushed on a thin layer of Golden gesso to tone down the words on the book pages. I have a love/hate relationship with gesso. I see a lot of other artists using it, and I keep trying to work with it, but I find that it changes the behavior of my ink when I start stamping over it, in a way that I don’t like. Maybe I need to somehow seal the gesso before stamping on it; I’ll have to look into that further.
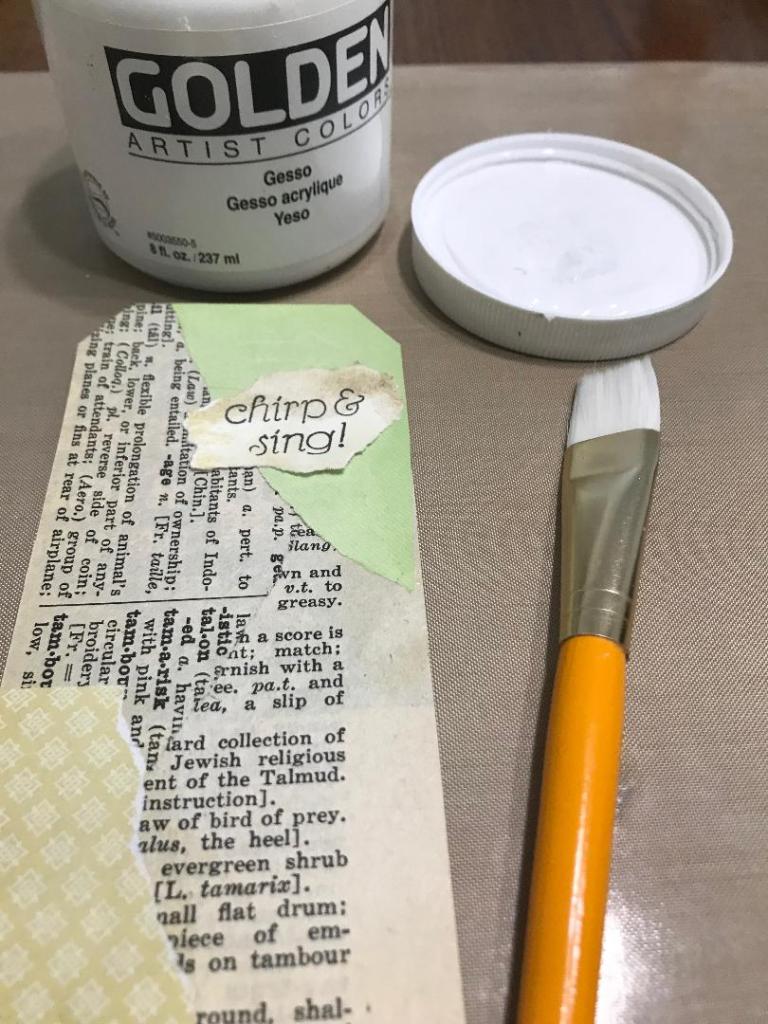
I rubbed on a little Distress Ink in Antique Linen with an ink blending tool to tone down the whiteness of the gesso and tie all the background papers together.

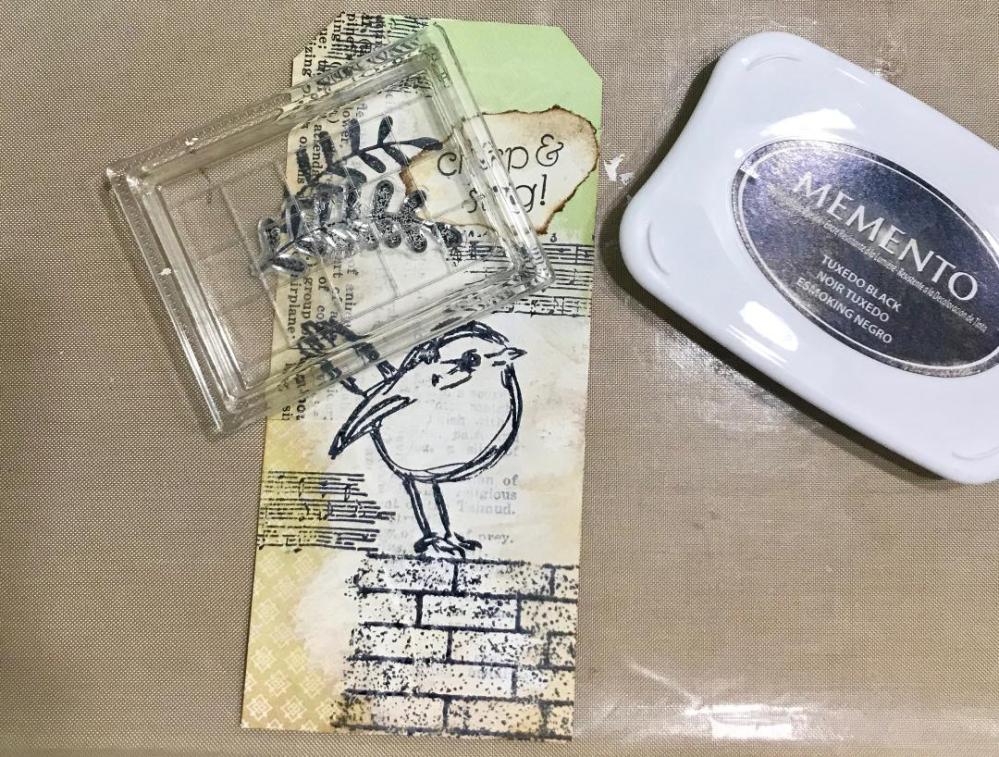
Next I went through my stamps to see what I might want to use. I knew I wanted to include the Dina Wakley scribbly bird, one of my favorite stamps. (I just like bird art in general. In fact, I have an entire Pinterest board of just bird and tree images.) I also had a new Darkroom Door Brick Wall stamp that I wanted to try out. I played around with a few stamp combinations until I found a layout I was happy with.

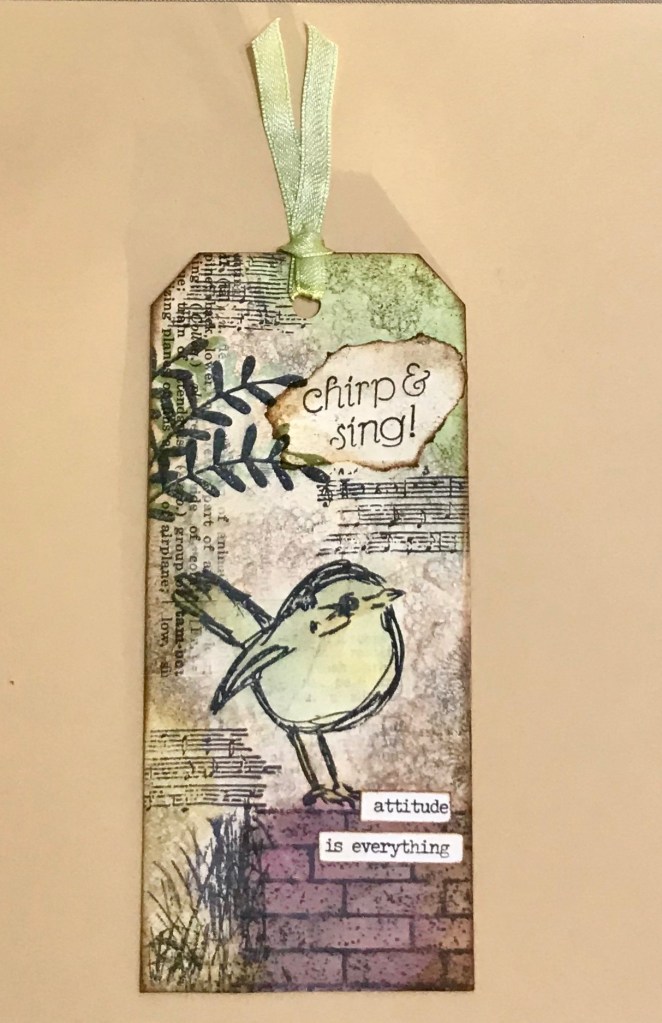
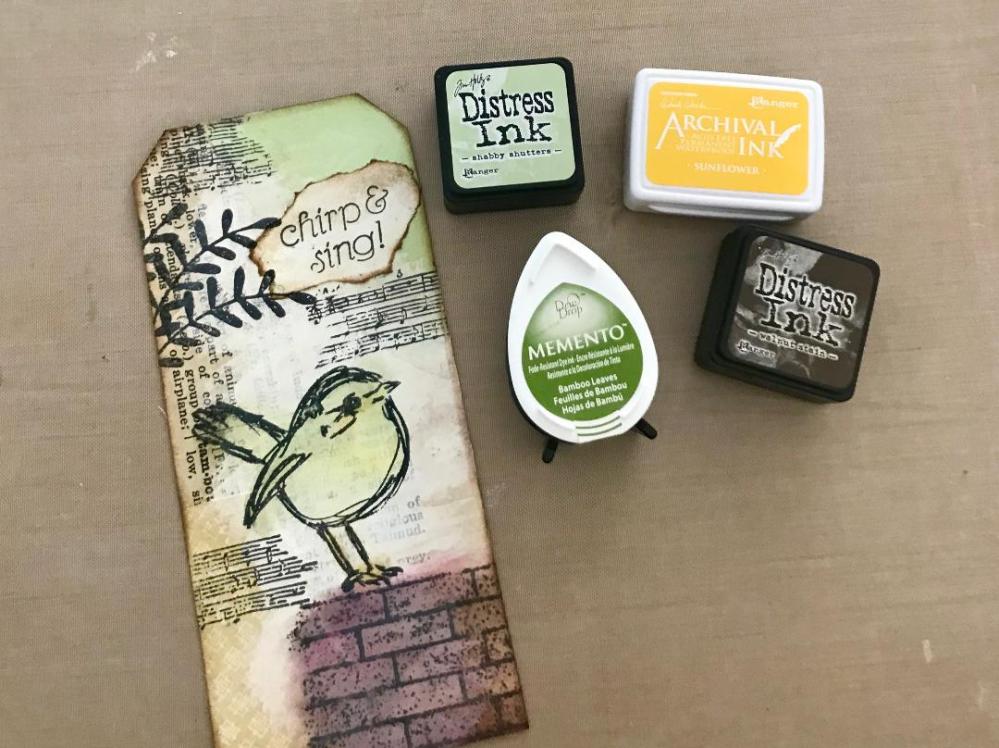
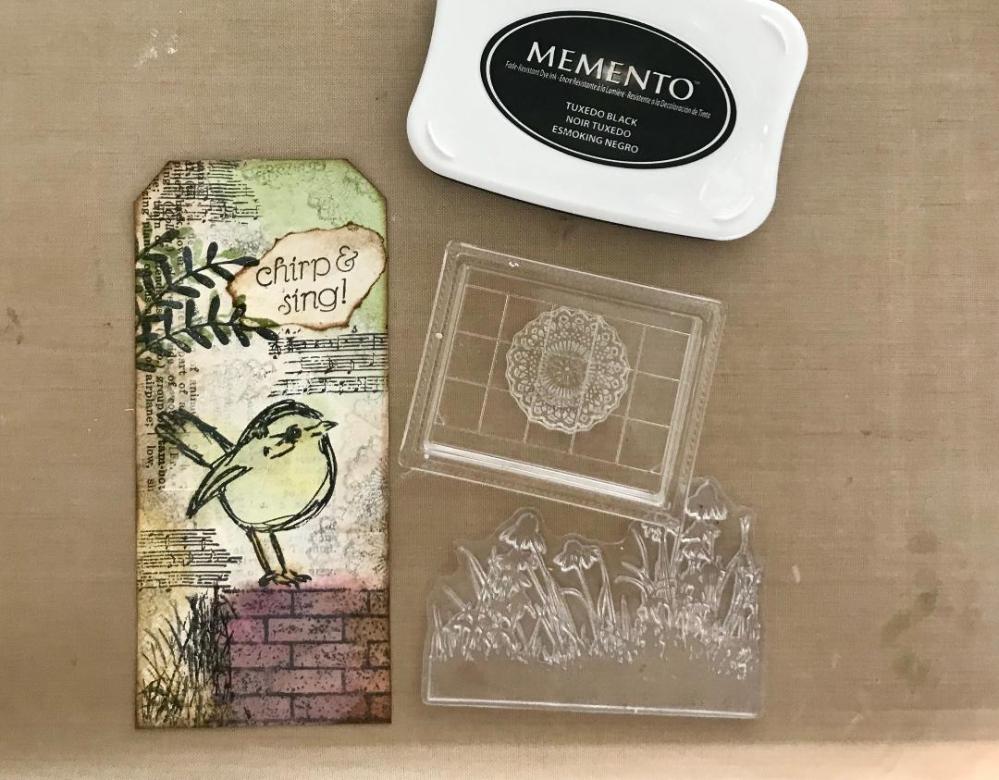
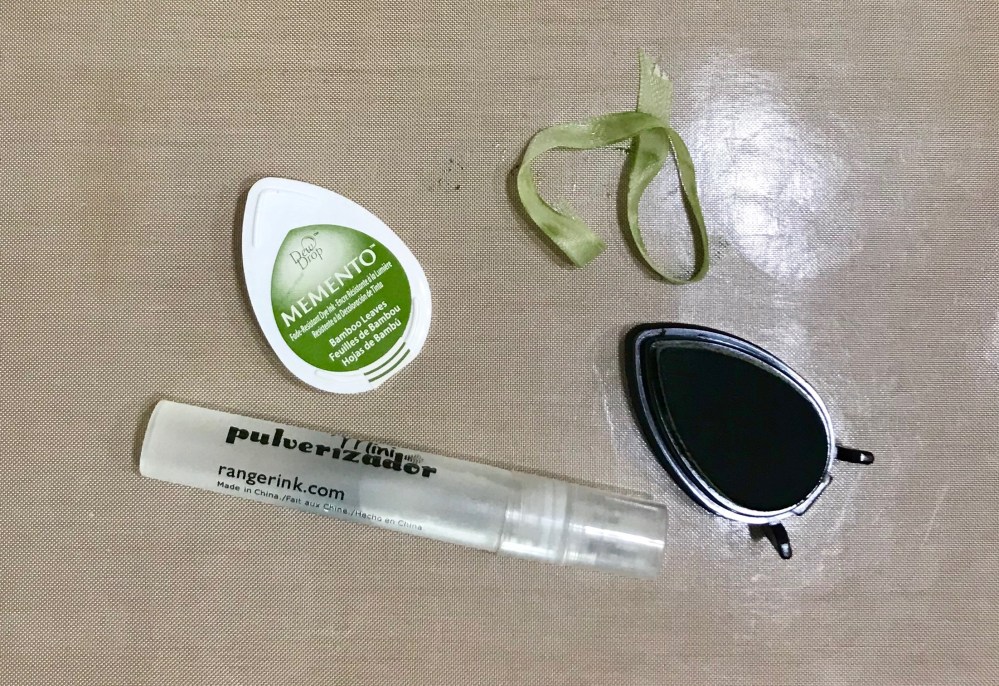
I stamped the bird, the Bo Bunny music bars, the brick wall, and the branches with Memento Ink in Tuxedo Black. (I wanted a bold color to stand out over the paper and gesso.) I double stamped the leaves with Memento ink in Bamboo Leaves to give a suggestion of color there.
I added some subtle coloring to the bird with Distress Ink in Shabby Shutters and Ranger Archival Ink in Sunflower using finger daubers. I also colored the brick wall with Distress ink in Aged Mahogany (not pictured) and Walnut Stain.
At this point I was liking the brick wall, but wishing I had stamped it all the way across the bottom of the tag. I didn’t trust myself to line up the edges well enough to fix it, so I pulled out a stamp from the Inkadinkado Meadow Floral set with some grass on it to fill in the empty bottom corner.
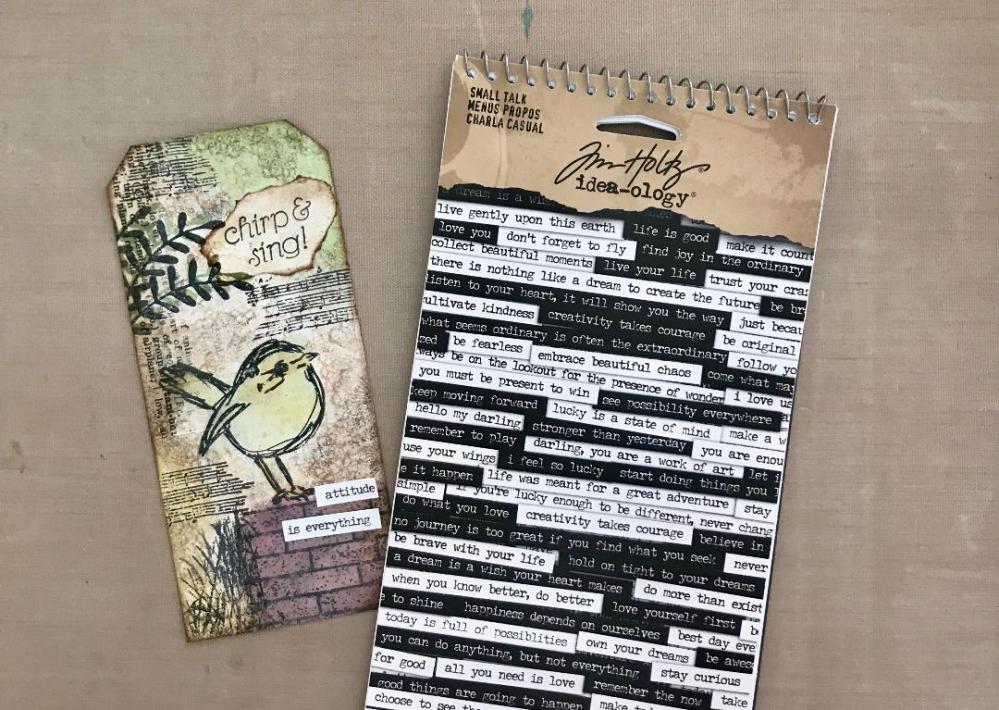
I wanted to cover the red smudge above the brick wall where I went a little too far outside the lines, so I added a second sentiment, this one from the Tim Holtz Small Talk sticker pad.
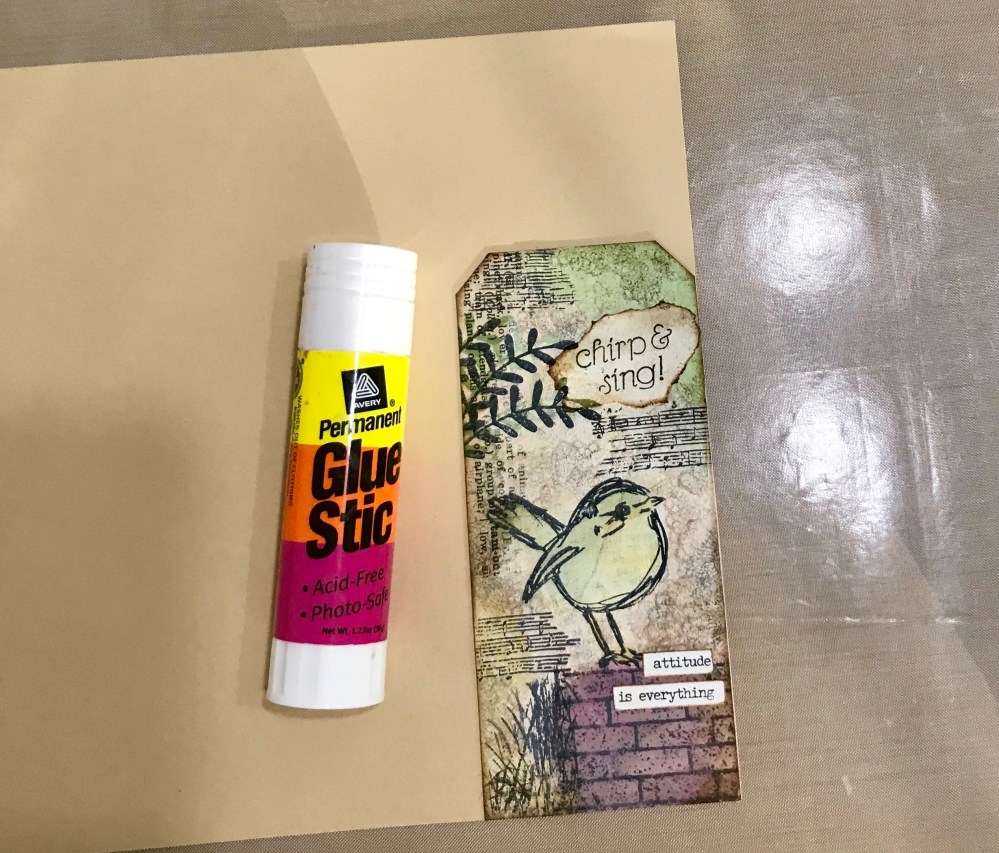
Since this was a tag cut from junk mail, I glued some tan card stock to the back with an Avery Permanent Glue Stick to hide the advertising message.
I didn’t have any ribbon that matched the tag to my satisfaction so I used a neutral color ribbon and tinted it with some more of the green Memento ink dabbed on my craft mat, diluted with water from a mini mister. I would have preferred a more rustic or substantial ribbon, but this was the best I had on hand.
I punched a hole in the top of the tag with a standard hole punch and threaded the ribbon through.
Reflection: In retrospect I think it would have popped a little more had I stamped the bird on card stock, fussy cut it, and glued it onto the tag. There was just something a little flat about the overall look. I also wish I had the green paper under the branches instead of in the opposite corner, and the bird’s feet should have been a little closer to the top of the wall. And finally, I found that when I burnished the plain card stock onto the back of the tag, it made the crease more pronounced where the background papers overlapped. Unfortunately it was right across the bird’s body, so it’s pretty obvious. Overall though I’m pleased with the final product.
If you have any tips for using gesso, please leave them in the comments!
Blessings,
~Happy Heart Art Girl
Note: This post contains affiliate links. If you make a purchase through one of these links, I receive a small percentage of the sale (at no additional cost to you) which I use to purchase more art supplies. Thank you for supporting my creativity!
