
Another FAIL project today!*
I recently became interested in simple book binding, and I wanted to try my hand at it in a very low-key way. I really don’t like to use my “good supplies” when I’m learning a new technique, so here’s my inexpensive materials list:
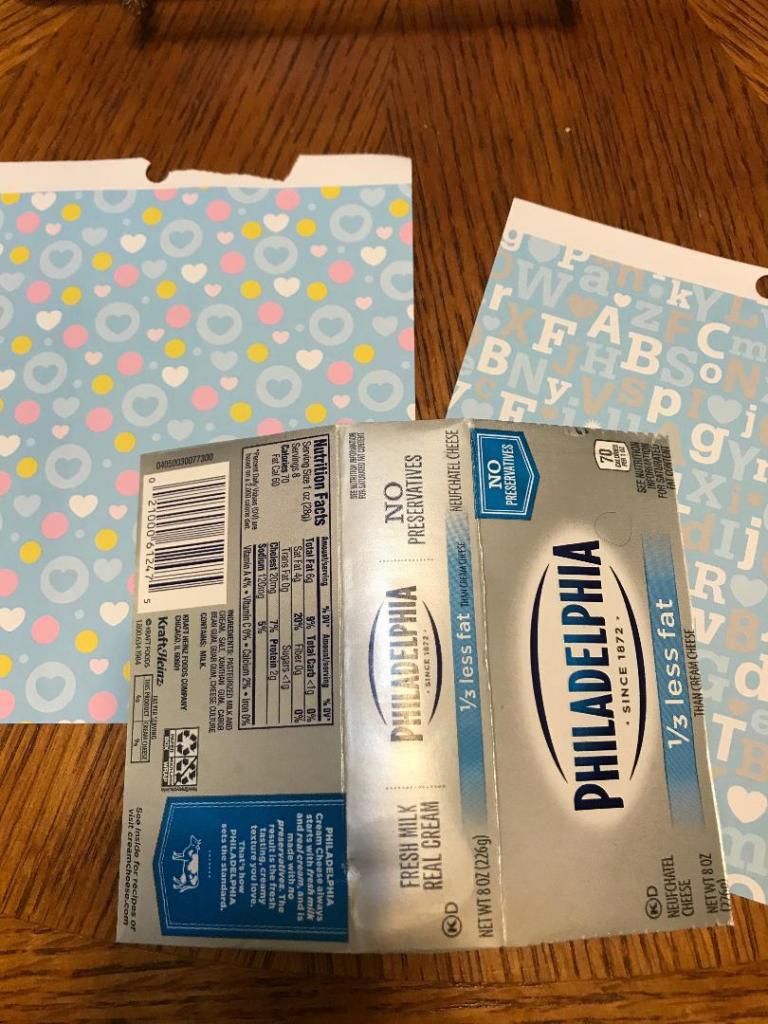
- a cream cheese box
- a large-eyed stitchery needle
- baker’s twine
- a pad of patterned paper that I bought on sale and then realized I don’t really like. (Note to self: DON’T buy art supplies just because they’re cheap!!!)
- I sealed the paper cover with Mod Podge to make it more durable.
- Clear elastic hair band (I bought a pack from the Dollar Tree) as a closure

The Good:
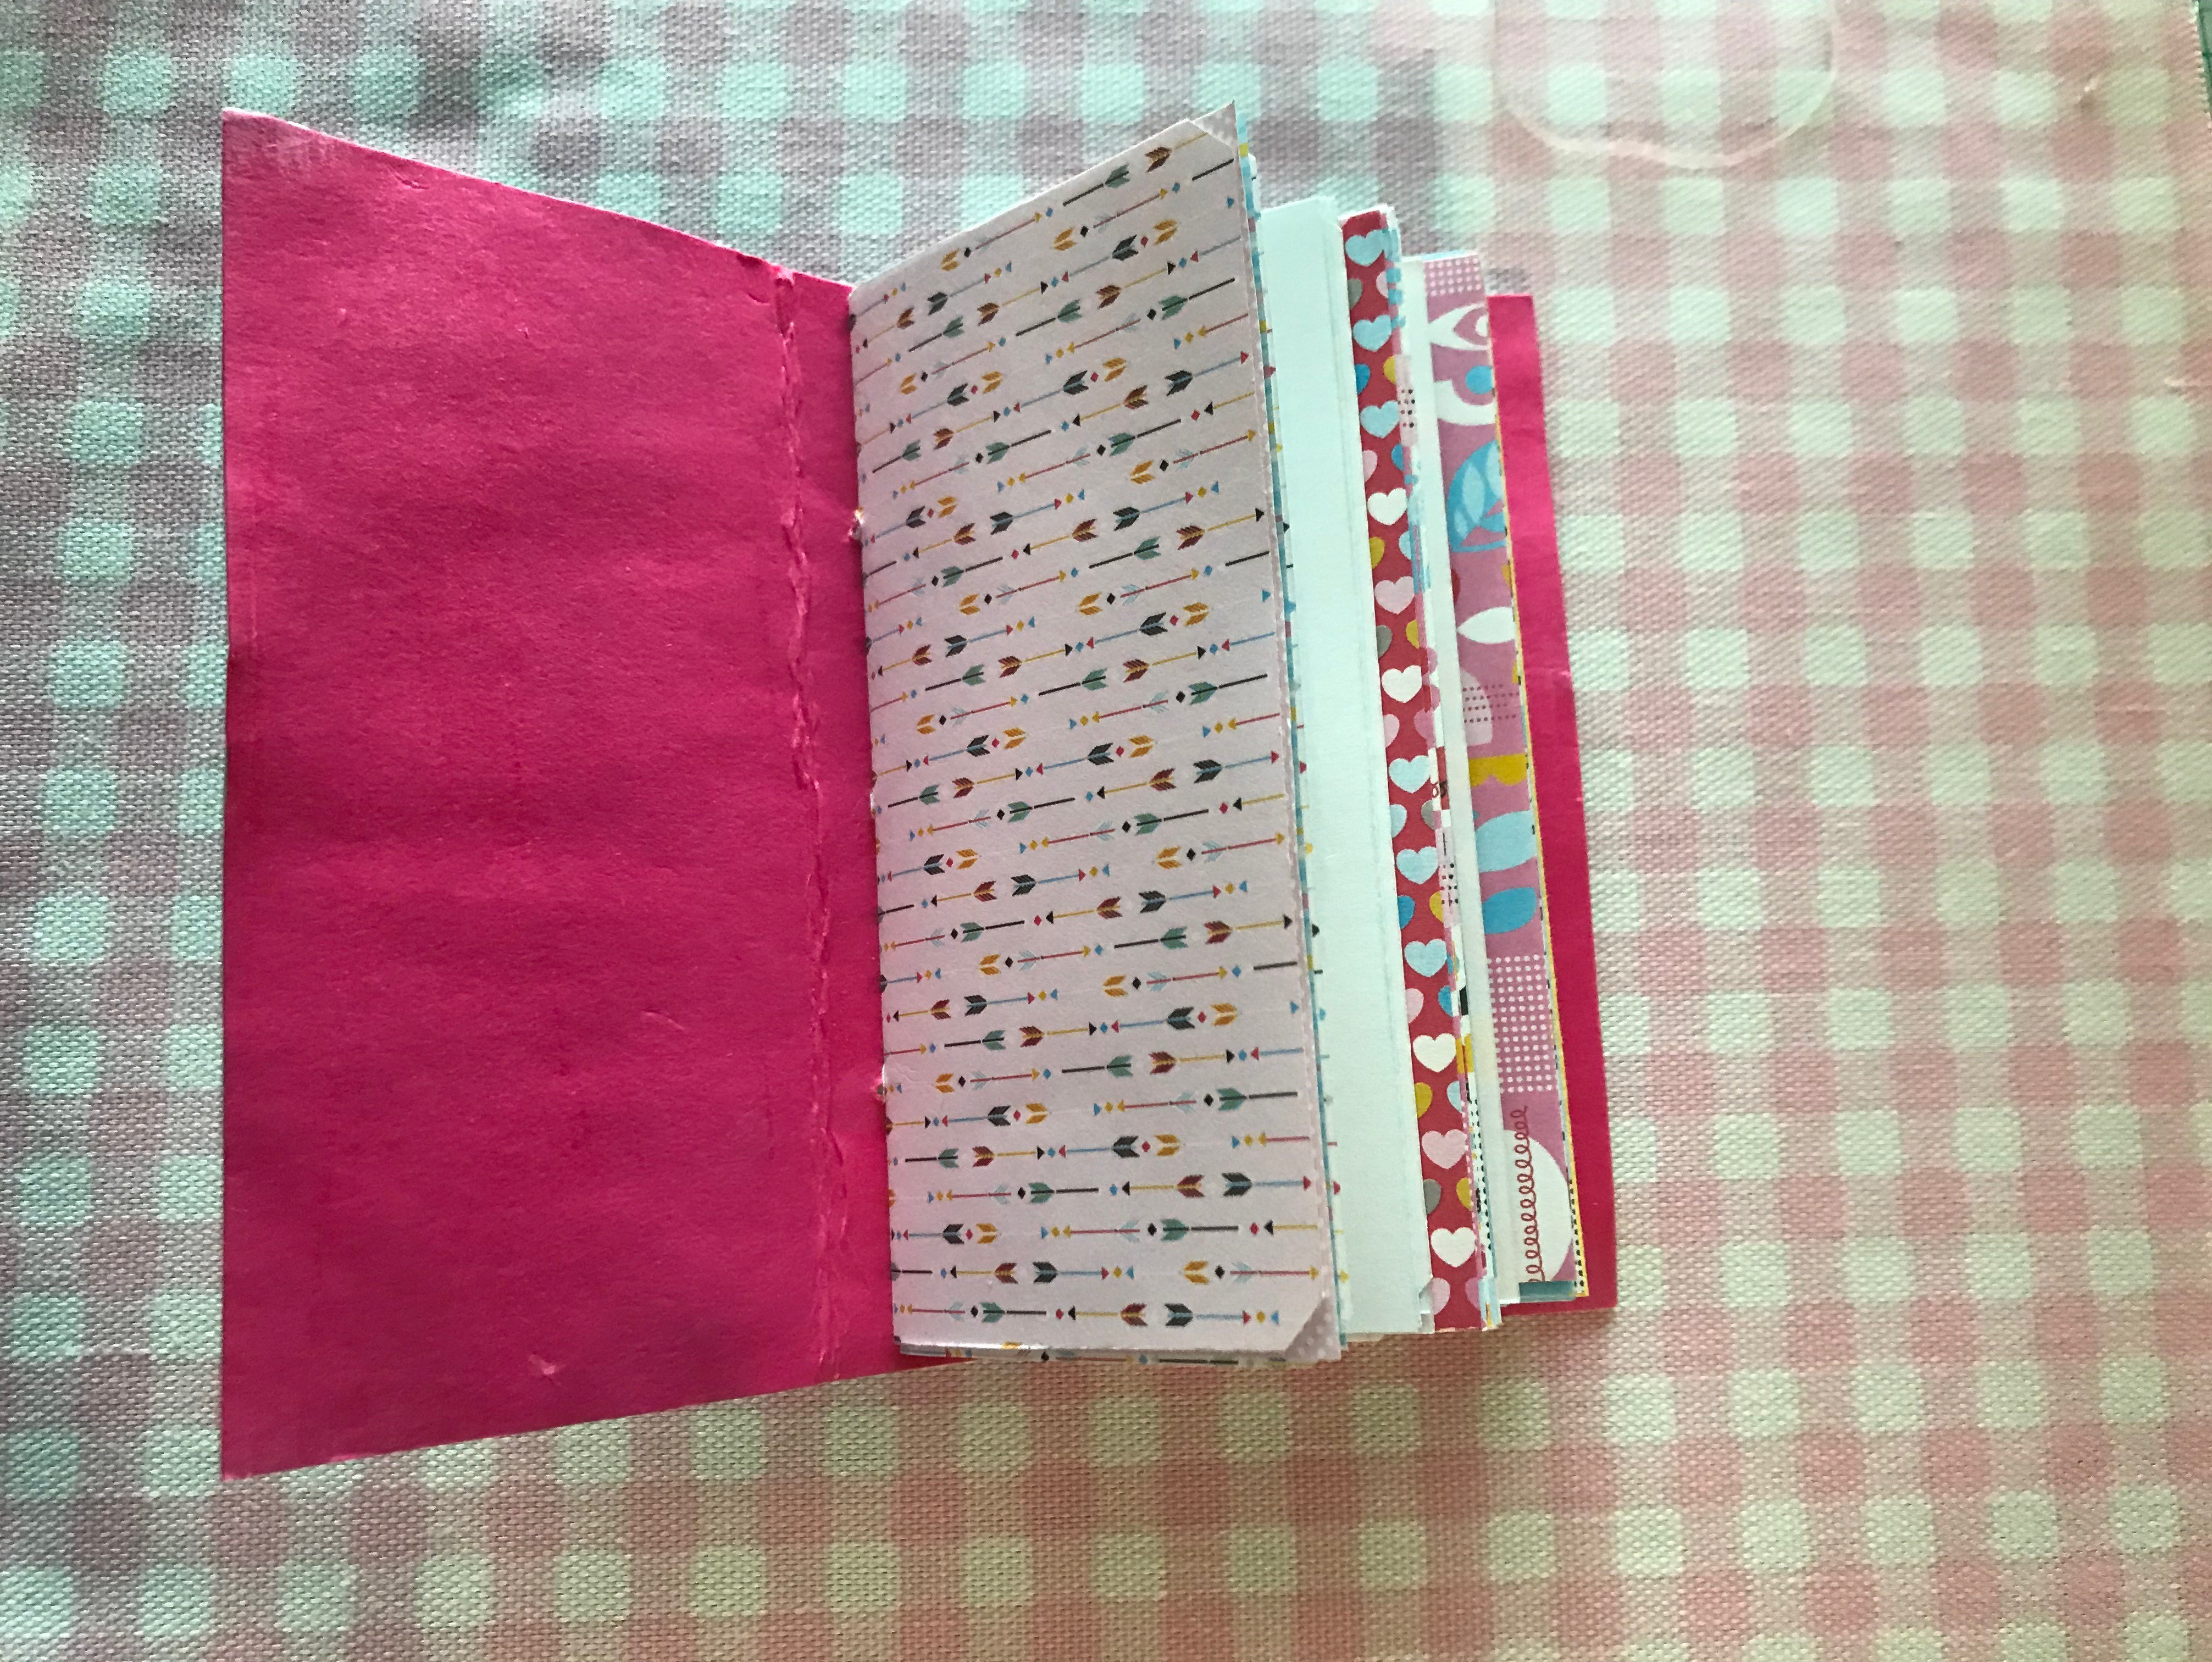
- I actually bound my own little notebook! That gave me such a feeling of accomplishment!
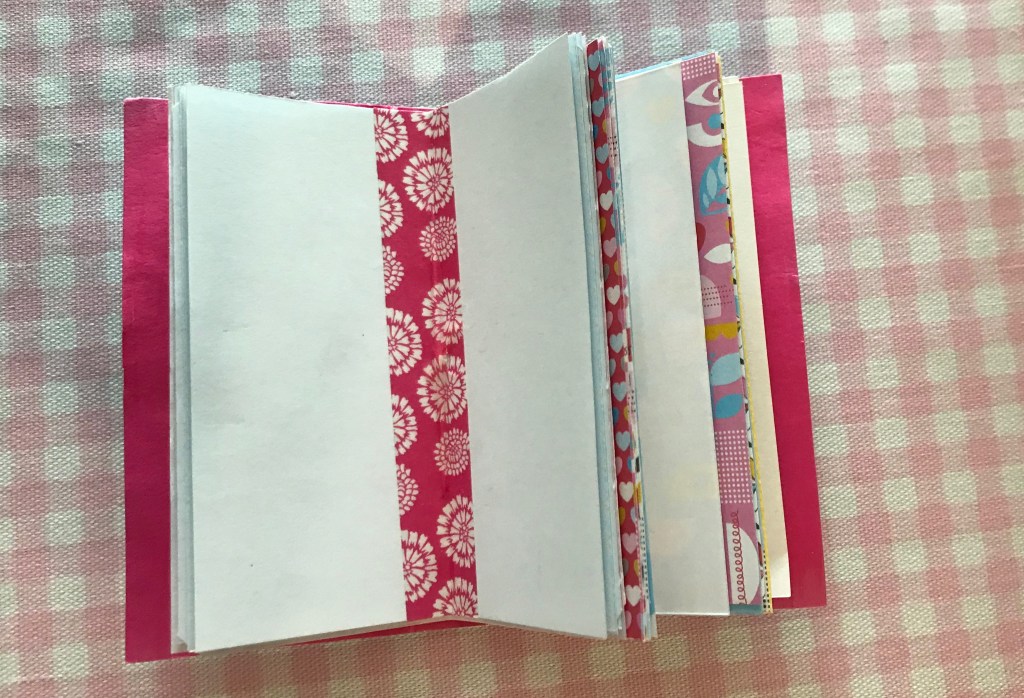
- I figured out how to cut paper with diagonal lines (the pages with the arrows below) to the right size so that I could bind it with the lines going horizontally for writing on. That may not sound like a big deal, but measuring and cutting can sometimes trip me up.
The Bad:
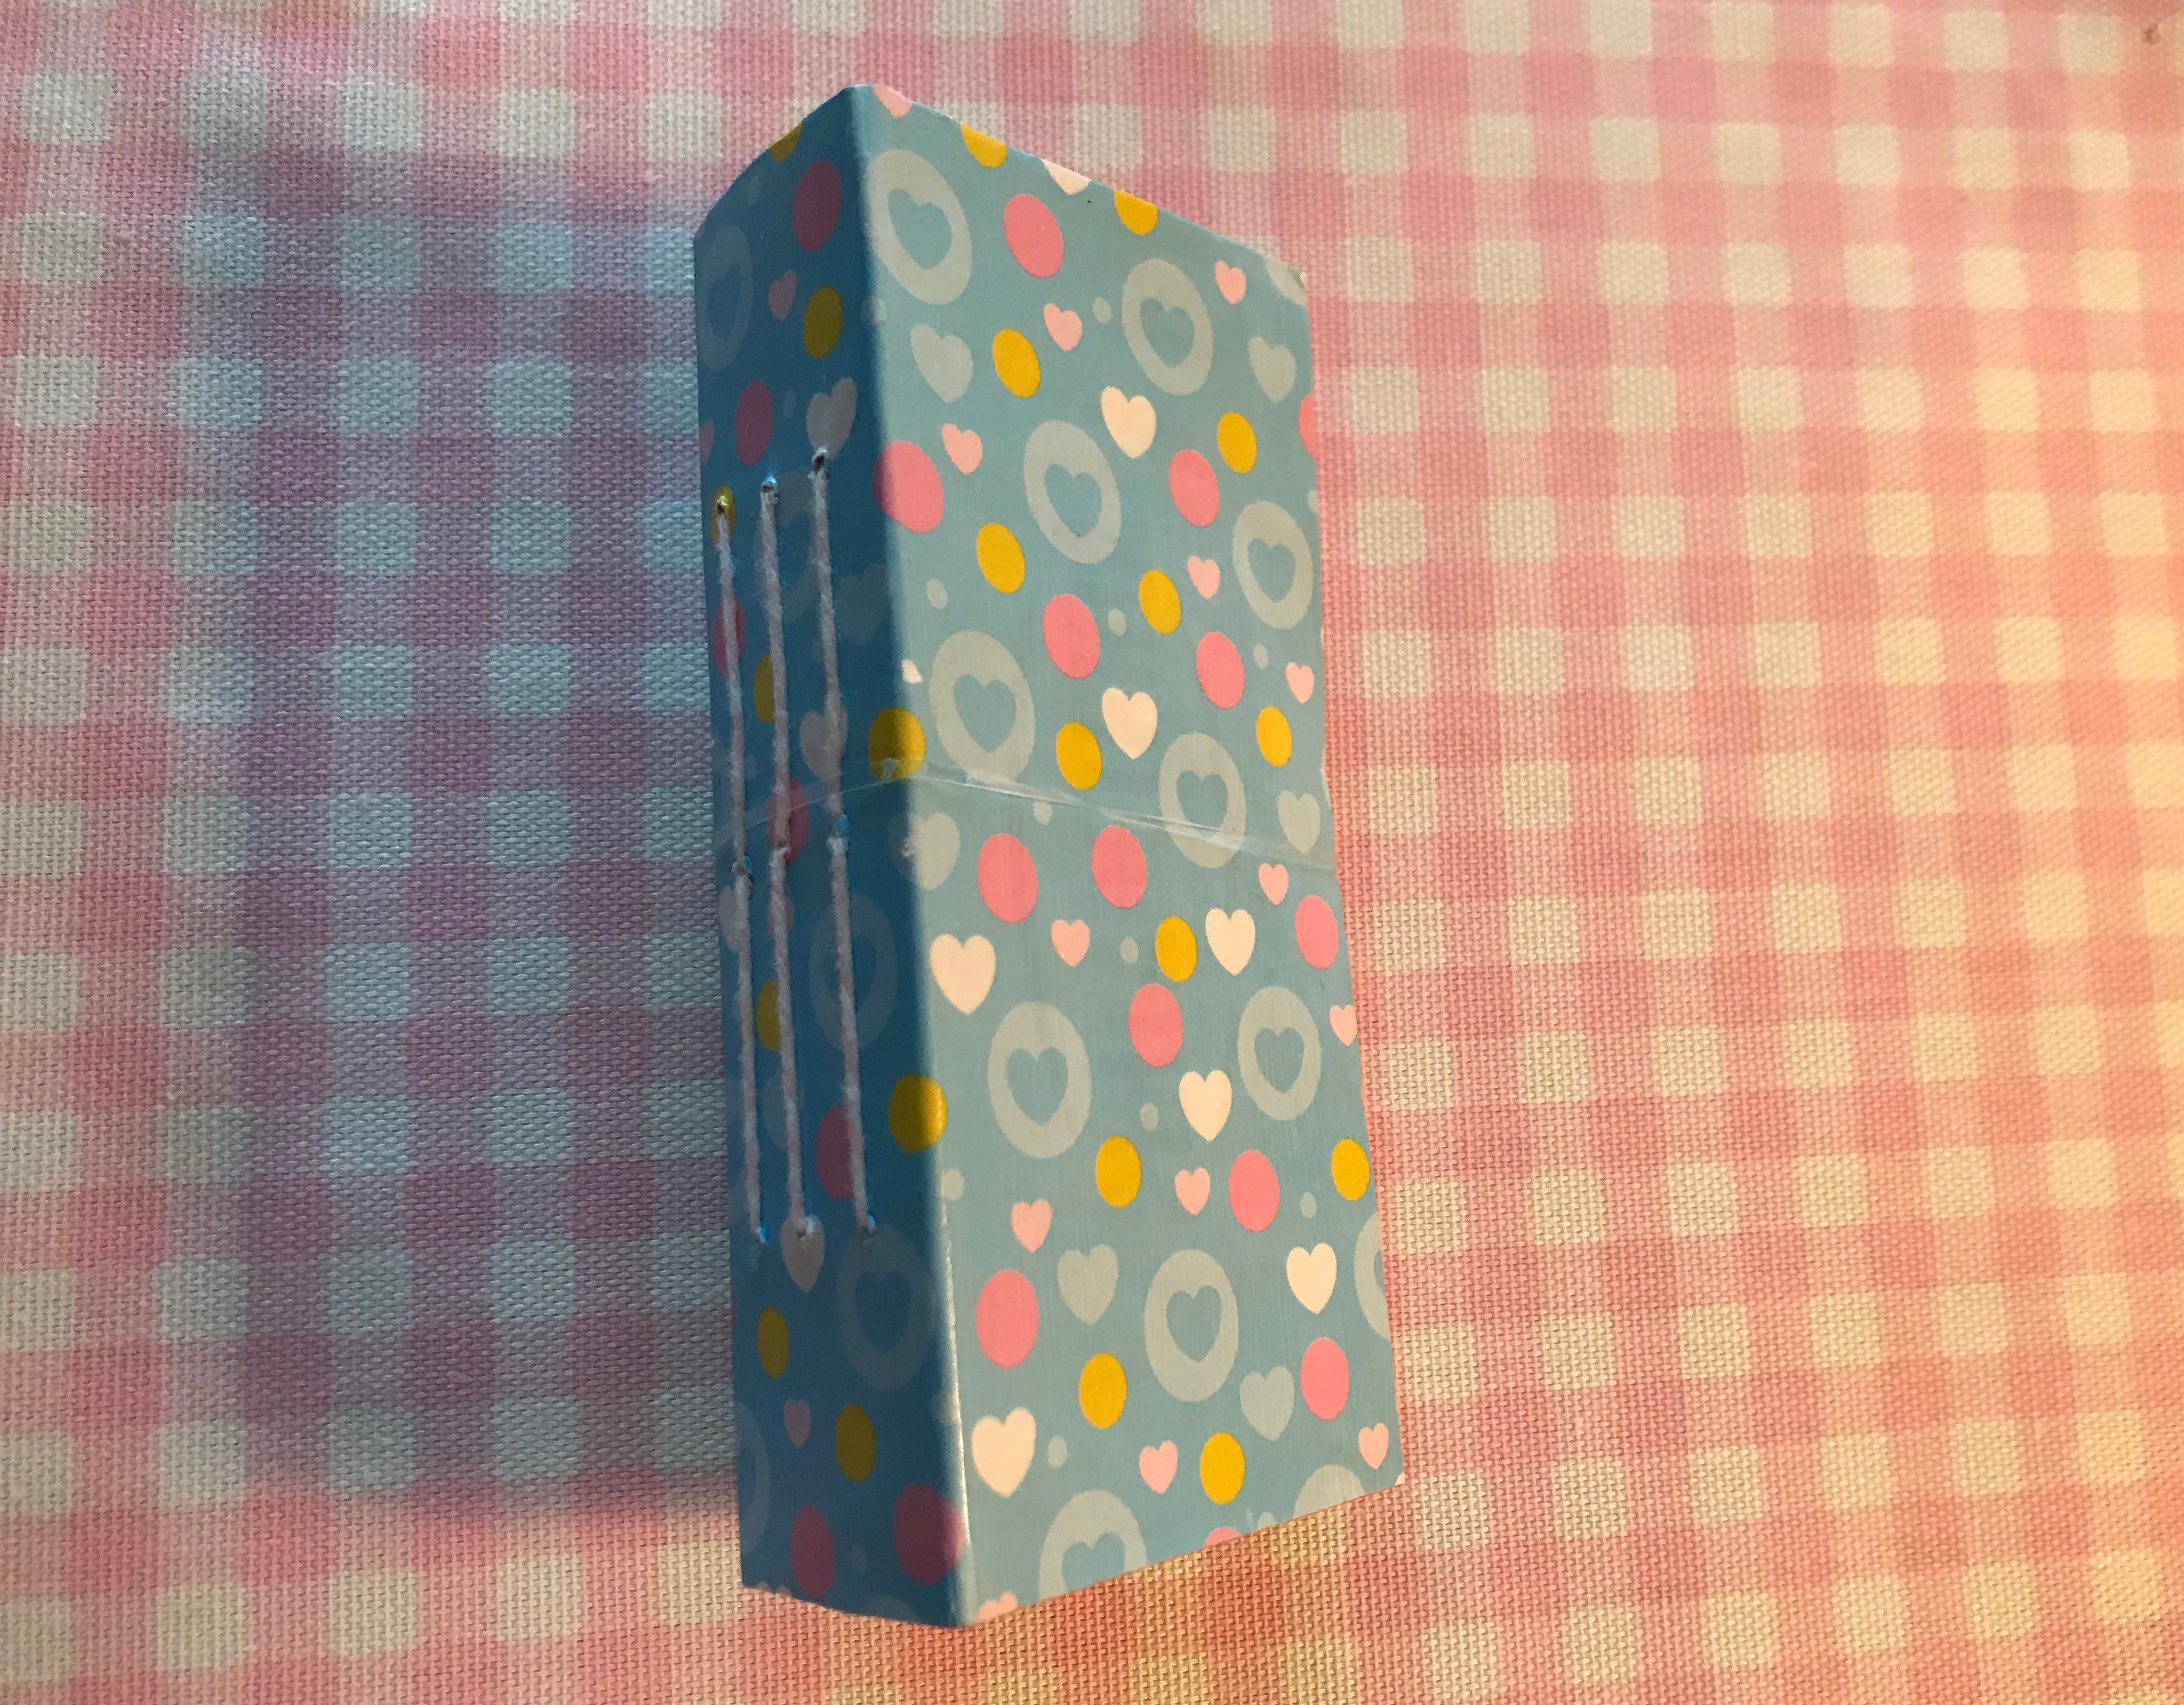
- Next time I need make a better template for poking the holes because mine ended up being uneven. I was too impatient to take the time I needed for this step, but I realize now this must be done meticulously.
- In the future I will use double-sided tape to attach the paper to the cardboard cover rather than glue, because any wet adhesive is going to wrinkle the paper.
- If you look directly at the edges, you can easily see the three layers of materials that I glued together because I cut one sheet of paper to perfectly fit the outside of the cover, and another sheet of paper to perfectly fit the inside of the cover. In the future I will cut the outside cover paper larger, fold it around the edge, and tape it to the inside cover. Then I’ll use a second, smaller piece of paper on the inside cover.
- And finally, the spine was really too wide for the amount of paper inside the notebook. I knew I wanted to practice with three signatures, and I was just going with the flow of the creases already in the cream cheese box, but that resulted in the proportions being off.

Here’s the video I watched to learn how to stitch the signatures:
I didn’t want to waste any more time or supplies embellishing this notebook since it was just a prototype, but so much could be done with the pages: stamping, washi tape, pockets, corner punching, stitching, etc. I did add some washi tape to the center of each signature to hide the stitching.
Do you bind your own notebooks or journals? Please share your helpful tips in the comments!
Blessings,
Happy Heart Art Girl
*FAIL = First Attempt In Learning. It’s a good thing, because it means you’re trying something new!
Note: This post contains affiliate links. If you make a purchase, I receive a small percentage of the sale (at no additional cost to you) which I use to purchase more craft supplies. Thank you for supporting my creativity!
