

This year, for the first time since grade school, I made my mom a Mother’s Day Card!
I designed it to coordinate with a Prayer Journal that I also made for her. (I’ll share the details of the journal in a future post.)

You can click here to view a short video tutorial on how I made it, or scroll down for step-by-step instructions and photos.
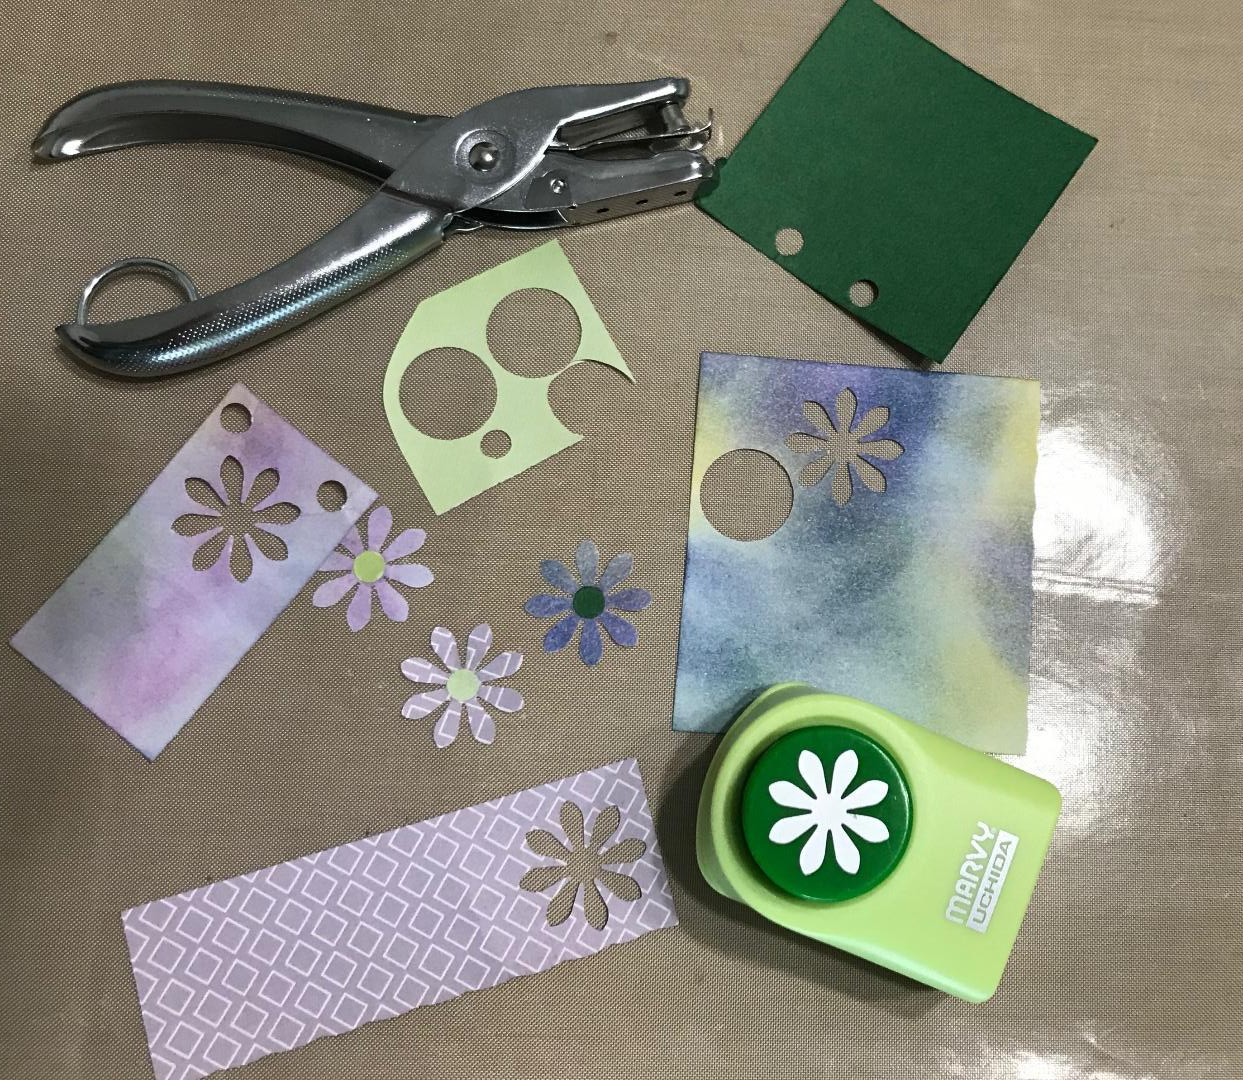
I used a Marvy daisy punch and a standard size hole punch to create the embellishments. I found my flower punch at a thrift store, but this one is the same brand, shape, and size.
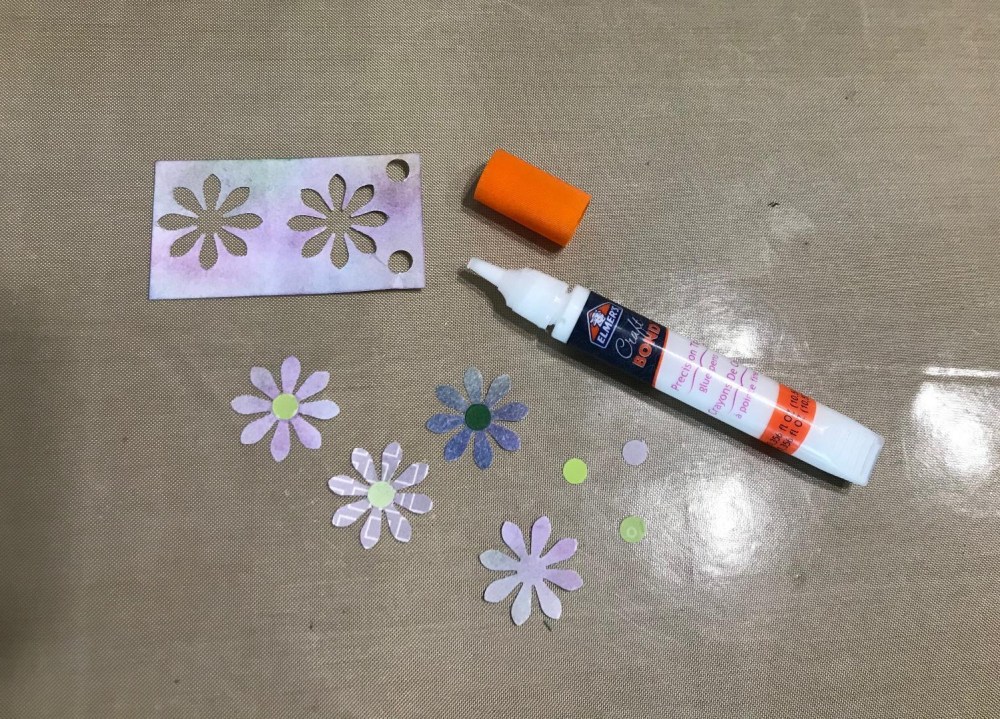
I glued the centers on using an Elmer’s Glue Pen. I’ve learned that Art Glitter Glue is the gold standard for paper crafting, but as a new crafter I’ve been spending my money on other “got to have it” supplies. For now the pen tip gives me fairly precise glue placement when I’m working with small, fiddly elements.
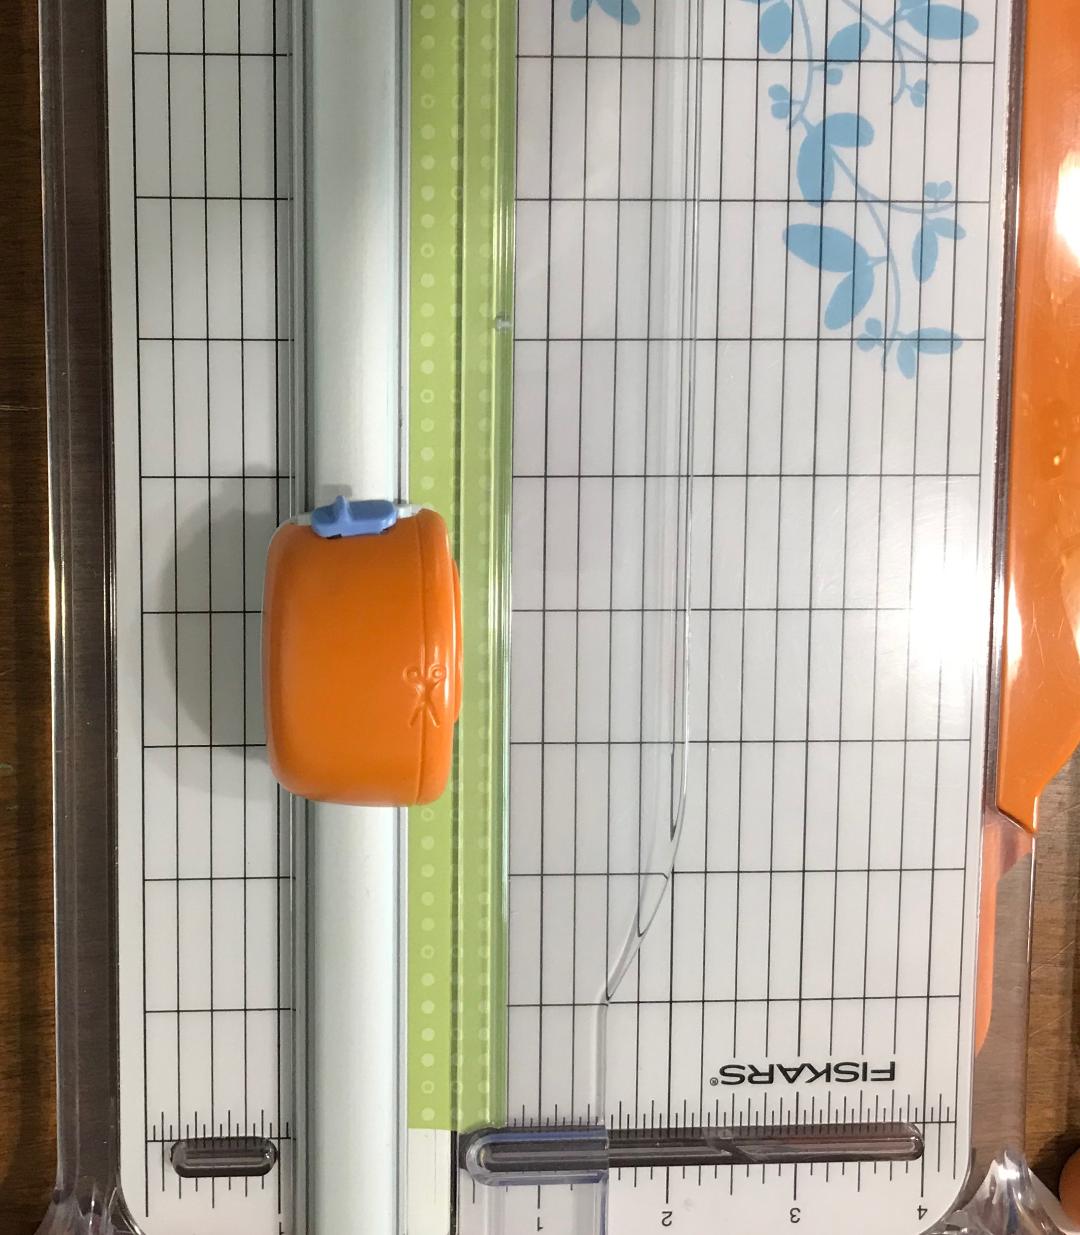
Next I cut three different styles of green paper into strips using a paper trimmer.
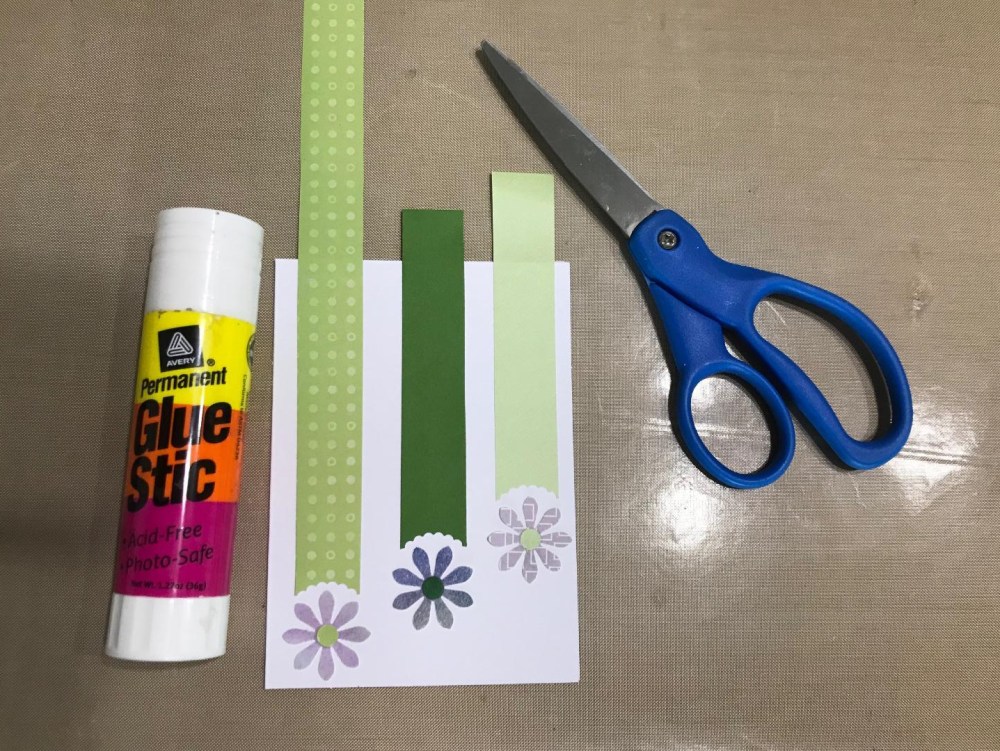
I glued the flowers on the card front first so make sure I had room for them, then I glued on the green paper strips. I waited until after I glued the strips to trim them. I was afraid If I cut them first I might make them too short!

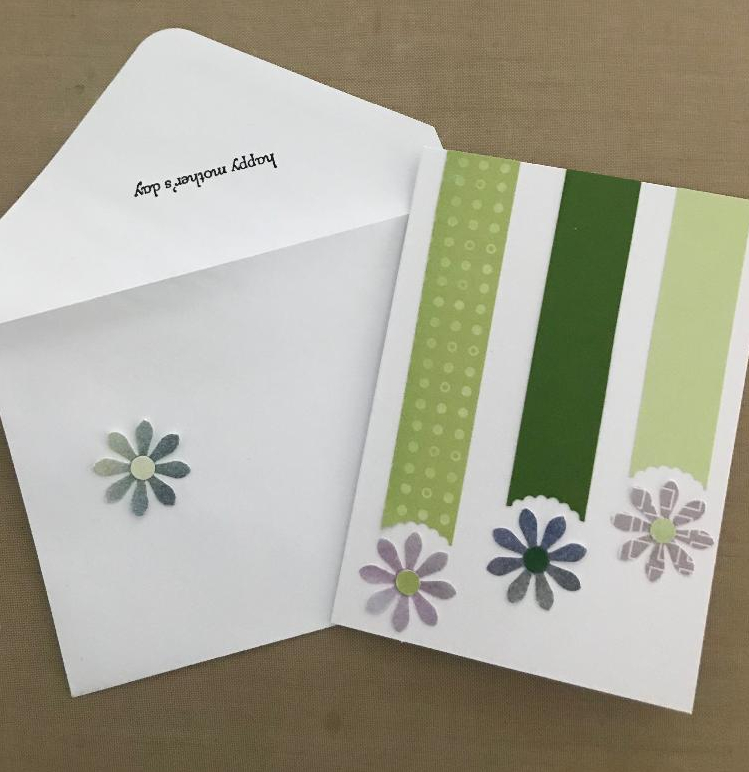
I stamped the sentiment on the inside of the card with Versafine Onyx Black Ink (which I’ve found is well worth the money for fine line stamping) and added another flower embellishment with my glue stick.
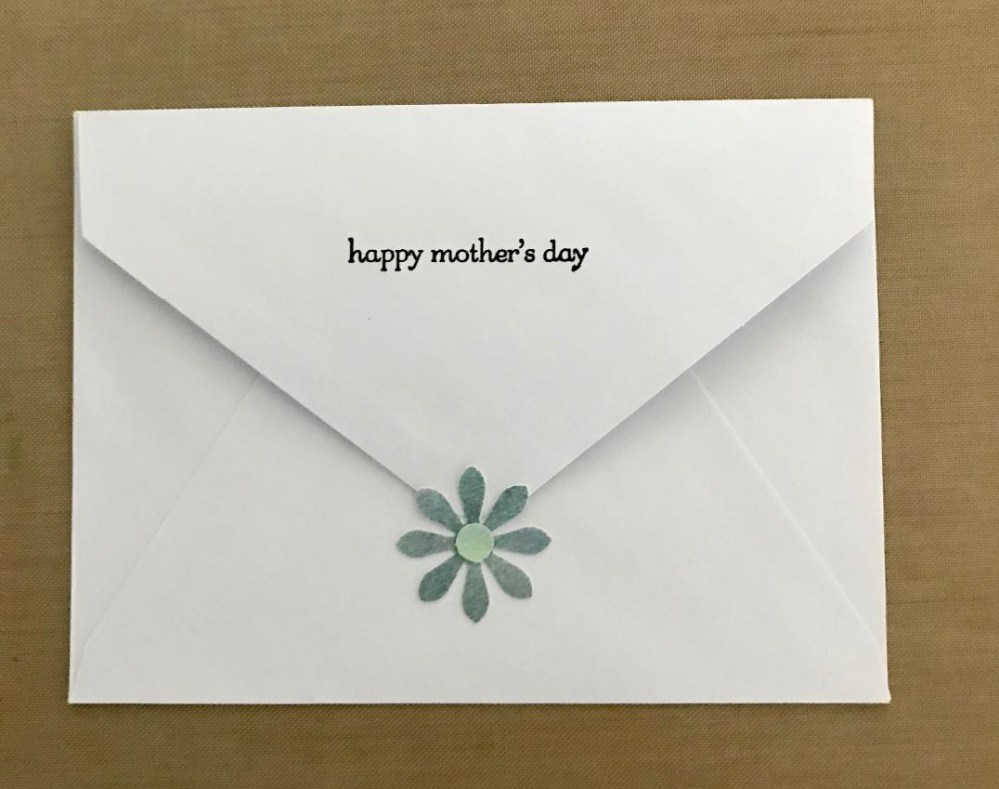
I stamped the back of the envelope as well, and added another flower as a closure. The top three petals of the flower are not glued down, so the flap tucks underneath them.
Another flower on the front of the envelope and there you have it! Did you make a Mother’s Day Card this year? Please share in the comments!
Blessings,
~Happy Heart Art Girl
Note: This post contains affiliate links. If you make a purchase, I receive a small percentage of the sale (at no additional cost to you) which I use to purchase more craft supplies. Thank you for supporting my creativity!
